- Fork a repo
- Clone a repo
Forking a GitHub repository is just a way to create your own copy of it. We do this all the time while using Learn. Every time you fork a lab, GitHub creates a copy that you can use as a sandbox to play around, all while maintaining a canonical repo where the original lab remains intact. In other words, forking creates another copy that allows you to work in your own world without messing with the core learn-co-students content.
You can fork any repo by clicking the "Fork" button at the top right of any
GitHub repository. For labs and code alongs, Learn makes this process easy
by allowing you to click the "OPEN IDE" button at the top of any lab (if you
use the Learn IDE) or to simply type learn open in your terminal (if you use
a local development environment). In both cases, the GitHub repository will be
automatically forked and cloned.
Instead of automating the process as we have been doing, for this lesson, we're going to manually fork and clone, so to get started, click the GitHub icon at the top of this page:
This will bring you to the "learn-co-students" version of this lesson. Click
the 'Fork' button in the upper right corner of the page. You will be prompted
to choose where the repository should be forked to, so go ahead and choose your
account. GitHub will take a few moments to create the fork, then navigate to
your copy of the repository. If all has gone well, you will see your username
at the top of the page, followed by a / and the name of the repository, along
with a link just below to the original repository.
For the lessons on learn.co, it's worthwhile to note that you can go back and forth between the original repo and your fork by changing your GitHub username within the GitHub URL to "learn-co-students". For example:
https://github.com/your-username-here/forks-and-clones-readme-v-000
Change to your-username-here to "learn-co-students":
https://github.com/learn-co-students/forks-and-clones-readme-v-000
More on forking in the GitHub docs.
Now we want to get our forked copy of the repository on our local machine. This is where cloning is useful. To do this:
-
Navigate back to the forked repository page you just created on GitHub.
-
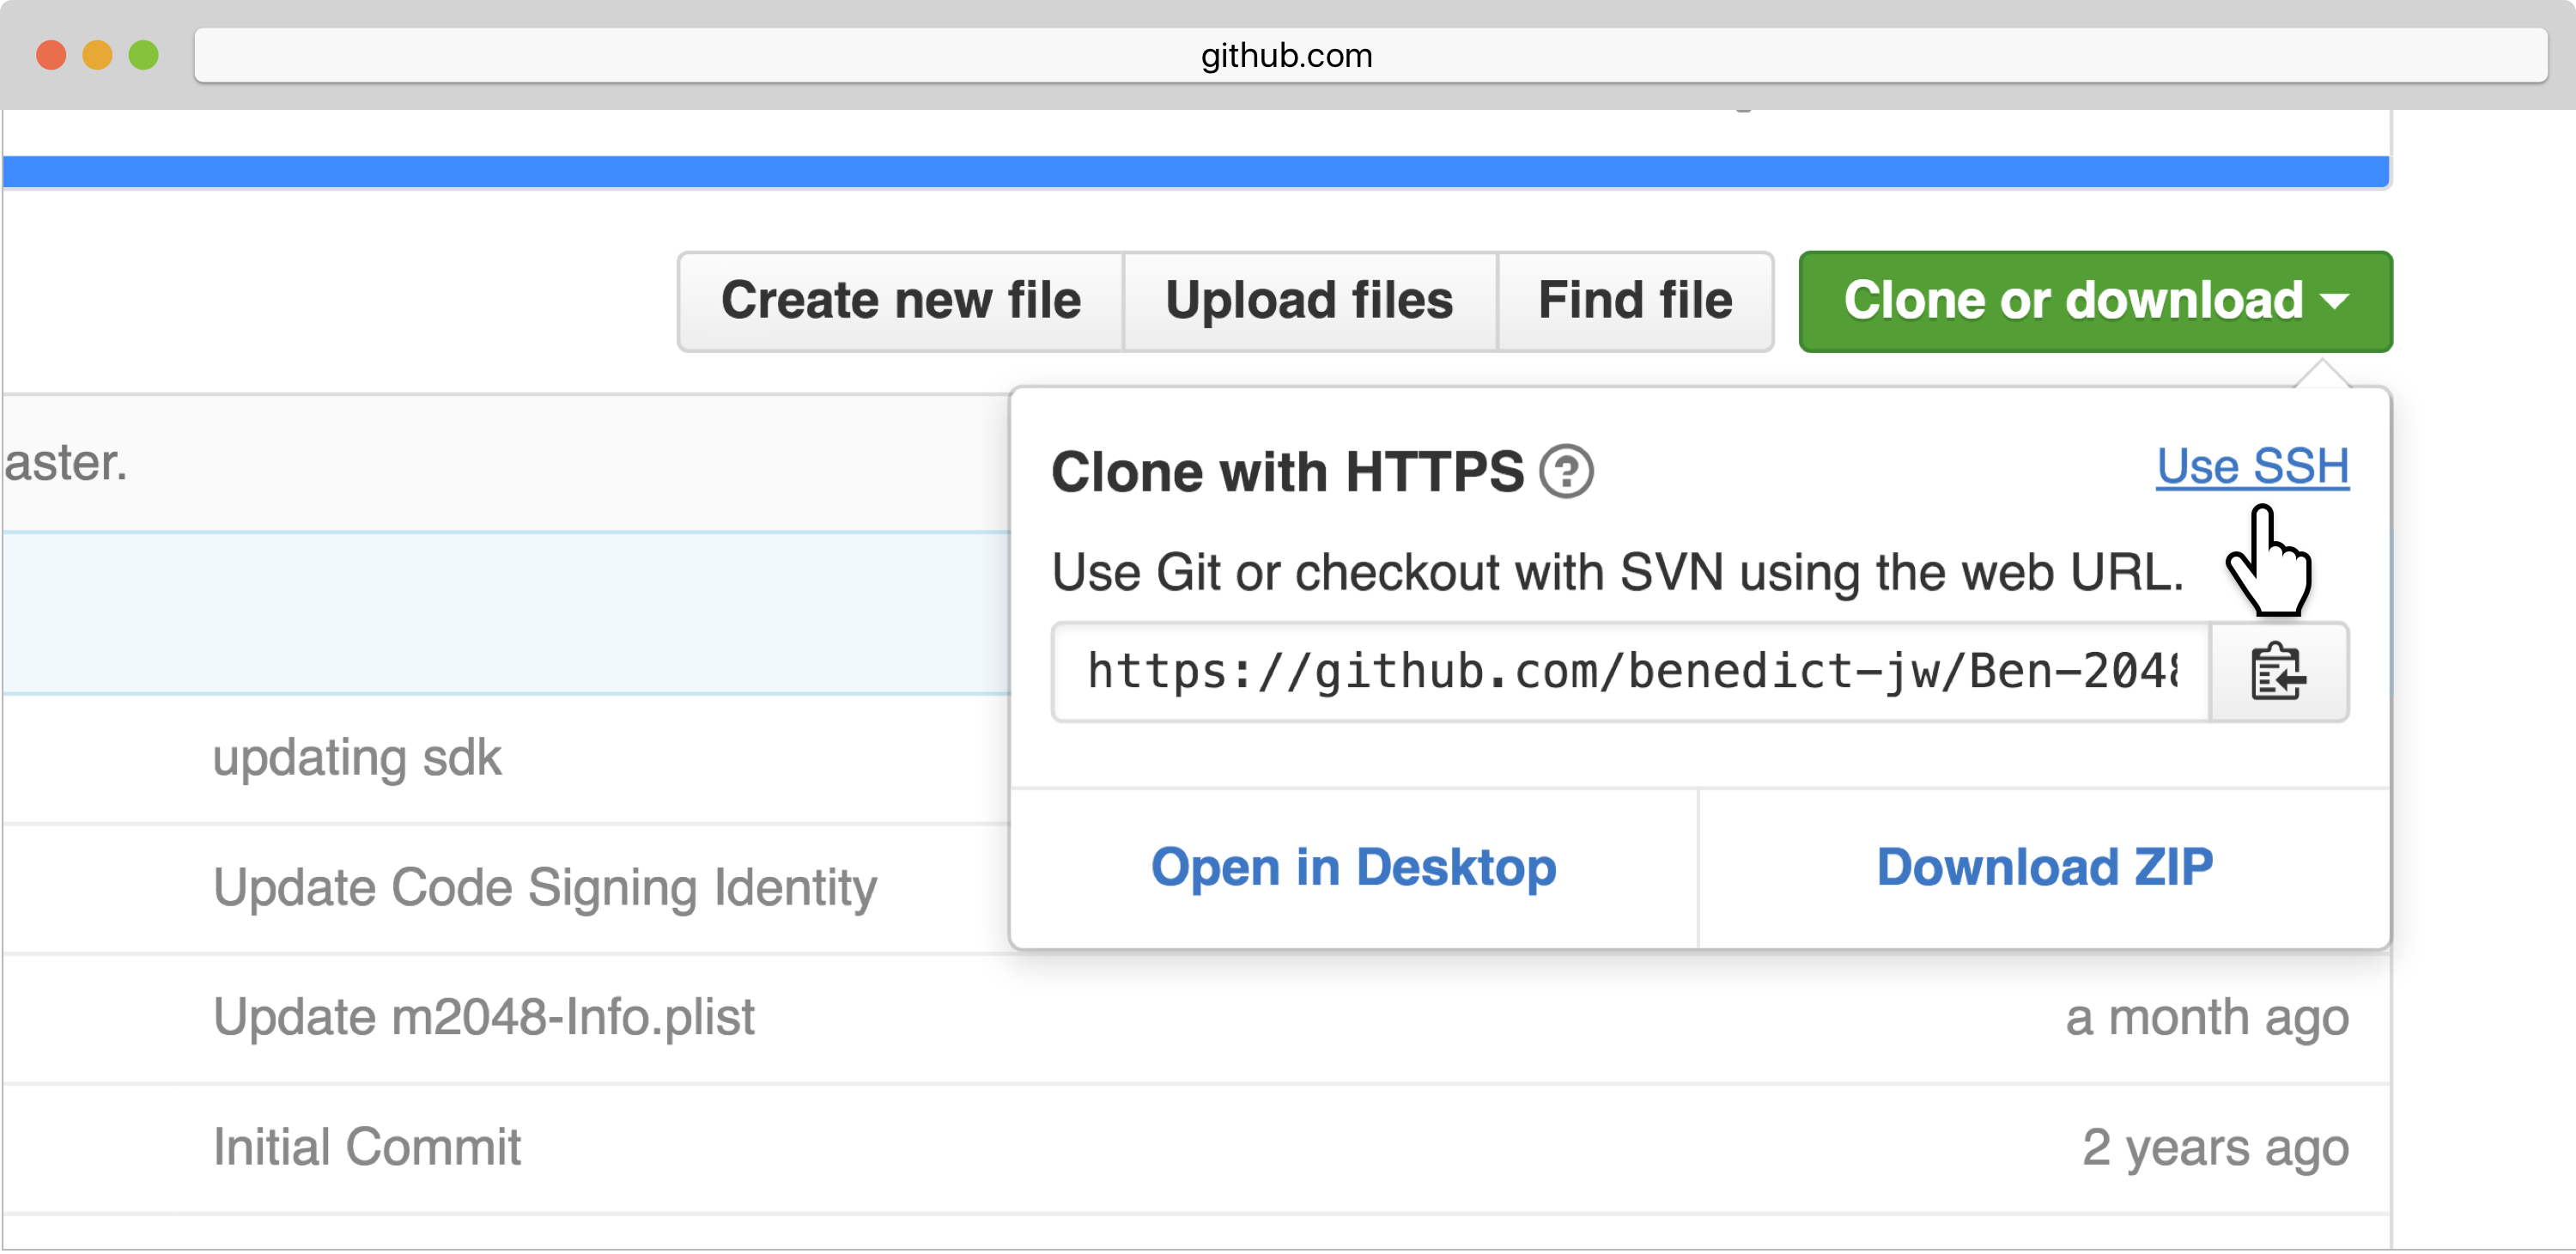
Click the "Clone or Download" green button on the right.
-
Make sure you select
Use SSHas your URL type. -
Click the "Copy to clipboard" button (highlighted below). This will copy the URL for us to use when we clone.
-
In the terminal (accessed through the 'Sandbox' or Learn IDE), we need to run the
git clonecommand. It takes the URL we just copied as an argument, like so:git clone your-copied-github-url
This will create a local copy of our forked GitHub repository. And that is it!
Note that this is something you can do on any public GitHub repository, not just Learn lessons. So if you've found a GitHub repository that you'd love to build off of or modify for your own use, you can use this process to make your own copy. Often, the original authors will include license information regarding how you can use their repository, so make sure to check before you publish, sell or distribute any material you've forked, cloned and modified.
Please open a GitHub issue or pull-request. Provide a detailed description that explains the issue you have found or the change you are proposing. Then "@" mention your instructor on the issue or pull-request, and send them a link via Connect.
PHRG Forks and Clones


