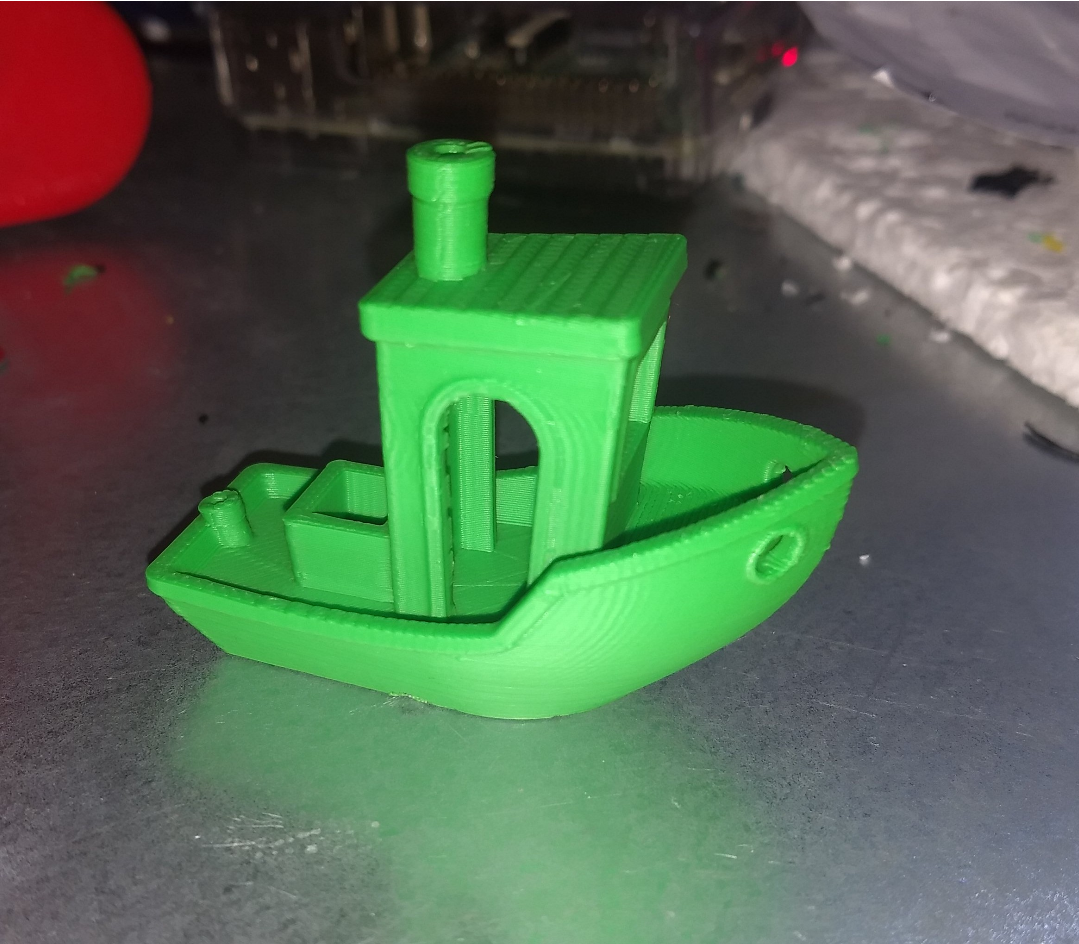
This is a very experimental slicer for 3d printing. It is currently in a very early stage, but it can already slice models:
Supported features:
- perimeters
- simple linear infill
- rotated infill
- top / bottom layer
- simple temperature control
- simple speed control
- simple retraction on crossing perimeters
- several options to customize slicing output
- simple support generation
- brim and skirt
- custom start- / end-GCode
Provides a basic command line interface. Just run with --help and see the description bellow.
Arch Linux / Manjaro: AUR
yay -S goslice
All others:
Download the latest release matching your platform from here:
https://github.com/aligator/GoSlice/releases
Unpack the executable and run it in the commandline.
Linux / Mac:
./goslice /path/to/stl/file.stl
Windows:
goslice.exe /path/to/stl/file.stl
If you need the usage of all possible flags, run it with the --help flag:
./goslice --help
Note that some flags exist as --initial-... also which applies to the first layer only. The non-initial apply to all other layers, but not the first one.
I created an experimental WebAssembly version. Just go to aligator.dev and type
goslice https://cdn.thingiverse.com/assets/7d/fc/6e/33/fe/3DBenchy.stl
It accepts any stl file as link. After slicing it opens a gcode viewer and provides a download link for the gcode in the terminal.
Note that the webassebly version is much slower than native.
tobychui created a web frontend for GoSlice:
SlicerA (also compatible with ArOZ)
Just running GoSlice:
go run ./cmd/goslice /path/to/stl/file.stl
To get help for all possible flags take a look at /data/option.go or just run:
go run ./cmd/goslice --help
Ideally you should have make installed:
make
The resulting binary will be in the .target folder.
If you do not have make, you can still run the build command manually, but it is not recommended:
go build -ldflags "-X=main.Version=$(git describe --tags) -X=main.Build=$(git rev-parse --short HEAD)" -o .target ./cmd/goslice
You want to
- Create a slicer but do not want to do everything of it?
- Extend GoSlice functionality? (Please consider Pull Requests if you created a nice addition :-)
- Create a new, user-friendly frontend?
-> Then you can do it with GoSlice!
To do this you can copy the goslice/slicer.go/NewGoSlice function and just pass to GoSlice what you want.
You can add new logic by implementing one of the various handler interfaces used by it.
If you need even more control, you can even copy and modify the whole goslice/slicer.go file which allows you to
control how the steps are called after each other.
You can find an example here where I used that to make GoSlice runnable as Webassembly.
Handler Interfaces:
Here some brief explanation of the interfaces. For more detailed information just look into the code...
(And take a look at the docs where I explained some aspects a bit deeper.)
-
Reader handler.ModelReader Is used to read a mesh file. GoSlice provides an implementation for stl files.
-
Optimizer handler.ModelOptimizer Is responsible for
- checking the model
- optimizing it by e.g. removing doubles
- calculating some additional information, like the touching vertices etc. which is needed for the next step. The implementation of GoSlice is currently very basic and may have problems with some models.
-
Slicer handler.ModelSlicer
Creates the slices (e.g. layers) out of the model. It then tries to combine all lines to several polygons per each layer. The implementation of GoSlice is again very basic, but it works. -
Modifiers []handler.LayerModifier
This is the most interesting part: Modifiers are called after each other and Calculate things like perimeters, infill, support, ... They add this information as "Attributes" which is basically just a map of interface{}. GoSlice already provides several basic modifiers. -
Generator handler.GCodeGenerator
The generator then generates the final gcode based on the data the modifiers added. The implementation of GoSlice is basically a collection ofRendererwhich often just match one modifier. You can provide your own, additional Renderers or even replace existing ones. -
Writer handler.GCodeWriter
This is the last part, and it basically just writes the gcode to somewhere. You could for example provide a writer which directly sends the gcode to OctoPrint. The default implementation just writes it to a gcode file.
You are welcome to help.
Just look for open issues and pick one, create new issues or create new pull requests.
For debugging of the GCode I suggest you to use Cura to open the resulting GCode. Cura can open it without any problem and I try to add the markings into the GCode which Cura understands (e.g. mark what is infill, perimeter, etc.).
- CuraEngine for the great first commit, which was a very good starting point for research.
- https://www.thingiverse.com/thing:3413597 for the great Gopher model used as logo. (Original Gopher designed by Renee French CC BY 3.0)
- Go for the great language.
- All libs GoSlice uses. (just take a look at go.mod)

