- Clone the repository locally:
git clone https://github.com/arunarivarasan/nextjs-strapi-starter.git- Run
setupcommand to setup frontend and backend dependencies:
yarn setup- Next, navigate to your
/backenddirectory and set up your.envfile. You can use the.env.examplefile as reference:
HOST=localhost
PORT=1337
APP_KEYS="toBeModified1,toBeModified2"
API_TOKEN_SALT=tobemodified
ADMIN_JWT_SECRET=tobemodified
JWT_SECRET=tobemodified
TRANSFER_TOKEN_SALT=tobemodified- Start your project by running the following command:
  yarn build
yarn developNext we need to switch to our /frontend directory and create our .env file and paste in the following.
NEXT_PUBLIC_STRAPI_API_TOKEN=your-api-token
NEXT_PUBLIC_PAGE_LIMIT=6
NEXT_PUBLIC_STRAPI_FORM_SUBMISSION_TOKEN=your-form-submission-token
NEXT_PUBLIC_STRAPI_API_URL=http://localhost:1337
Before starting our Next JS app we need to go inside our Strapi Admin and create two tokens that we will be using for form submission and displaying our content.
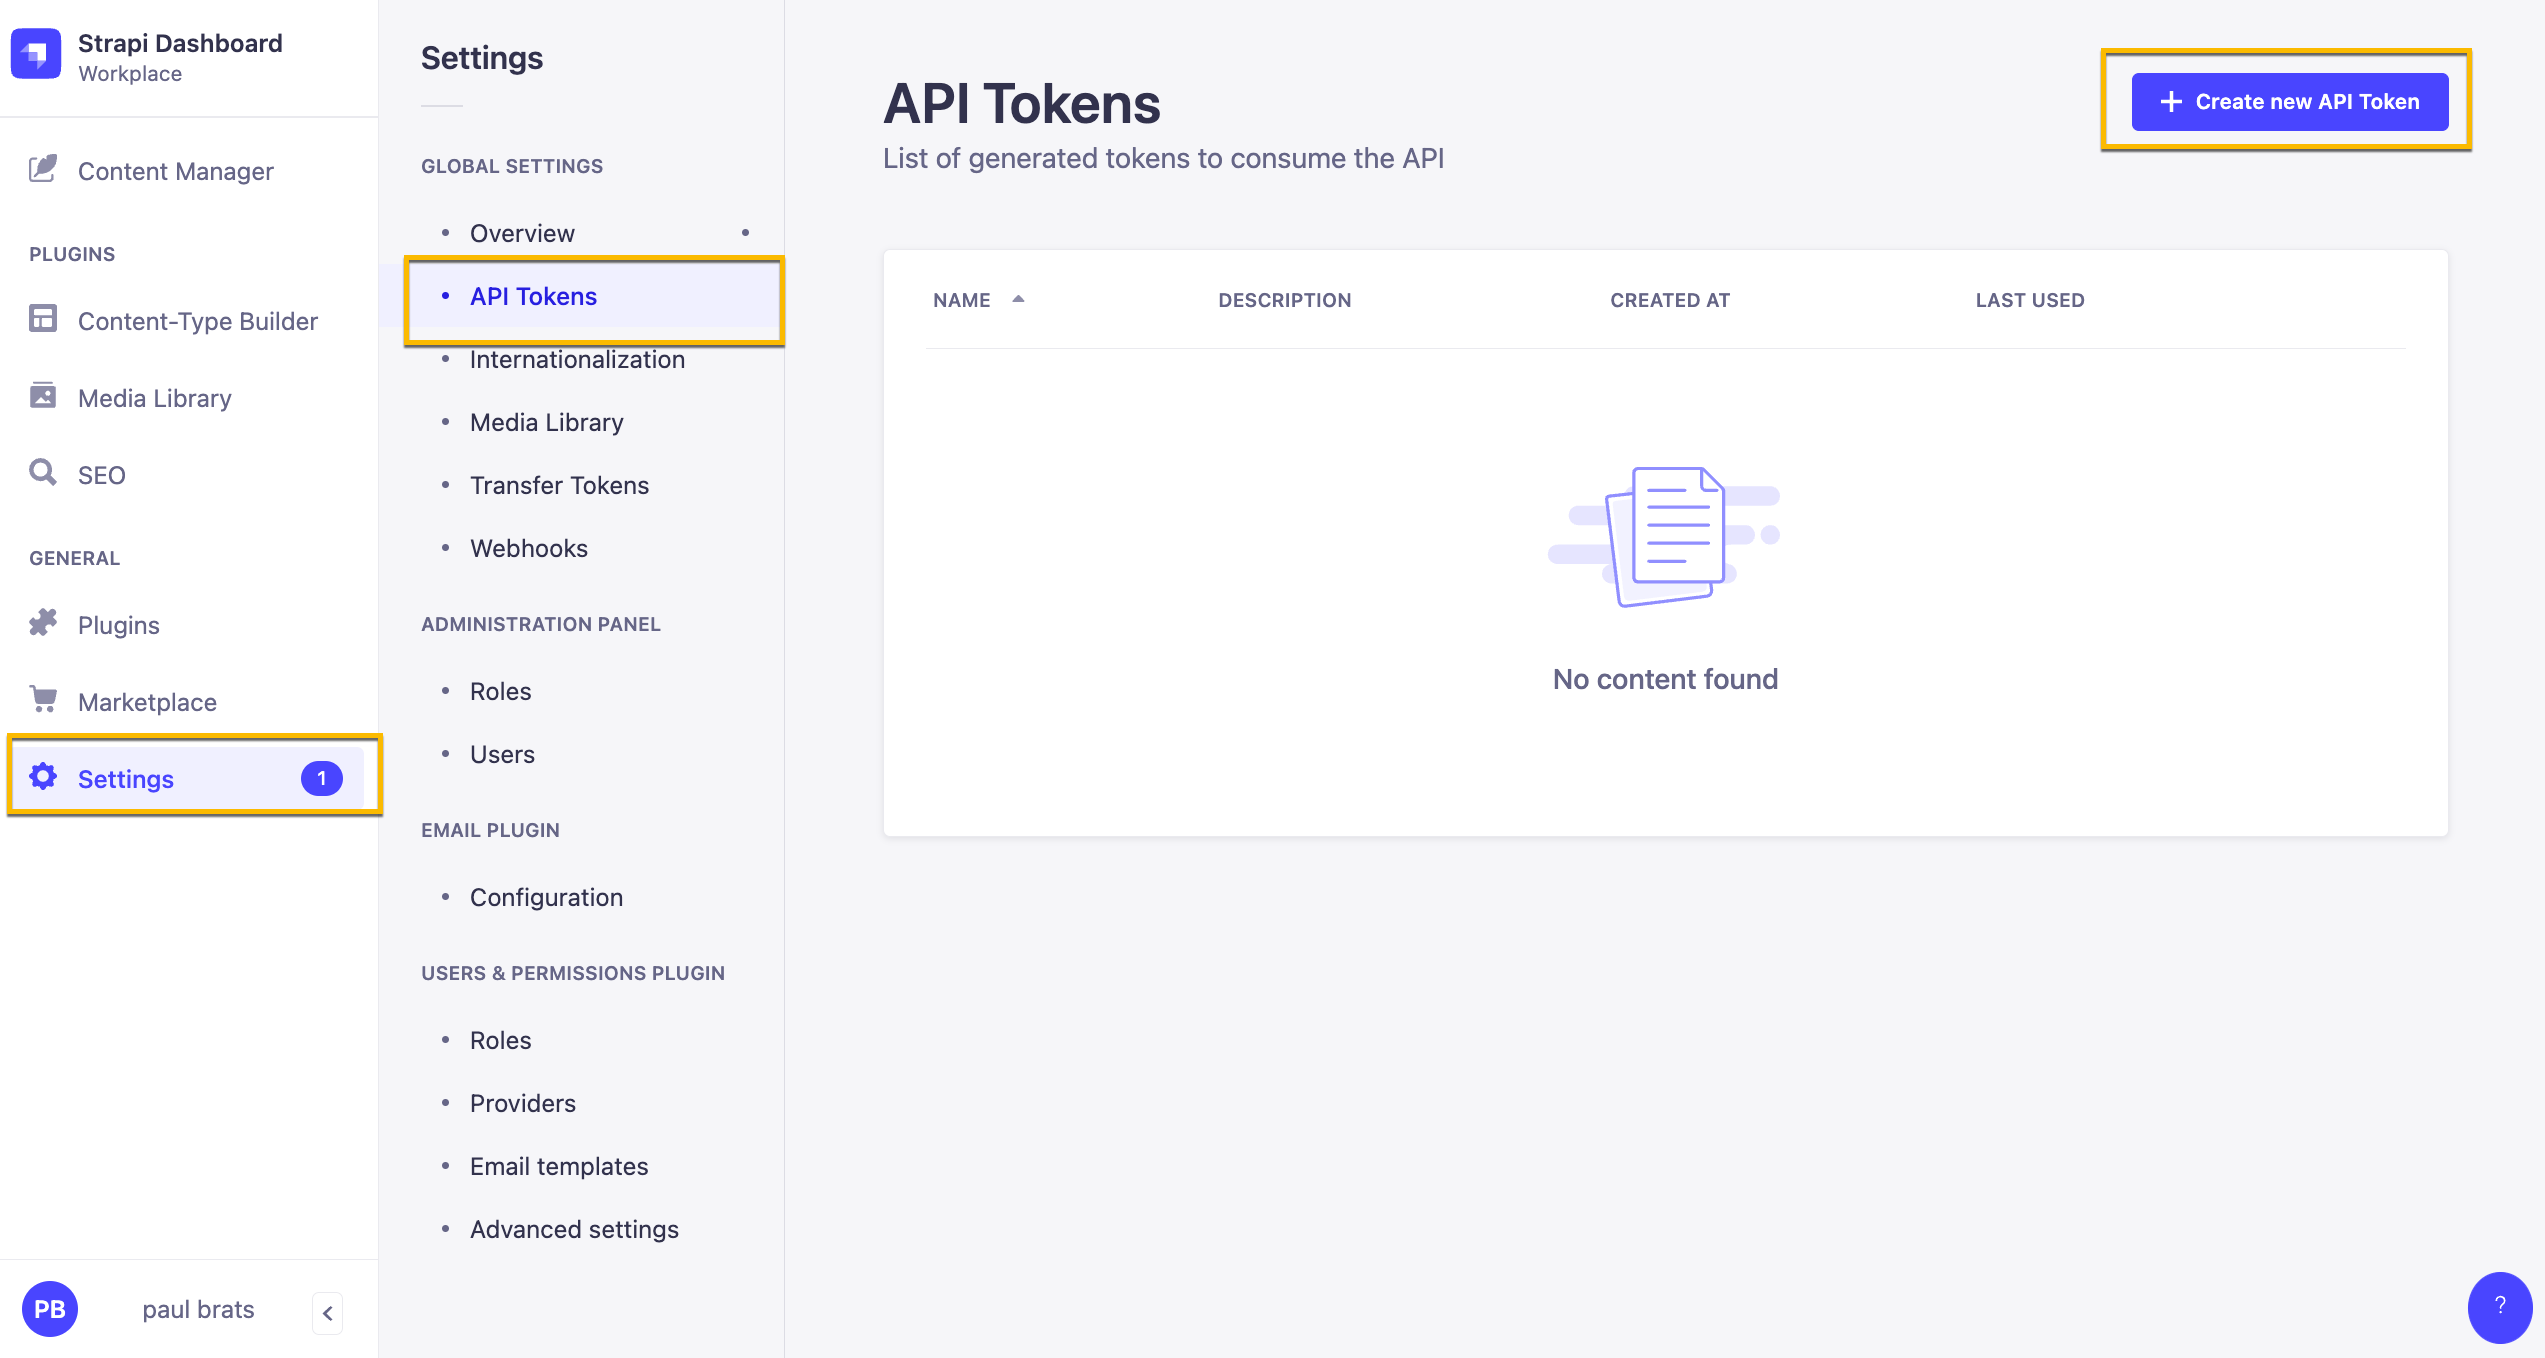
Inside your Strapi Admin Panel navigate to Settings -> API Tokens and click on the Create new API Token.
Here are our Token Settings
Name: Public API Token Content Description: Access to public content. Token duration: Unlimited Token type: Custom
In Permissions lets give the following access.
| Content | Permissions |
|---|---|
| Article | find and findOne |
| Author | find and findOne |
| Category | find and findOne |
| Global | find |
| Page | find and findOne |
| Product-feature | find and findOne |
Once you have your token add it to your NEXT_PUBLIC_STRAPI_API_TOKEN variable name in the .env file.
Alternatively: you can create a READ only Token that will give READ permission to all your endpoints.
In this particular project this is not an issue. Although the above is the recommended way, just wanted to show you this option here as well.
When creating a Token, just select the Read-only option from token type drop down.

Next create a token that will allow us to submit our form.
Name: Public API Form Submit Description: Form Submission. Token duration: Unlimited Token type: Custom
In Permissions lets give the following access.
| Content | Permissions |
|---|---|
| Lead-Form-Submission | create |
Add your token to your NEXT_PUBLIC_STRAPI_FORM_SUBMISSION_TOKEN variable name in the .env file.
Once your environment variables are set you can start your frontend application by running yarn dev.
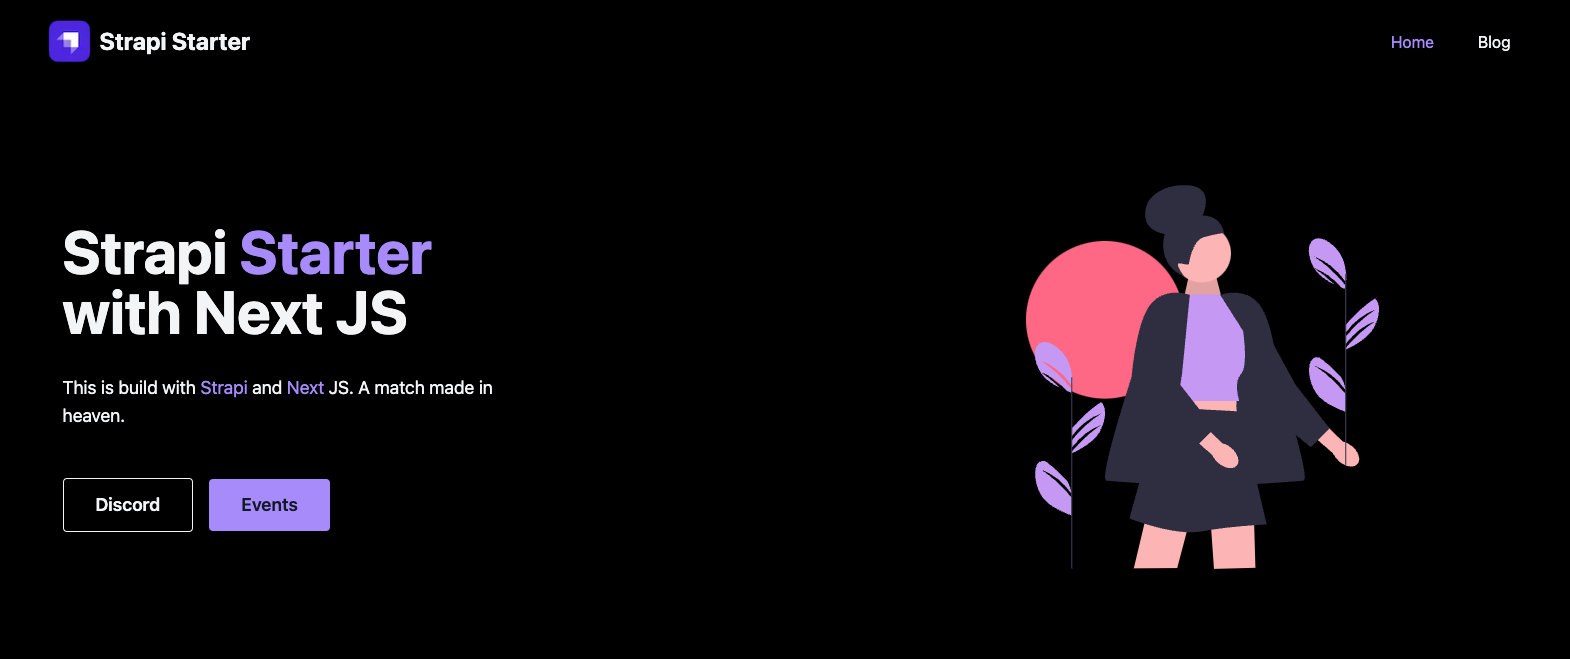
You should now see your Next JS frontend.
We can also start both projects with one command using the concurrently package.
You can find the setting inside the package.json file inside the root folder.
{
  "scripts": {
    "frontend": "yarn dev --prefix ../frontend/",
    "backend": "yarn dev --prefix ../backend/",
    "clear": "cd frontend && rm -rf .next && rm -rf cache",
    "setup:frontend": "cd frontend && yarn",
    "setup:backend": "cd backend && yarn",
    "setup": "yarn install && yarn setup:frontend && yarn setup:backend",
    "dev": "yarn clear && concurrently \"cd frontend && yarn dev\" \"cd backend && yarn develop\""
  },
  "dependencies": {
    "concurrently": "^7.6.0"
  }
}
You can start both apps by running yarn dev.


