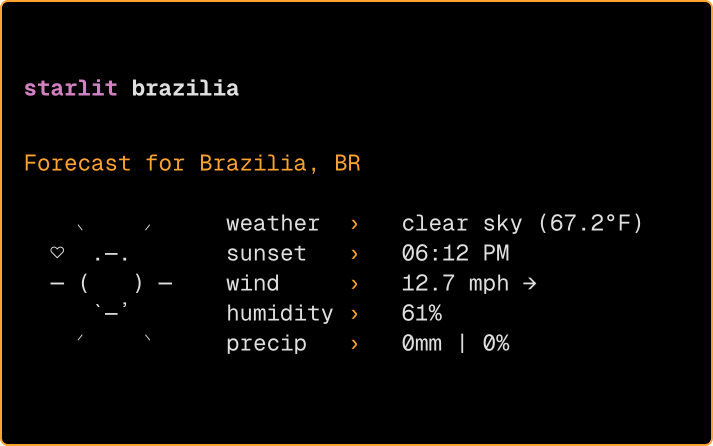
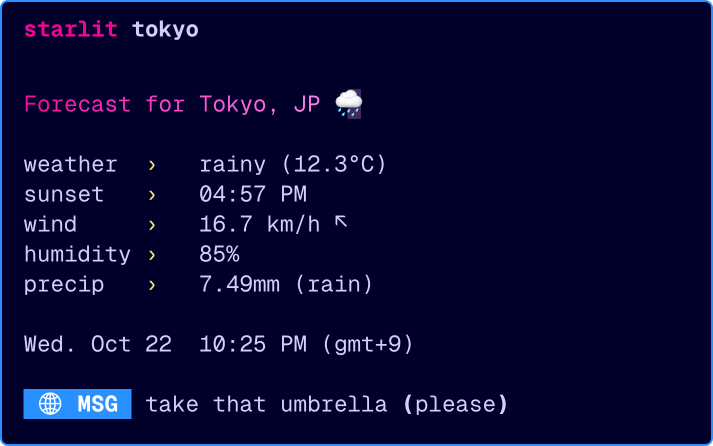
A minimal and customizable weather CLI, written in Python 🐍
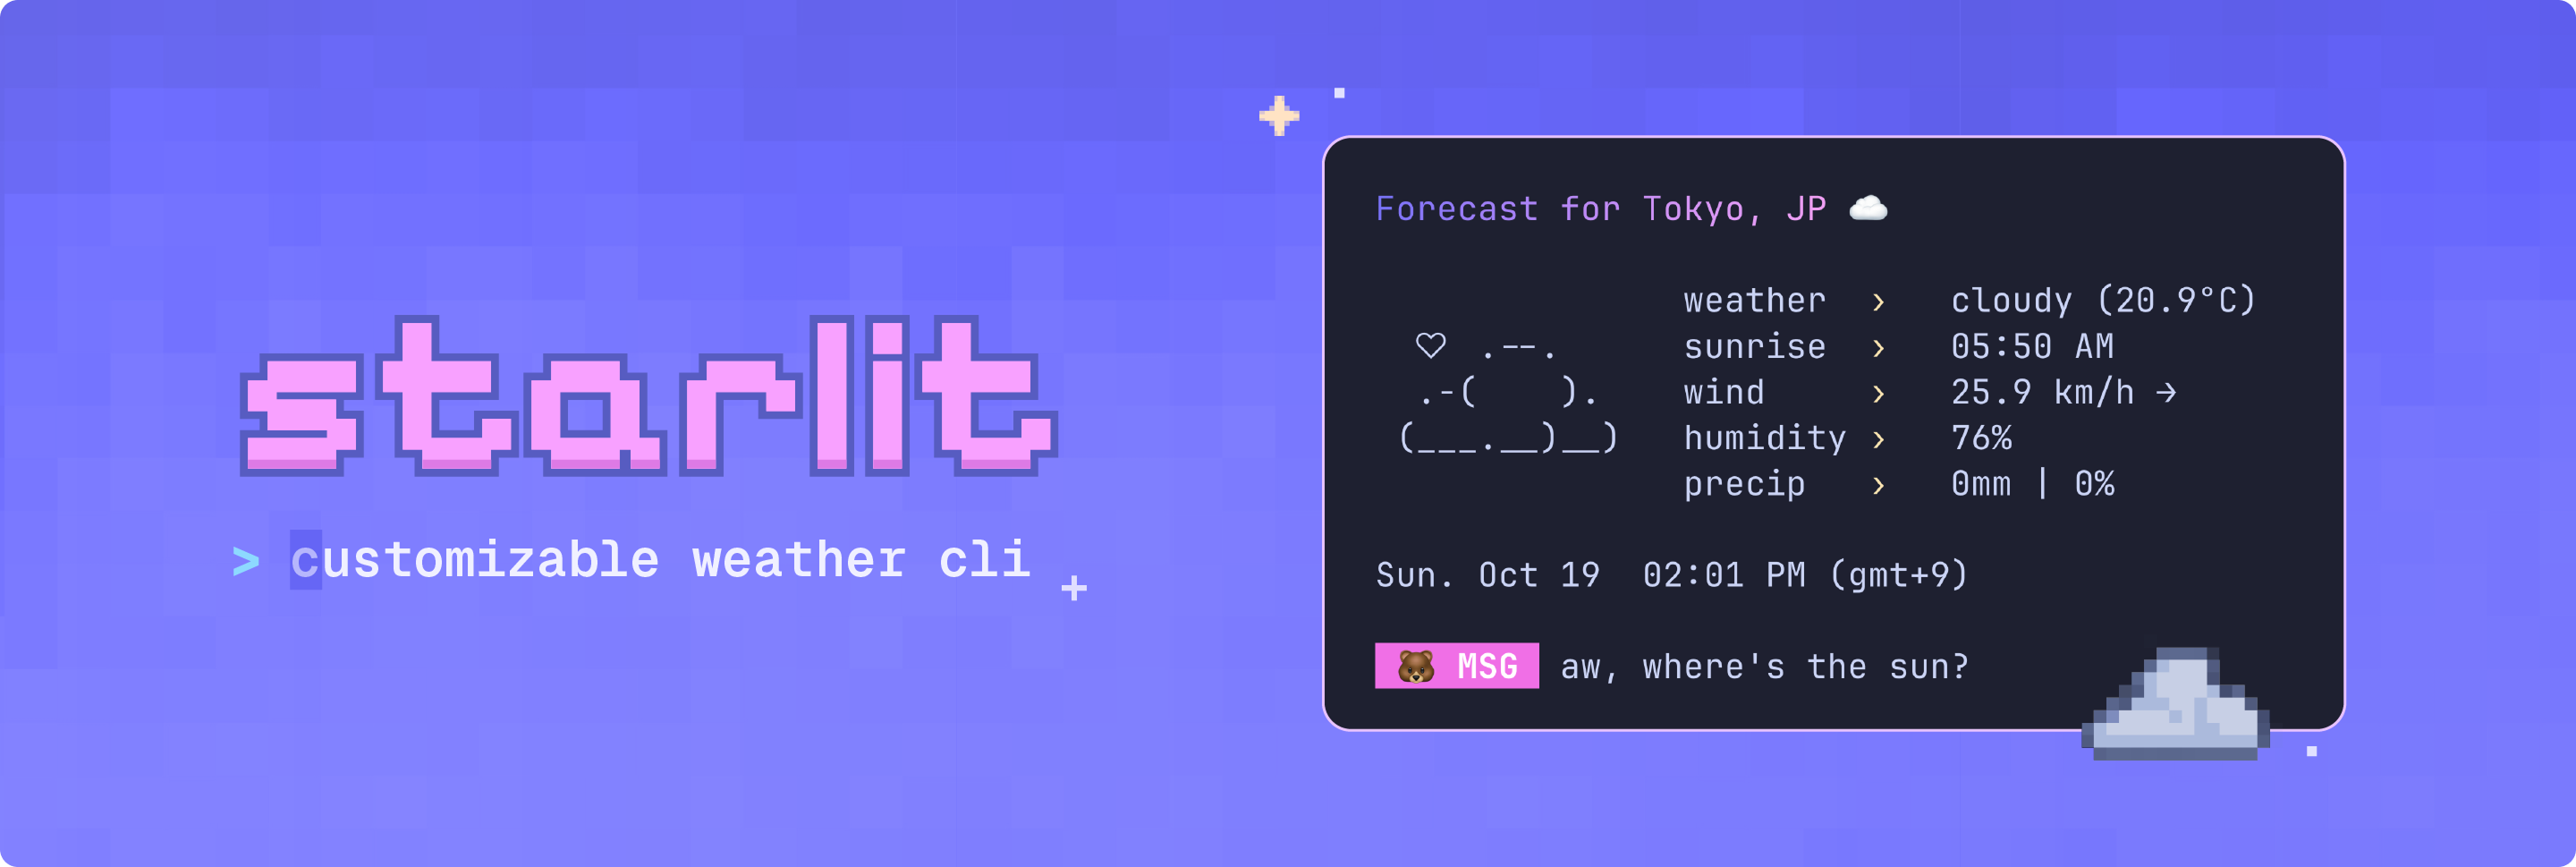 Powered by the OpenWeatherMap API and styled with the Python rich library + terminal text effects ✨


- Python 3.13+
- Poetry or pip package manager
- An OpenWeatherMap API key
- UTF-8 terminal with 256 colors and nerd font
Installing starlit is quick and easy. The built-in setup command guides you through configuration.
The easiest way to install starlit is via pip:
pip install starlit-cliThen set up your configuration:
starlit --setup # creates ~/.config/starlit/.env
starlit --edit # opens .env file (add your api key here) For local development, contributing, or if you want an isolated installation:
- Clone this repository
git clone https://github.com/ashuhlee/starlit.git
cd starlit- Create the virtual environment
# macOS / Linux / Windows
python -m venv .venv
Activate the virtual environment:
source .venv/bin/activate # macOS / Linux
.venv\Scripts\Activate # Windows (Powershell)- Install dependencies
Some packages are required for this project. They will automatically be installed if you run:
pip install .- Set up your
.envfile
Generate a configuration file from the example template and open the file:
starlit --setup
starlit --edit
Get your OpenWeatherMap API key and paste it into the .env file under API_KEY=
starlit creates a default configuration file when you run starlit --setup. The .env file stores your API key, default city and display preferences.
- Linux/macOS:
~/.config/starlit/.env - Windows:
C:\users\username\.config\starlit\.env
| Setting | Description |
|---|---|
API_KEY |
Your OpenWeatherMap API key |
DEFAULT_CITY |
The city shown when you don’t pass one |
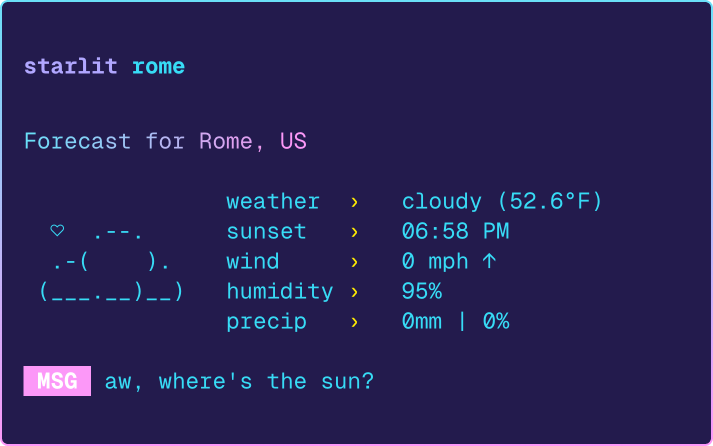
UNITS |
Options: metric (°C) or imperial (°F) |
DISABLE_ANIMATION |
Turns off all animations in starlit |
SHOW_DT |
Shows local date and time |
SHOW_ASCII |
Shows the little ASCII art to the left |
SHOW_MSG |
Adds a cute message at the bottom |
SHOW_EMOJI |
Shows emojis in your terminal |
EMOJI_TYPE |
Choose a cute emoji for messages |
You can also set your own colors for the gradient title and message labels. Use six-digit RGB hex codes (no # needed):
| Setting | Description | Example |
|---|---|---|
| COLOR_1 | Gradient color stop 1 | |
| COLOR_2 | Gradient color stop 2 | |
| LABEL_COLOR | Message label color |
# basic usage
starlit
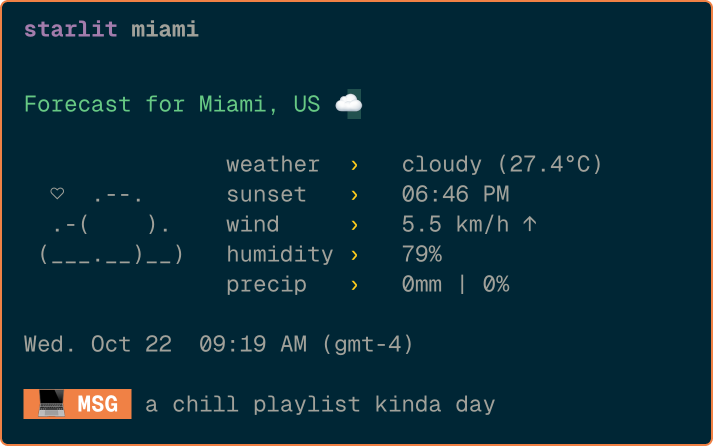
# specify city via command line
starlit seattle
# start interactive mode
starlit --interactive
# opens the .env file in your default editor
starlit --edit
# shows config in .env file (if found)
starlit --config
# shows contents of .env file (if found)
starlit --config --show-full
# show version
starlit --version
# show help
starlit --help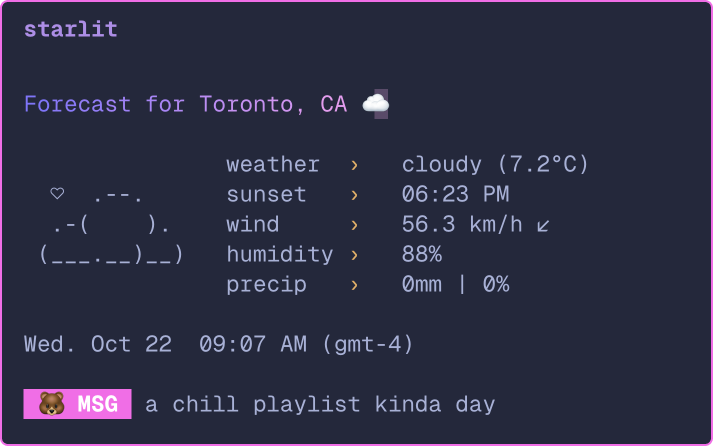 |
 |
|---|---|
 |
 |
 |
 |
- 🕐 Different Modes: Add live updates or full forecast modes
- ✨ Interactive Mode+: Add a full command line interface when using
starlit -i - 🎨 Color Themes: Support for
.jsontheme files so you can easily switch between color palettes - 🌍 Multi-language Support: Option to view weather info in different languages
- Rich - Beautiful terminal formatting
- rich-gradient - Gradient text formatting
- terminal-text-effects - Smooth text animations
- Requests - HTTP requests for weather API
- Python-dotenv - Environment variable management
I built this fun little project as a way to learn more about APIs and creating colorful terminal apps. It grew into a CLI project I'm proud of!
Thank you to charm for the color palette and design interface inspo 🎨 and to wego for the ASCII icons
⭐ If you like this project, please consider giving it a star!