05. Ethernet Setup
Ethernet setup requires a hardwired connection from your computer to the module. If you have more then one module to connect to you need an ethernet switch as well - like a powerbar for networking. You cannot run more then 1 adapter on a subnet.
-
You need to decide on your subnet. The subnet is like a telephone area code. It allows the same phone numbers in many other area codes and groups them. If you don't already know what your subnet is or should be, just use 192.168.5. The subnet mask is 255.255.255.0 meaning there is 255 possible addresses in the "area" of 192.168.5
-
Make sure your ethernet cable is connected to the module and everything is powered on.
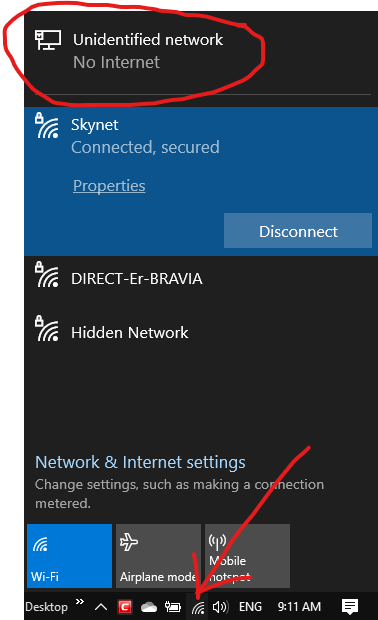
- Easy way to do this. At the bottom right touch the networking icon (could be wifi or wired icon) to bring up the networking summary. Now touch the network connection attached to your modules.
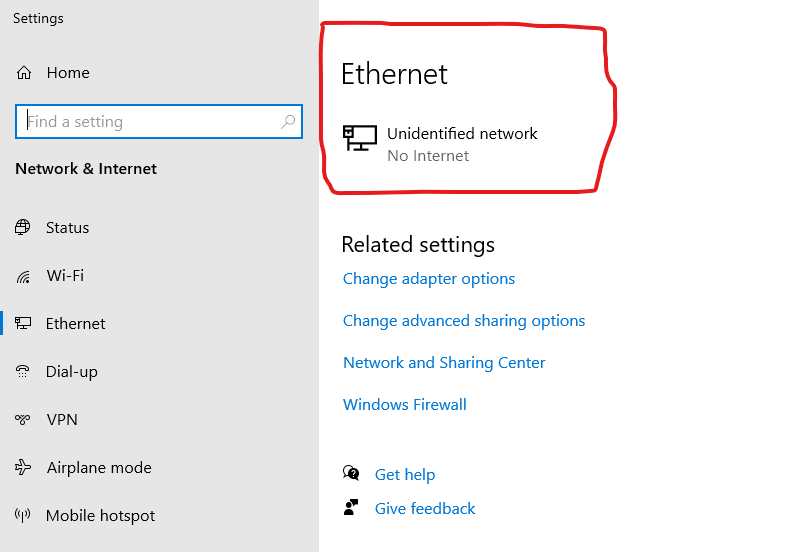
- Touch the network adapter you want to edit
-
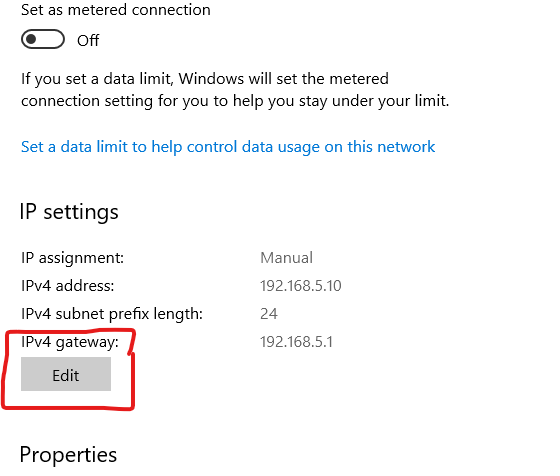
Touch Edit
-
On the pulldown list select Manual. Turn on IPv4.
-
Enter the full IP address that is your subnet and an unused IP. 192.168.5.10 in this case.
-
Enter the subnet prefix length. 24 is 24bits of mask which is the same as typing in 255.255.255.0 - but is much shorter. Enter 24.
-
Enter a gateway - it isn't needed but something has to be there so enter subnet + 1. 192.168.5.1.
10 Be sure IPv6 is off.