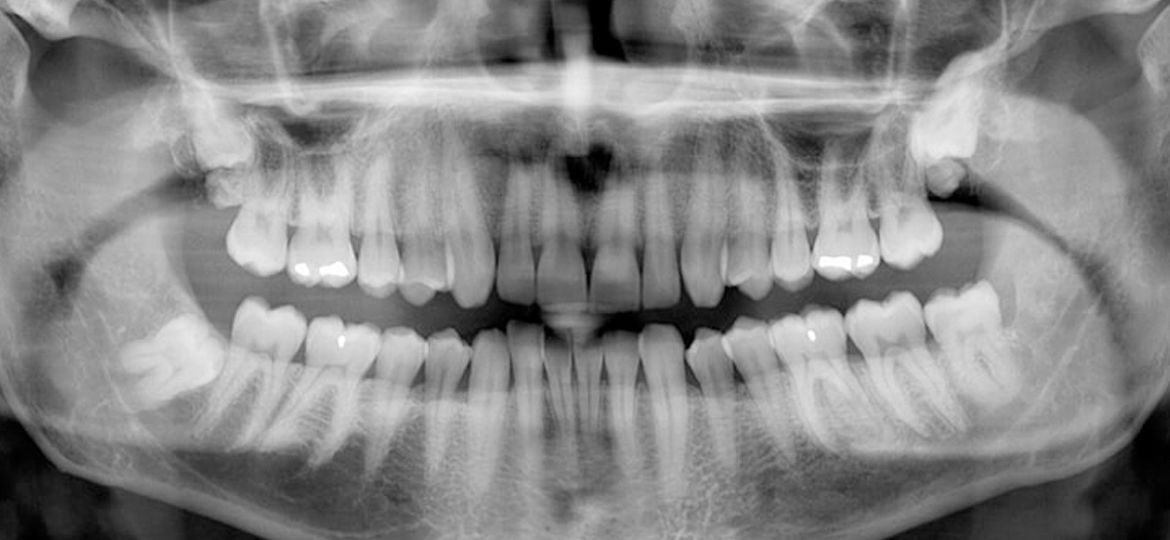
iDentify is a web-based application designed to facilitate the detection and classification of dental anomalies from panoramic X-rays. The tool consists of two main components: a React Vite-based front-end application and a backend system incorporating a trained YOLOv9-c model wrapped in a FastAPI container.
The frontend is built using React Vite, a modern web development framework that allows for efficient and scalable development. The application offers several functionalities, including:
- Welcome page
- Sign-up and login (using Firebase Authentication)
- Dashboard for image upload, result viewing, zoom feature, and PDF export with detailed text descriptions of detected dental anomalies
- Feedback page for model performance feedback
The backend is a FastAPI application responsible for:
- Receiving and processing image data
- Running the detection algorithm
- Returning the results along with confidence scores for each classification of dental anomalies (Caries, Deep caries, Periapical lesion, and Impacted tooth)
You have two options to run the backend:
-
Using Docker: Pull the Docker image from Docker Hub and run it:
docker pull kanwalmehreen/identifyapp:latest
docker run -p 8000:8000 kanwalmehreen/identifyapp:latest
-
Running Locally:
- Clone the repository:
git clone https://github.com/kawiiii/iDentify.git cd iDentify/api - Create a virtual environment:
python -m venv venv
- Activate the virtual environment:
- On Windows:
venv\Scripts\activate
- On macOS and Linux:
source venv/bin/activate
- On Windows:
- Install dependencies:
pip install -r requirements.txt
- Download the model from Google Drive and place it in the
api/modelsdirectory. - Run the backend:
uvicorn main:app --reload
- Clone the repository:
You can access the backend at http://0.0.0.0:8000. Press CTRL+C to quit.
- Clone the repository if you haven't already.
- Navigate to the frontend directory:
cd iDentify/frontend - Copy the .env.example file to create a new .env file:
Fill in the Firebase keys and any other required environment variables in the newly created .env file.
cp .env.example .env
- Install the dependencies:
npm install
- Install react-modal:
npm install react-modal
- Run the frontend development server:
npm run dev
Once the development server is running, you can access the frontend application at http://localhost:5174/ .
This project is licensed under the MIT License. See the LICENSE file for more details.
- Kanwal Mehreen - Technical Editor & ML Researcher (Email: [email protected])
- Hassan Aqeel Khan - Senior Lecturer, Applied AI & Robotics (Email: [email protected])
