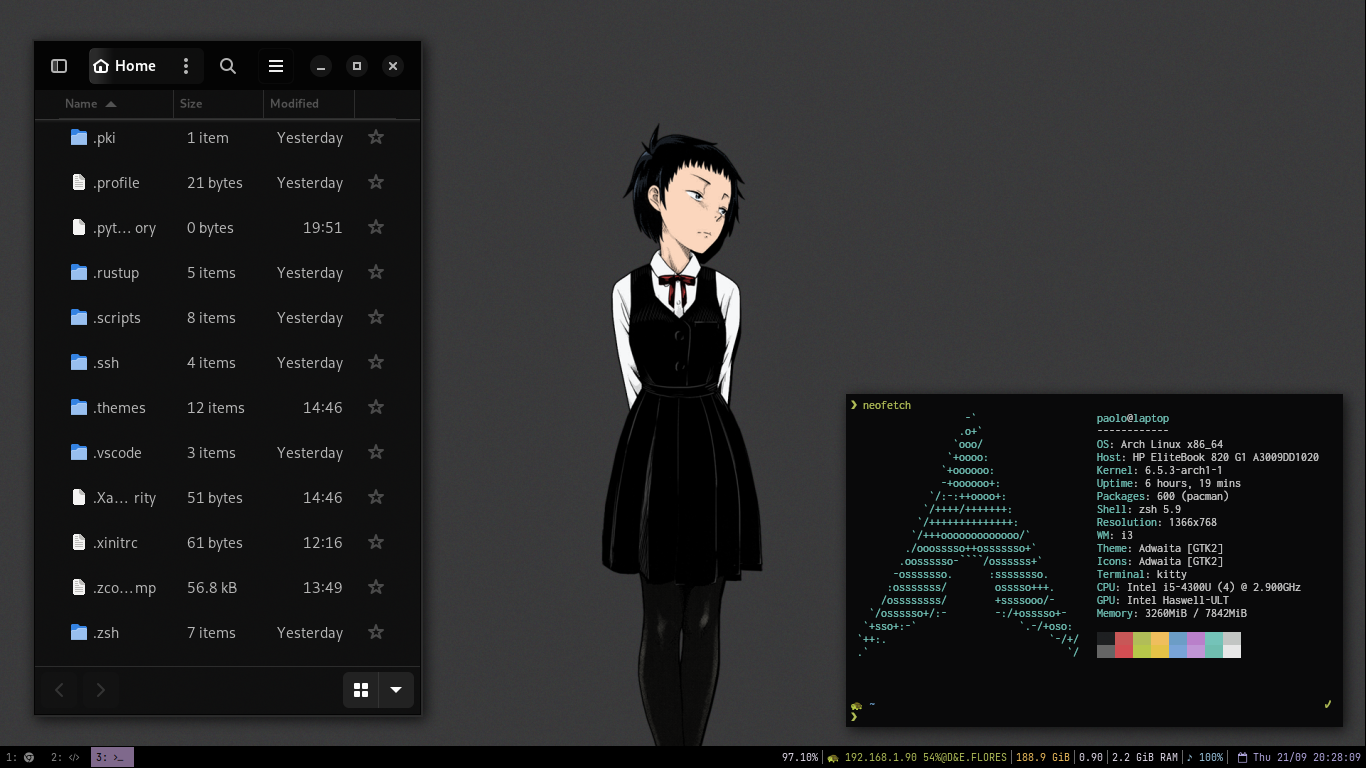
Most of the config I use on my personal desktop. I try to maintain my setup very minimal and comfortable to use.
See also my laptop's branch.
| programs | using |
|---|---|
| wm | i3 |
| os | debian trixie/sid |
| terminal | kitty |
| shell | zsh + p10k |
| compositor | picom |
| launcher | rofi |
| screen locker | betterlockscreen |
| status bar | i3status |
For Debian based systems, on a fresh install, choose no desktop environment and standard system utilities.
[ ] Debian desktop environment
[ ] ... GNOME
[ ] ... Xfce
...
[ ] SSH server
[*] standard system utilities
Install xorg and i3 (See installing Xorg)
sudo apt install xorg i3 -yNow x-session-manager should be linked to i3, but just to be sure, run:
# See https://wiki.debian.org/Xsession#Configuration
echo "exec i3" > ~/.xsession
Before starting the X server, install some dependencies:
sudo apt install rofi picom dunst alsa-utils pulseaudio feh xclip lsd bat
libnotify-bin gnome-keyring gparted fonts-font-awesome unzip pqiv bc
curl adwaita-qt flameshot wget mate-polkit-bin fonts-noto-color-emoji git
Clone the dots!
Install the dotfiles (see the setup script)
curl -s https://raw.githubusercontent.com/paoloose/dotfiles/main/.scripts/setup.sh | bashSymbolic links for root:
sudo mkdir -p /root/.zsh /root/.config
sudo ln -s -f ~/.zsh /root/.zsh
sudo ln -s -f ~/.zshrc /root/.zshrc
sudo ln -s -f ~/.p10k.zsh /root/.p10k.zsh
sudo ln -s -f ~/.config/powerlevel10k /root/.config/powerlevel10k
sudo ln -s -f ~/.dotfiles/etc/keyd/default.conf /etc/keyd/default.conf
Install the GTK theme
mkdir ~/repos && cd ~/repos
git clone --depth=1 https://github.com/vinceliuice/Colloid-gtk-theme
cd Colloid-gtk-theme
./install.sh --color dark --theme grey --tweaks normal black
cp -r ~/.themes/Colloid-Grey-Dark/gtk-4.0/* ~/.config/gtk-4.0/
Other utilities:
curl https://getmic.ro | bash
mv ./micro ~/.local/bin

curl https://sh.rustup.rs | sh

git clone --depth 1 https://github.com/junegunn/fzf.git ~/.fzf
~/.fzf/install

mkdir ~/.config
git clone --depth=1 https://github.com/romkatv/powerlevel10k.git ~/.config/powerlevel10k

curl -fsSL https://fnm.vercel.app/install | bash -s -- --skip-shell

curl https://pyenv.run | bash

sudo apt install -y nautilus

sudo apt install gcc g++ make

cd ~/repos && git clone https://github.com/rvaiya/keyd && cd keyd
make && sudo make install
sudo mv ~/.etc/keyd/default.conf /etc/keyd
sudo systemctl enable keyd && sudo systemctl start keyd
sudo keyd reload

# https://github.com/Soft/xcolor
cargo install xcolor

# https://github.com/tsoding/boomer
sudo apt-get install nim libgl1-mesa-dev libx11-dev libxext-dev libxrandr-dev
cd ~/repos && git clone https://github.com/tsoding/boomer && nimble build
mv ./bommer ~/.local/bin
And choose a web browser.
# Firefox
sudo apt install firefox-esr
# Chromium
sudo apt install chromium
# Chrome
wget https://dl.google.com/linux/direct/google-chrome-stable_current_amd64.deb
-O /tmp/chrome.deb
sudo apt install /tmp/chrome.deb
# etc
Start the X session with startx and you should be good to go.
Setup the kitty terminal
# Not sure why but the binary in the installer was faster on startup time than
# the distributed package for debian (can't confirm this)
# see https://sw.kovidgoyal.net/kitty/binary/#binary-install
# sudo apt install kitty

# see https://github.com/kovidgoyal/kitty/issues/1613
sudo apt install kitty-terminfo
Thinks you might want to configure:
-
A session manager, I recommend lightdm.
-
A file manager like thunar.
-
A network manager like nm-applet.
-
The bluetooth, see this.
-
Your mouse sensitivity, see this.
-
Your keyboard layout:
localectl list-x11-keymap-layouts # to see available layouts
localectl list-x11-keymap-variants <layout> # available variants
localectl set-x11-keymap <layout>
localectl set-x11-keymap <layout> <variant>
-
A lock screen, I use betterlockscreen as a better replacement for i3lock.
-
The recommended packages (firmware) for your hardware.
- For nvidia, see Nvidia Drivers for Debian.
- For other such as AMD see Debian graphics card.
The following is a rough guide. See this for more info.
# In your home directory

# Create your dotfiles repo as a bare repo

mkdir .dotfiles
git init --bare ./.dotfiles

# Create an alias for working on it

alias dotfiles='/usr/bin/git --work-tree=$HOME --git-dir=$HOME/.dotfiles'

# or make a global alias
echo alias dotfiles='/usr/bin/git --work-tree=$HOME --git-dir=$HOME/.dotfiles' >> ~/.zshrc # or ~/.bashrc

# Use the alias whenever you want to interact with your new repo
dotfiles config --local status.showUntrackedFiles no
dotfiles branch -M main

# Link the repo to a remote git repository
dotfiles remote add origin <repo-url>
Usage
# In your home directory
dotfiles add .somefile
dotfiles status
dotfiles commit -m 'add .somefile'
dotfiles push origin mainAwesome repos that I've used as inspiration:

