
![]()
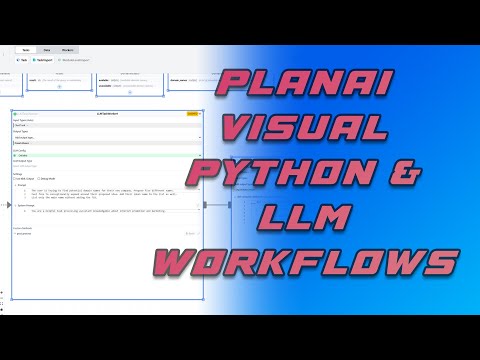
A graphical user interface (GUI) for visually building and managing AI workflows using the PlanAI framework.
This application provides a node-based interface, built with Svelte 5 and svelte-flow, allowing users to:
- Visually construct PlanAI graphs by creating and connecting Task, TaskWorker, LLMTaskWorker, and JoinedTaskWorker nodes.
- Configure the properties of each node.
- Export the designed graph into a Python module compatible with PlanAI.
- Import existing PlanAI Python modules into the visual editor for modification.
- Execute a PlanAI graph within the UI and see its output
The backend is powered by Python using Flask and Flask-SocketIO to handle graph processing and communication with the PlanAI framework.
Watch this 4-minute introduction to see PlanAI Editor in action:

- Visual Graph Creation: Drag and drop interface to build PlanAI workflows.
- Python Export: Generate runnable Python code from your visual graph.
- Python Import: Load existing PlanAI Python files into the editor for visualization and modification. (Backend uses
astmodule for parsing and patching).
The easiest way to install the PlanAI Editor is using pip:
pip install planaieditorPrerequisites: You need Python 3.10+ installed.
Once installed, run the application from your terminal:
planaieditorThen, open your web browser and navigate to http://localhost:5001.
You can find some demo examples in Examples. These examples are also available as part of the side menu in the UI.
Warning
The PlanAI Editor backend executes Python code based on the graphs created or imported. It also exposes local HTTP (REST) and WebSocket APIs on localhost:5001 (by default). While convenient for development and local use, be aware that other processes running on your machine could potentially interact with these APIs. Avoid running untrusted software simultaneously with the PlanAI Editor.
This section is for developers who want to contribute to the PlanAI Editor or run it from the source code.
Prerequisites:
Setup:
- Clone the repository:
git clone https://github.com/provos/planaieditor.git cd planaieditor - Backend Setup:
cd backend
poetry install --with dev # Install main and development dependencies
cd ..
- Frontend Setup:
cd frontend
npm install
cd ..
This mode runs the frontend and backend separately, allowing for hot-reloading when code changes are made.
-
Run the Backend (Development Mode):
- Open a terminal in the
backenddirectory. - Set the
FLASK_ENVenvironment variable todevelopment. - On Linux/macOS:
export FLASK_ENV=development - On Windows (Command Prompt):
set FLASK_ENV=development - On Windows (PowerShell):
$env:FLASK_ENV = "development" - Run the backend using Poetry:
(Keep this terminal running)
poetry run python -m planaieditor.app
- Open a terminal in the
-
Run the Frontend Development Server:
- Open another terminal in the
frontenddirectory. - Run the development server:
(Keep this terminal running)
npm run dev -- --open
This will usually open your browser automatically to
http://localhost:5173. - Open another terminal in the
This describes how to build the frontend, package the application, and run it locally from the built package. This is useful for testing the final build process before publishing.
-
Build the Frontend:
- Navigate to the
frontenddirectory and build the static assets:cd frontend # npm install # If you haven't already npm run build cd ..
- Navigate to the
-
Build the Python Package:
- Navigate to the
backenddirectory. - Use Poetry to build the wheel file. This includes the frontend build assets.
cd backend poetry build - This creates a
.whlfile in thebackend/dist/directory.
- Navigate to the
-
Install the Local Package:
- Install the built wheel file using pip (ideally in a separate virtual environment):
# Example: Install from the dist directory
pip install backend/dist/planaieditor-*.whl
- Install the built wheel file using pip (ideally in a separate virtual environment):
-
Run the Locally Built Application:
- Run the installed application:
planaieditor
- Navigate to
http://localhost:5001in your web browser.
- Run the installed application:
- Frontend: Svelte 5, SvelteKit, svelte-flow, Monaco Editor, TypeScript
- Backend: Python 3.10+, Flask, Flask-SocketIO
- Core AI Framework: PlanAI
We welcome contributions to PlanAI! Please see our Contributing Guide for more details on how to get started.
Apache 2.0