Effortlessly integrate your Shopify store with UnoPim for seamless product data management and synchronization. You can currently export catalogs, including categories and both simple and variant products, from UnoPim to Shopify.
- Unopim: v0.1.3
-
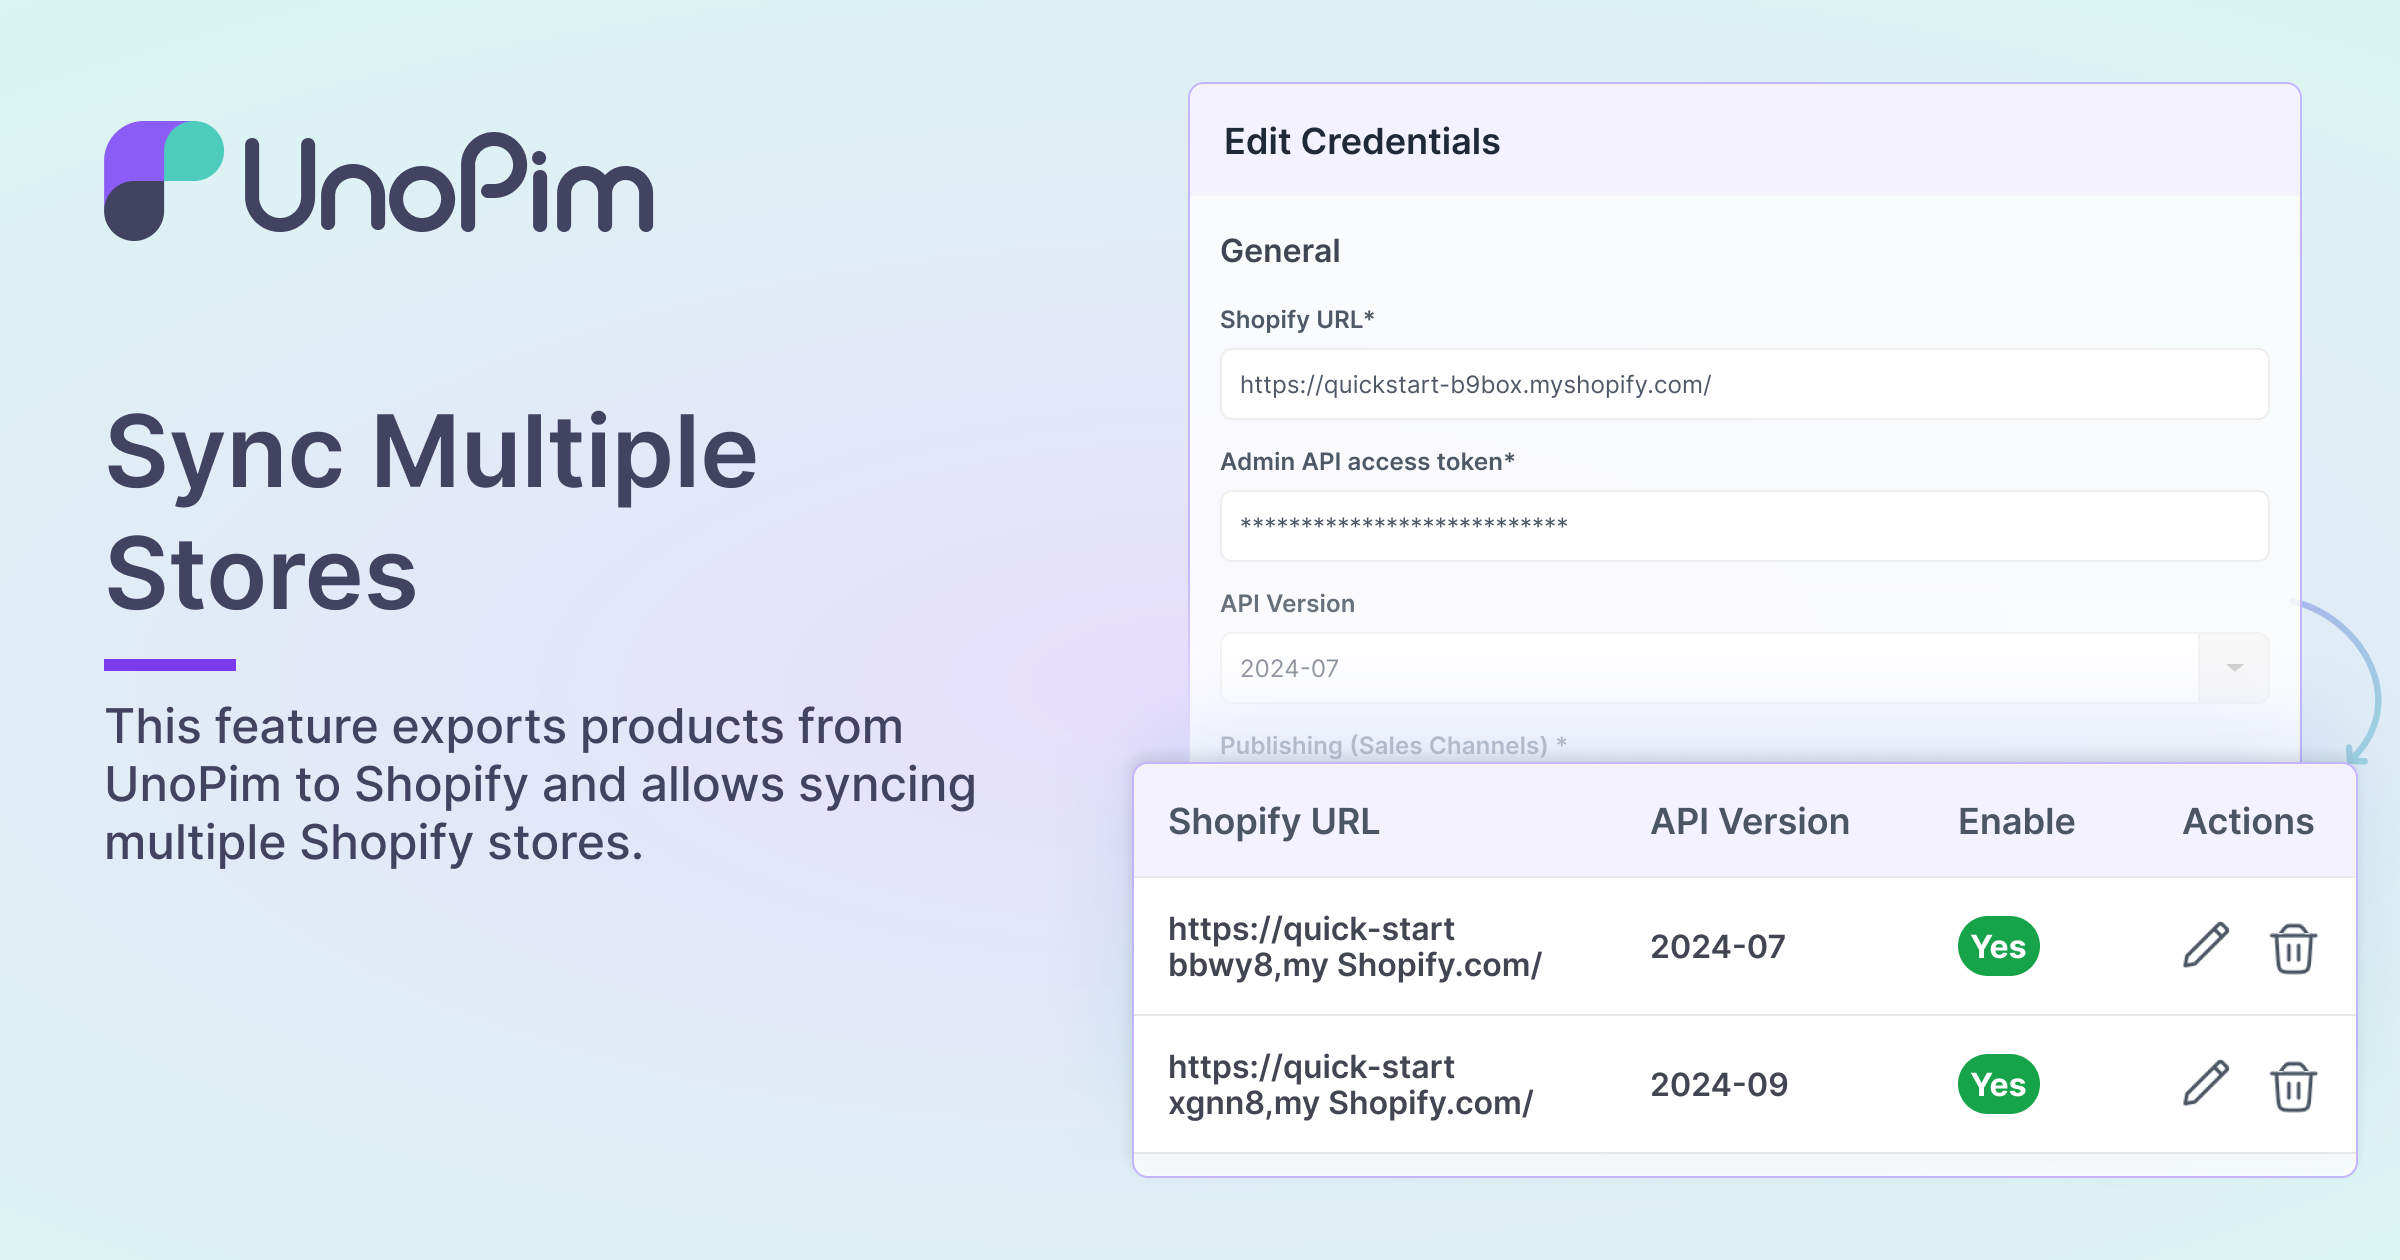
Sync Multiple Stores
This feature exports products from UnoPim to Shopify and allows syncing multiple Shopify stores. -
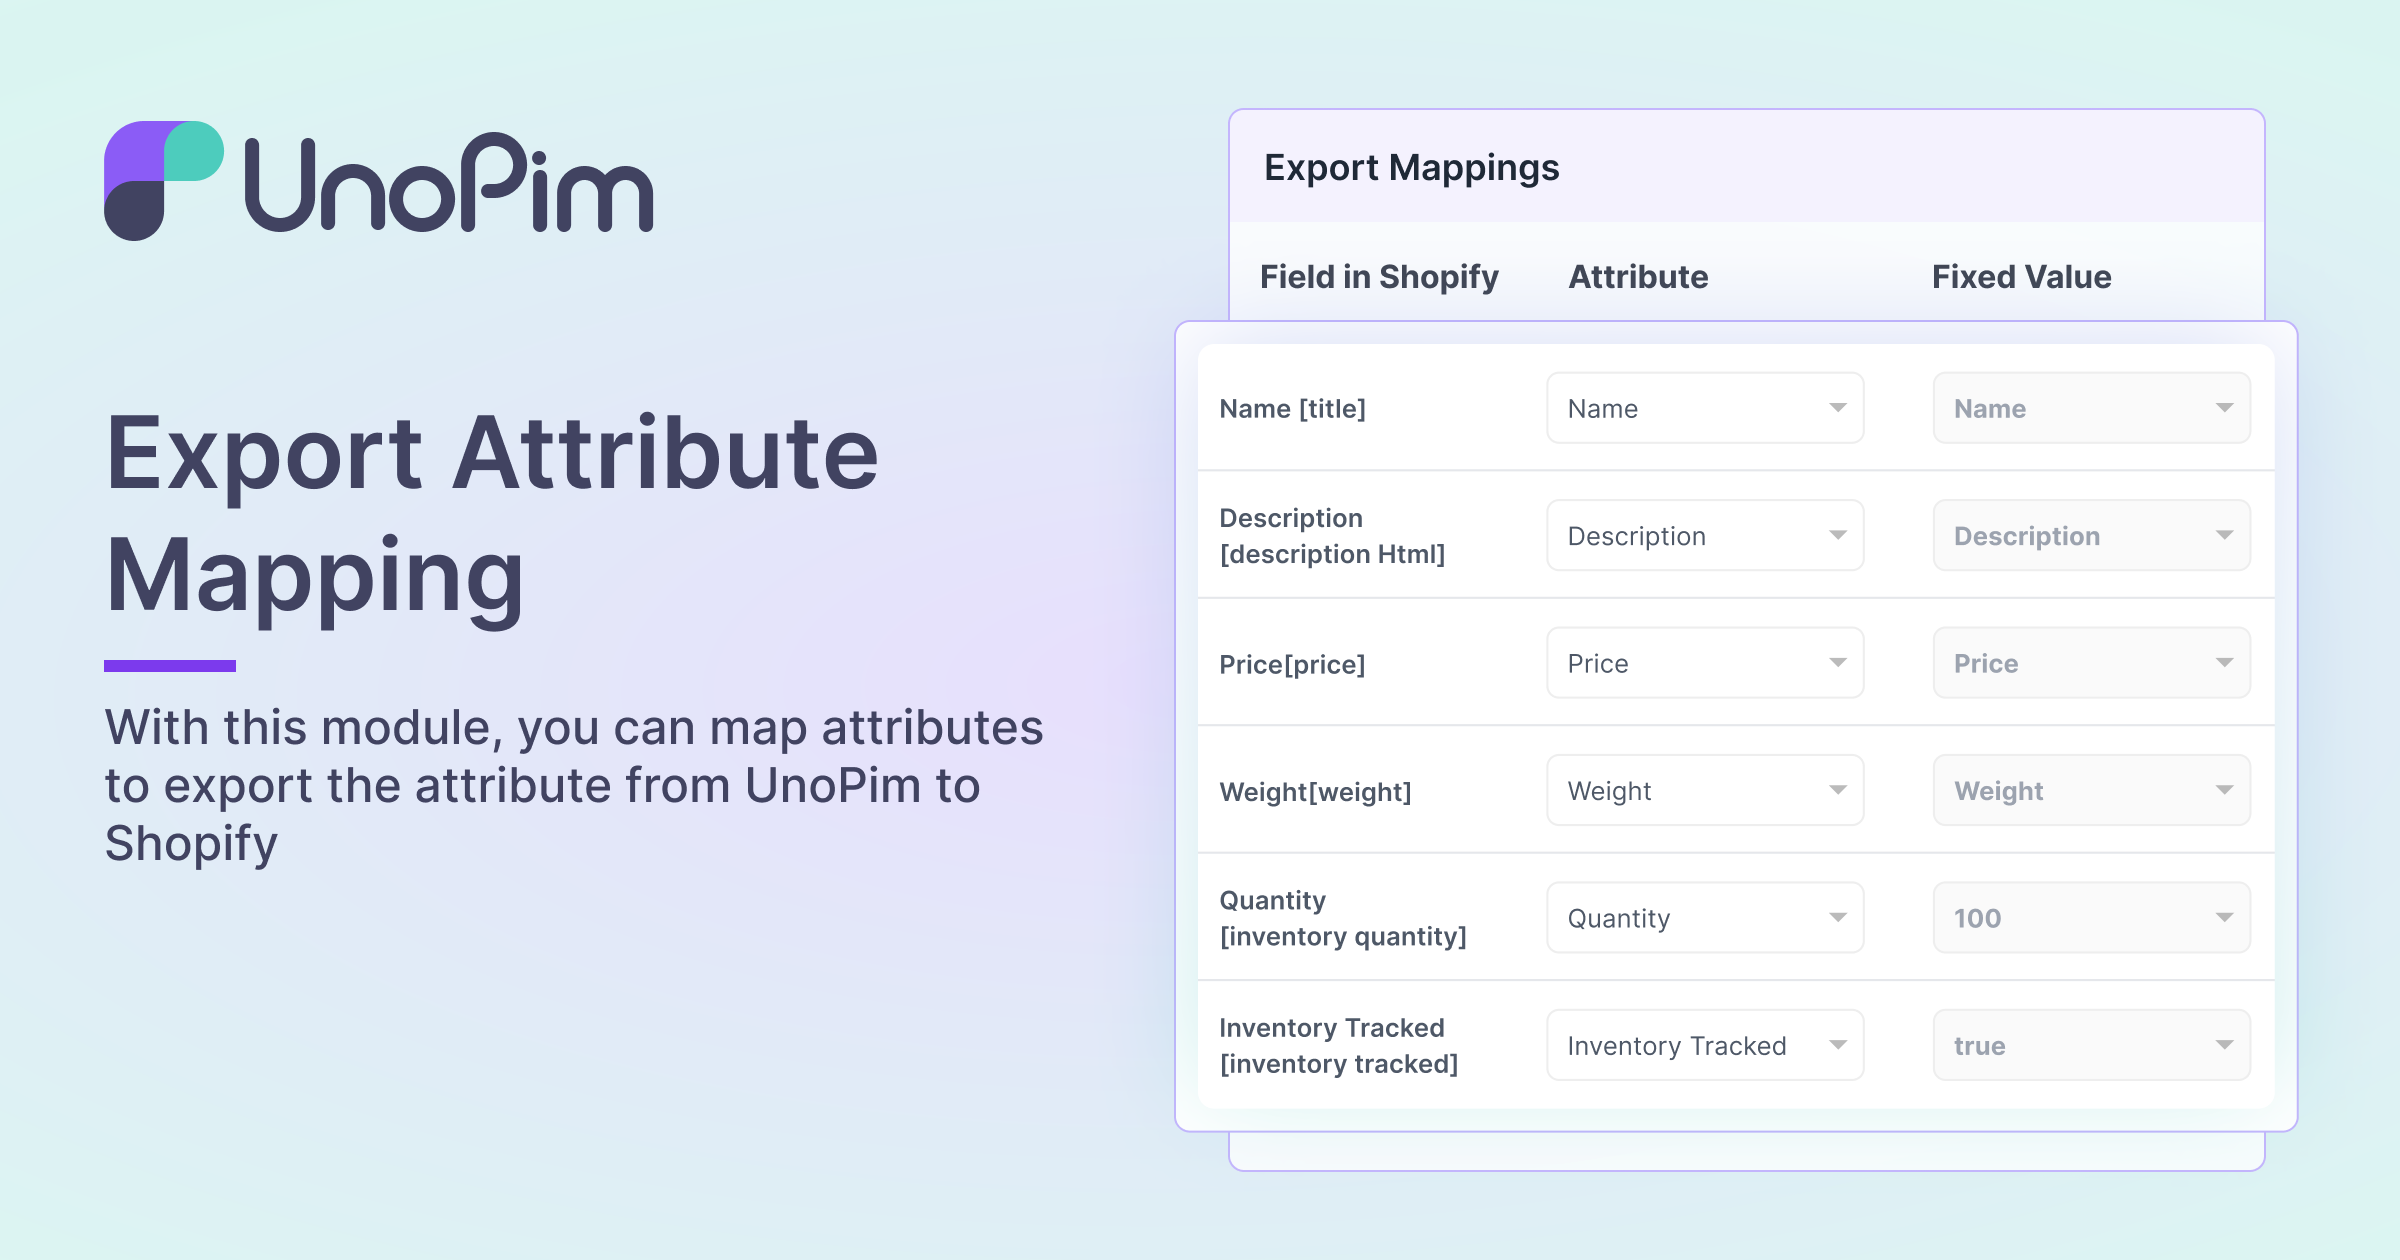
Export Attribute Mapping
With this module, you can map attributes to export the attribute from UnoPim to Shopify. -
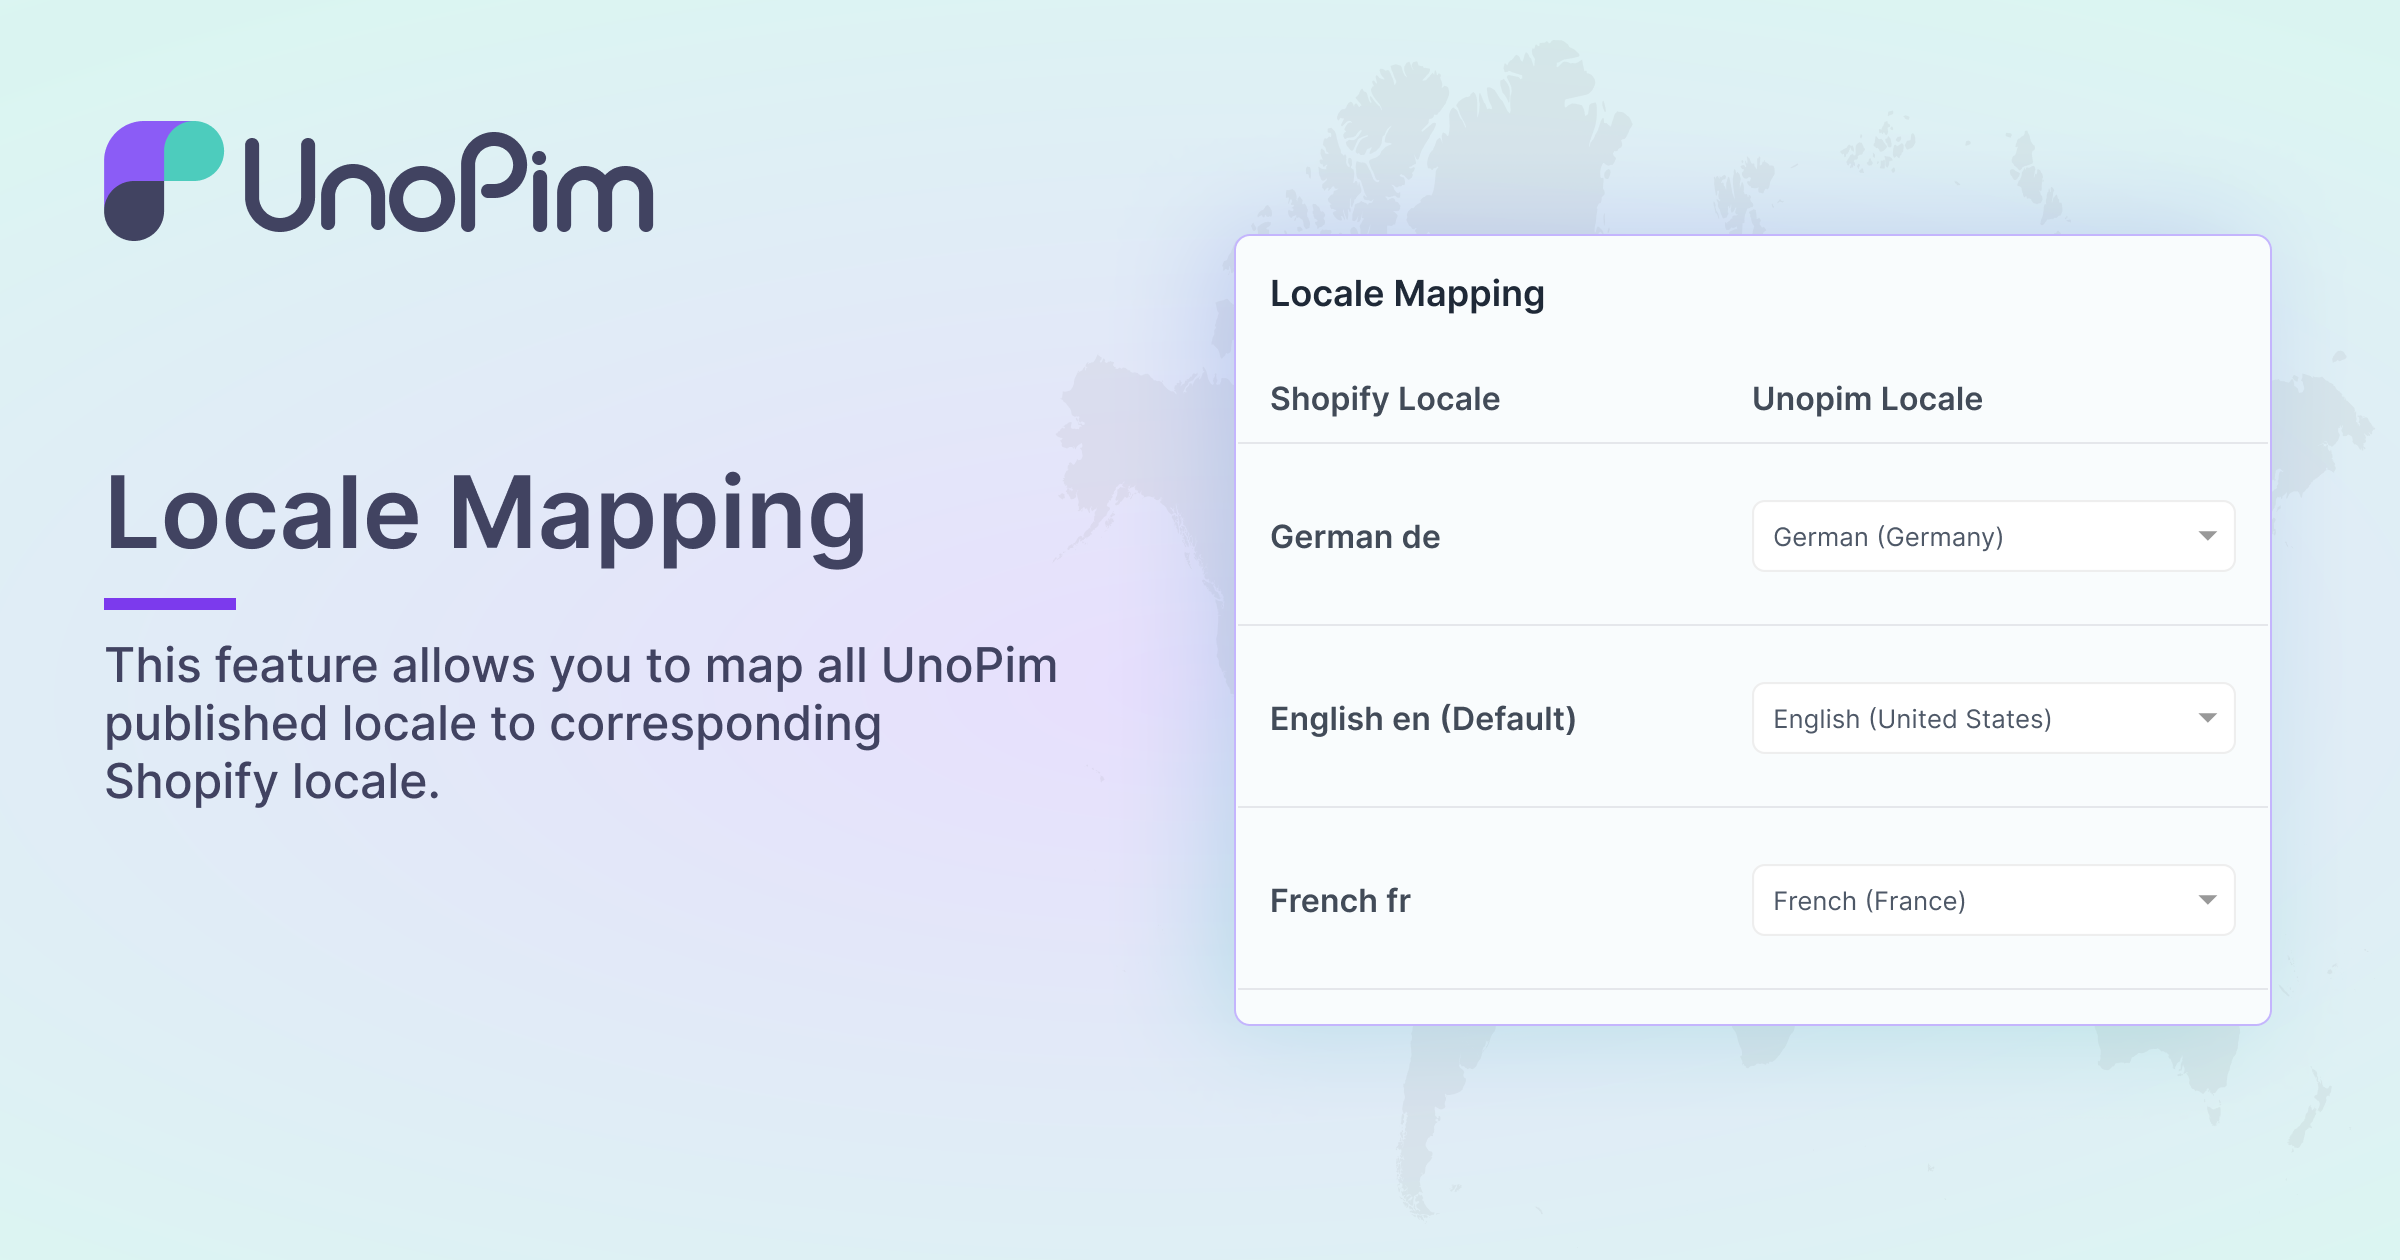
Locale Mapping
This feature allows you to map all UnoPim published locale to corresponding Shopify locale. -
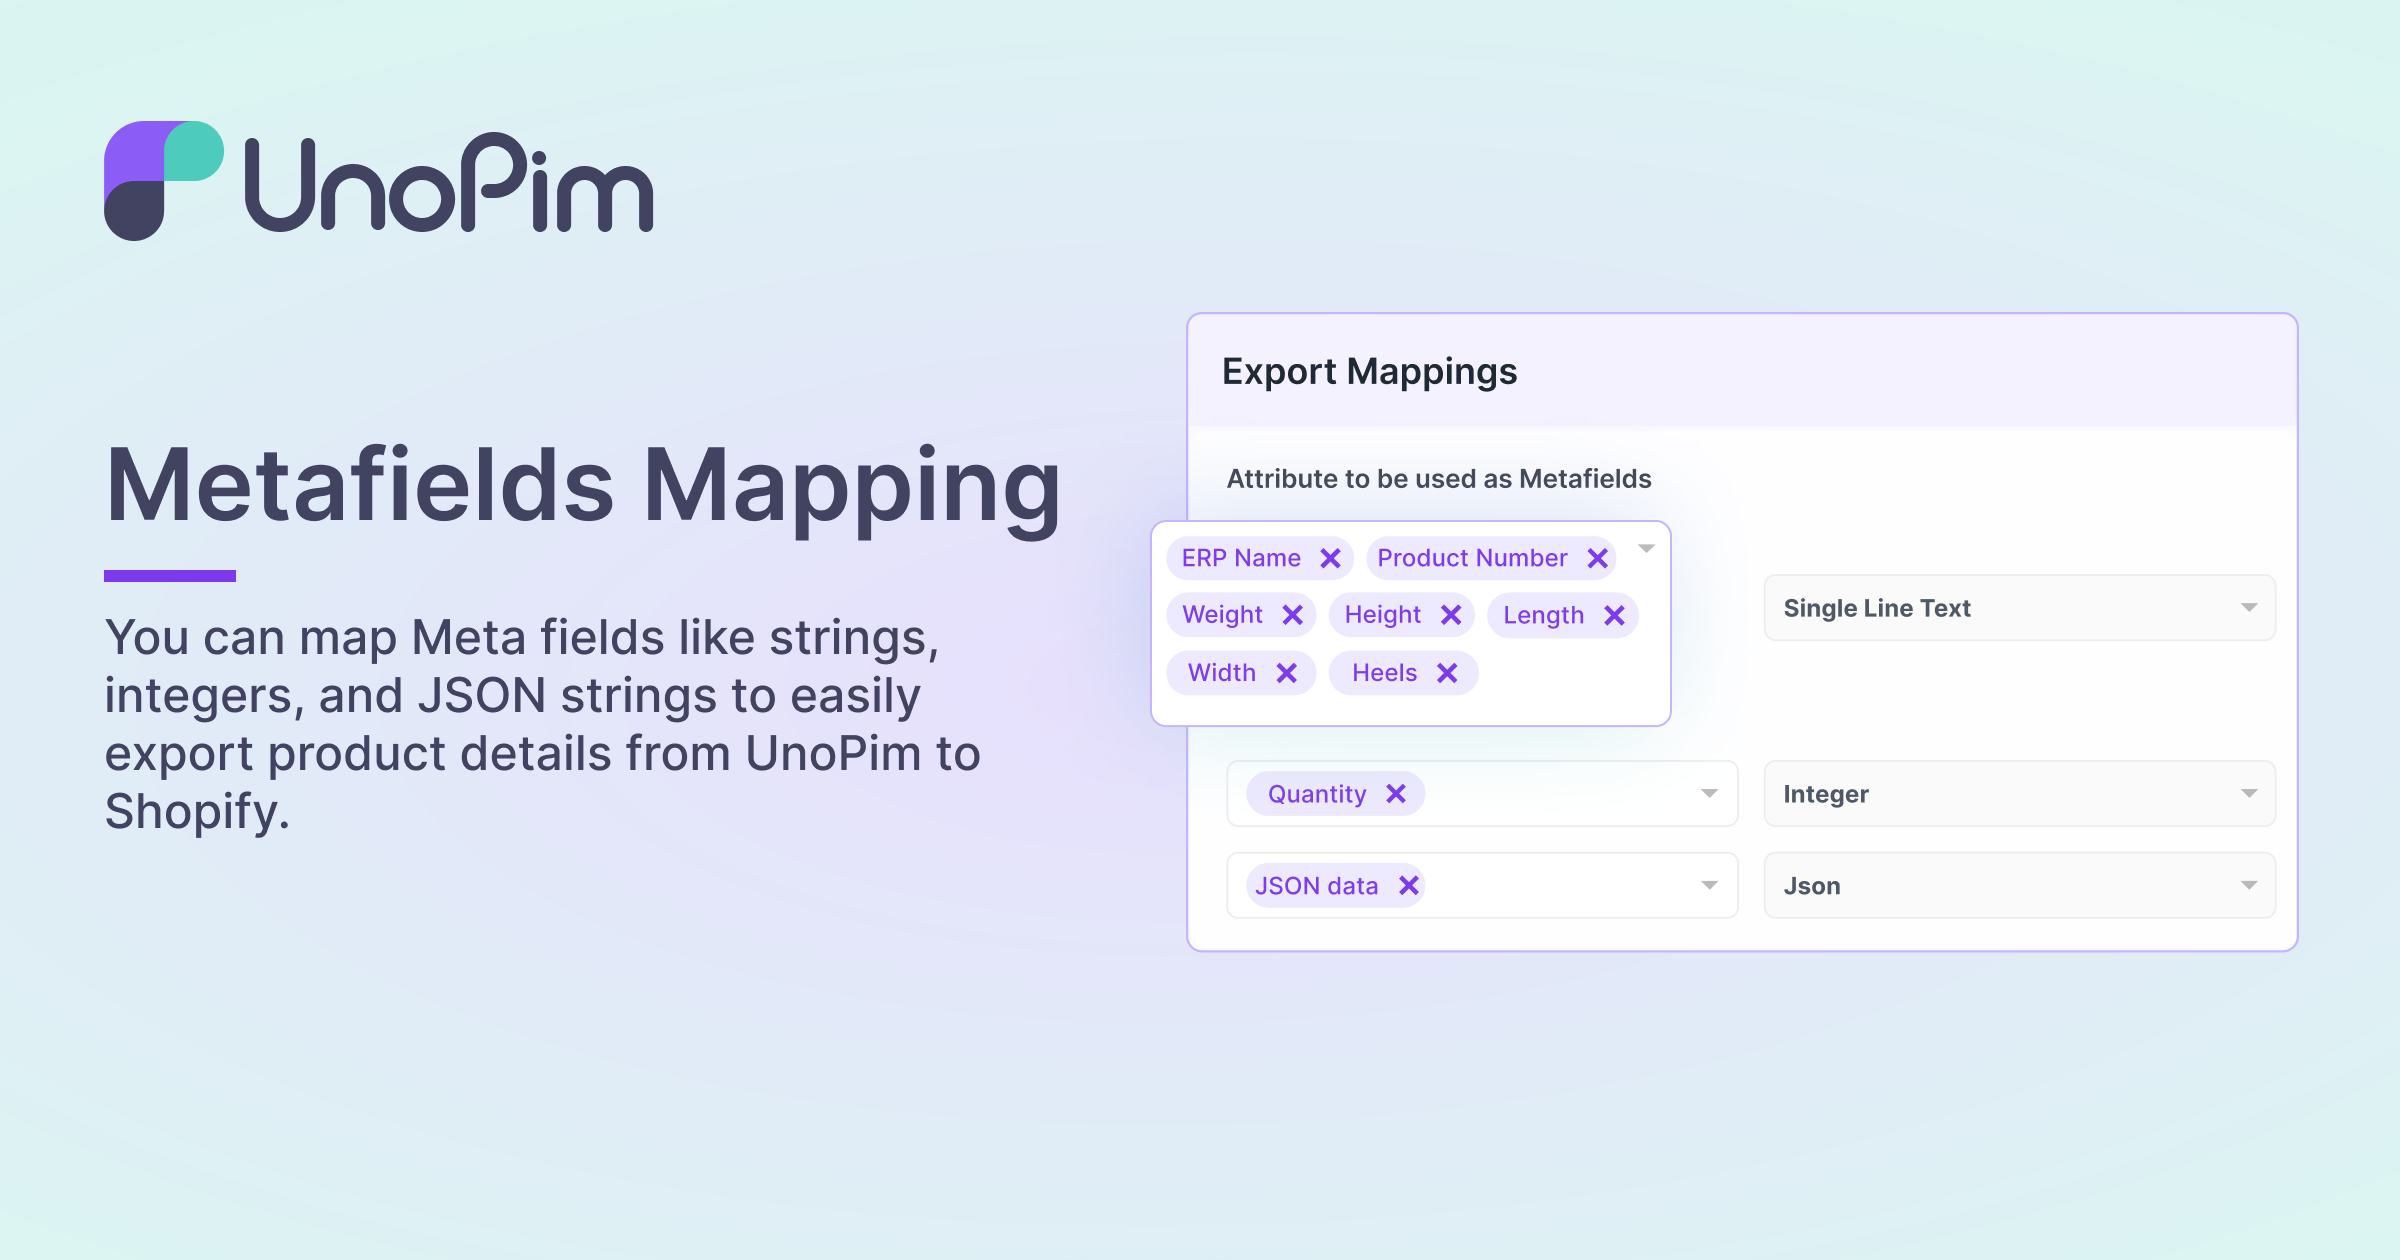
Metafields Mapping
You can map Meta fields like strings, integers, and JSON strings to easily export product details from UnoPim to Shopify. -
Tags, MetaFields, and Other Settings
This module provides additional settings for exporting products data from UnoPim to Shopify. -
Filter Data From Export
Channel, Currency, and Product (SKU) are among the data that may be filtered with this module. -
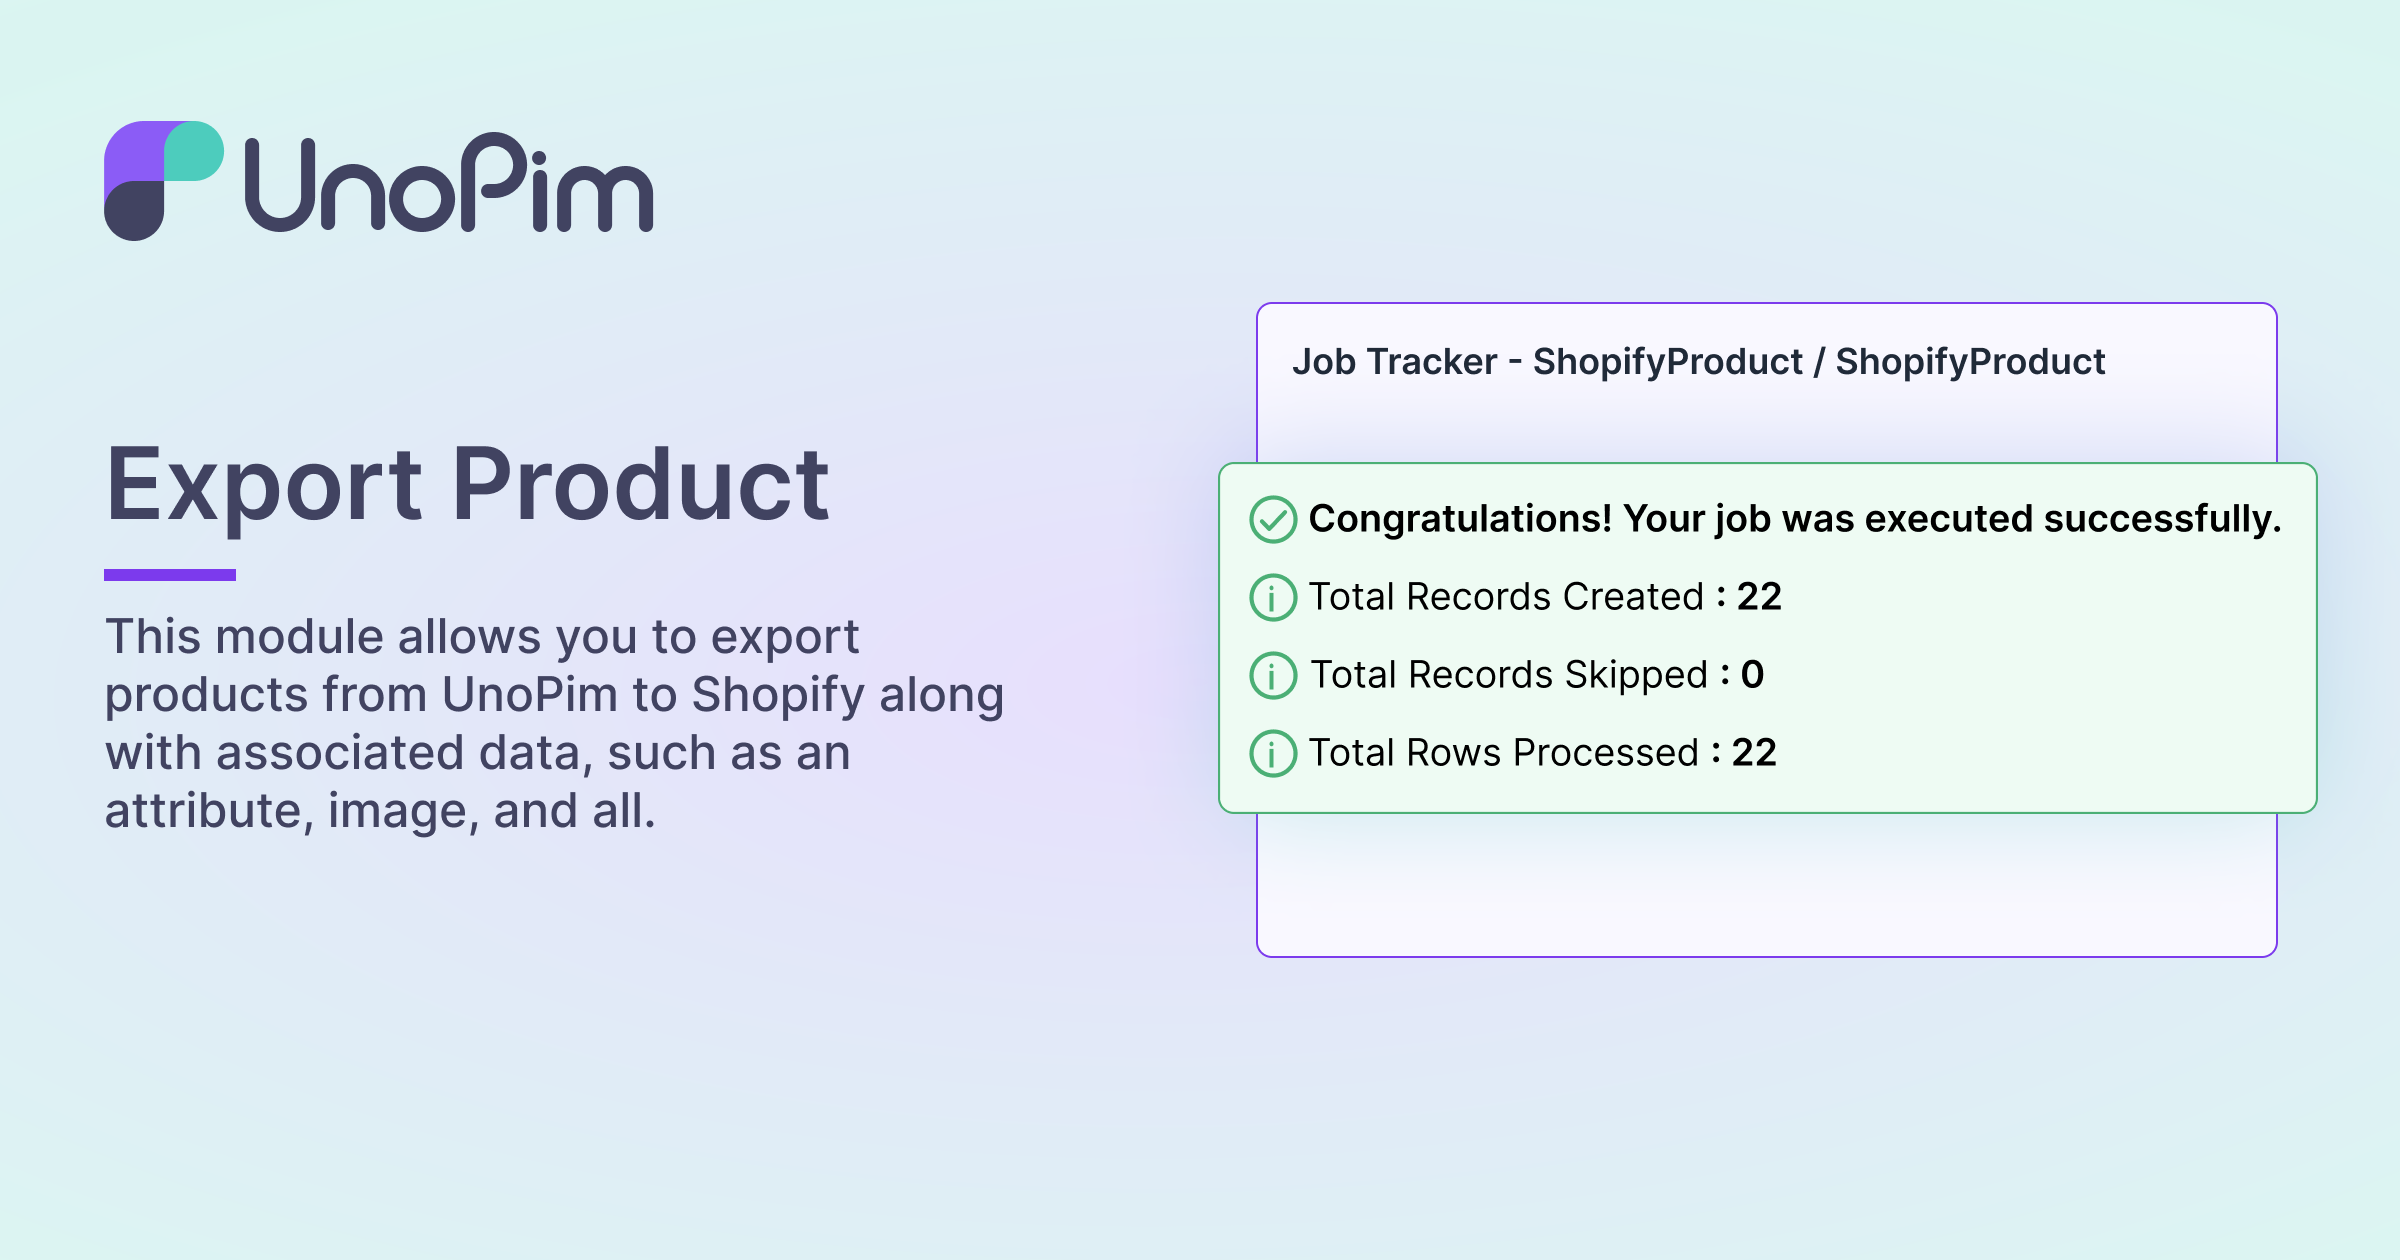
Export Product
This module allows you to export products from UnoPim to Shopify along with associated data, such as an attribute, image, and all. -
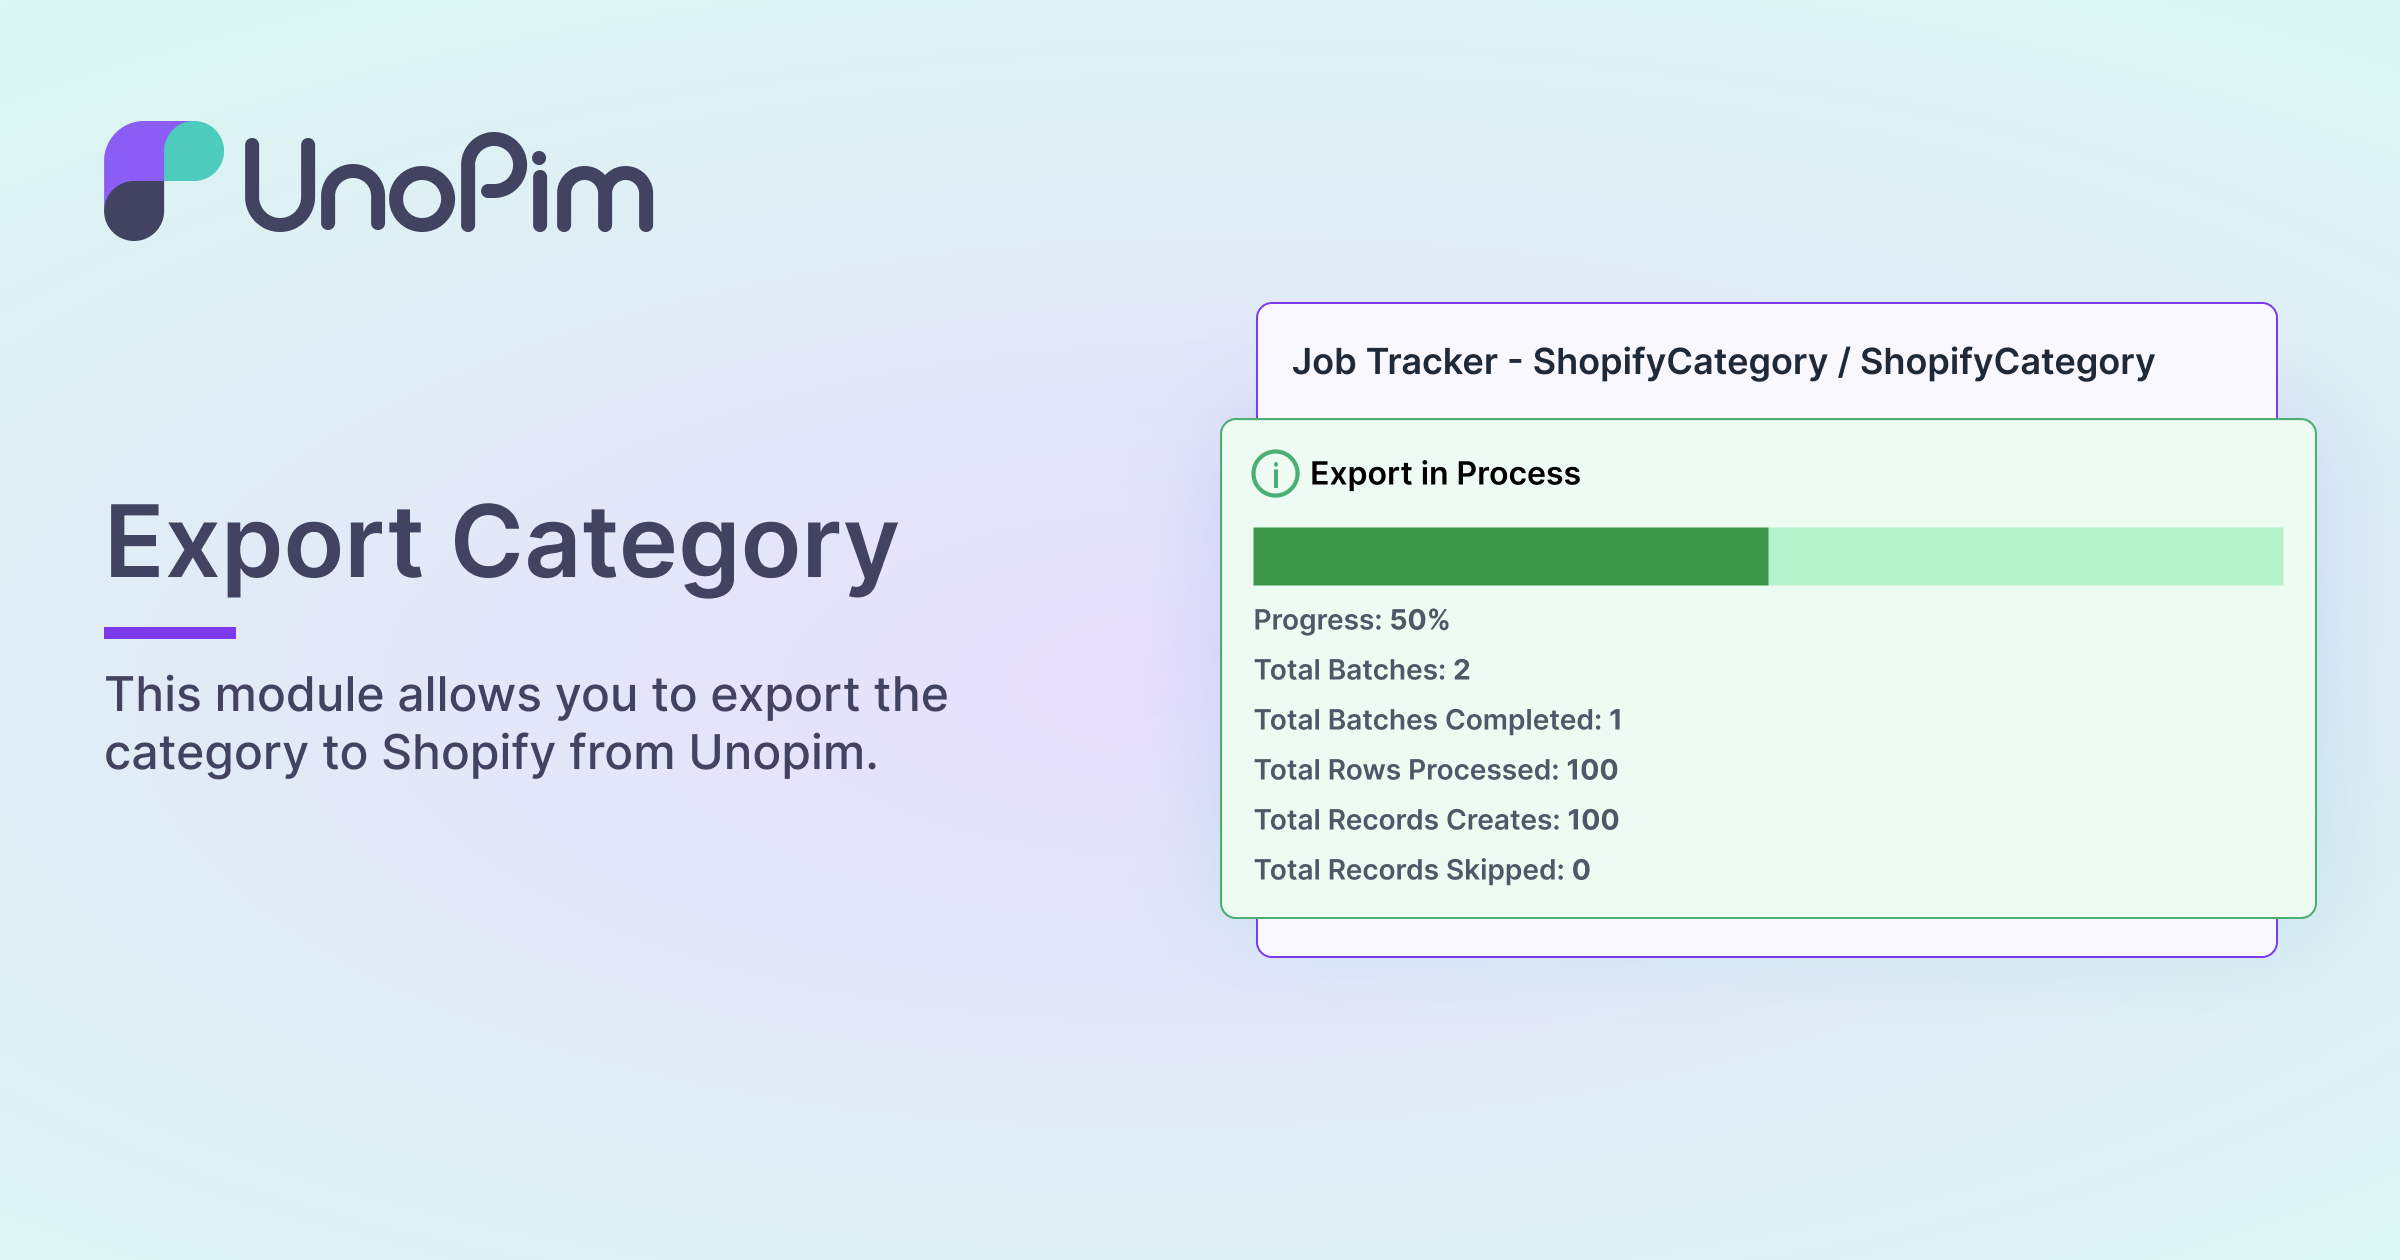
Export Category
This module allows you to export the category to Shopify from Unopim.
- Run the following command
composer require unopim/shopify-connector
- Run the command to execute migrations and clear the cache.
php artisan shopify-package:install;
php artisan optimize:clear;- Start the queue to execute actions, such as job operations, by running the following command:
php artisan queue:work
- If the
queue:workcommand is configured to run via a process manager like Supervisor, restart the Supervisor (or related) service after module installation to apply changes:sudo service supervisor restart
This ensures that the latest updates to the module are reflected in all background tasks.
-
Register Test Directory
In thecomposer.jsonfile, register the test directory under theautoload-devpsr-4section:"Webkul\\Shopify\\Tests\\": "vendor/unopim/shopify-connector/tests/"
-
Configure TestCase
Open thetests/Pest.phpfile and add this line:uses(Webkul\Shopify\Tests\ShopifyTestCase::class)->in('../vendor/unopim/shopify-connector/tests');
-
Dump Composer Autoload for Tests
composer dump-autoload
-
Run Tests
To run tests for the Shopify package, use the following command:./vendor/bin/pest ./vendor/unopim/shopify-connector/tests
Download and unzip the respective extension zip. Rename the folder to Shopify and move into the packages/Webkul directory of the project's root directory.
-
Regsiter the package provider In the
config/app.phpfile add the below provider class under theproviderskeyWebkul\Shopify\Providers\ShopifyServiceProvider::class,
-
In the
composer.jsonfile register the test directory under theautoloadpsr-4section"Webkul\\Shopify\\": "packages/Webkul/Shopify/src"
-
Run below given commands
composer dump-autoload
php artisan shopify-package:install
php artisan optimize:clear
- Start the queue to execute actions, such as job operations, by running the following command:
php artisan queue:work
- If the
queue:workcommand is configured to run via a process manager like Supervisor, restart the Supervisor (or related) service after module installation to apply changes:sudo service supervisor restart
This ensures that the latest updates to the module are reflected in all background tasks.
-
Register Test Directory Register test directory in
composer.jsonunder theautoload-devpsr-4section"Webkul\\Shopify\\Tests\\": "packages/Webkul/Shopify/tests"
-
Configure TestCase
- Configure the testcase in
tests/Pest.php. Add the following line:
uses(Webkul\Shopify\Tests\ShopifyTestCase::class)->in('../packages/Webkul/Shopify/tests');
- Configure the testcase in
-
Dump Composer Autoload for Tests
- Dump composer autolaod for tests directory
composer dump-autoload; -
Run Tests
- Run tests for only this package with the below command
./vendor/bin/pest ./packages/Webkul/Shopify/tests/Feature
