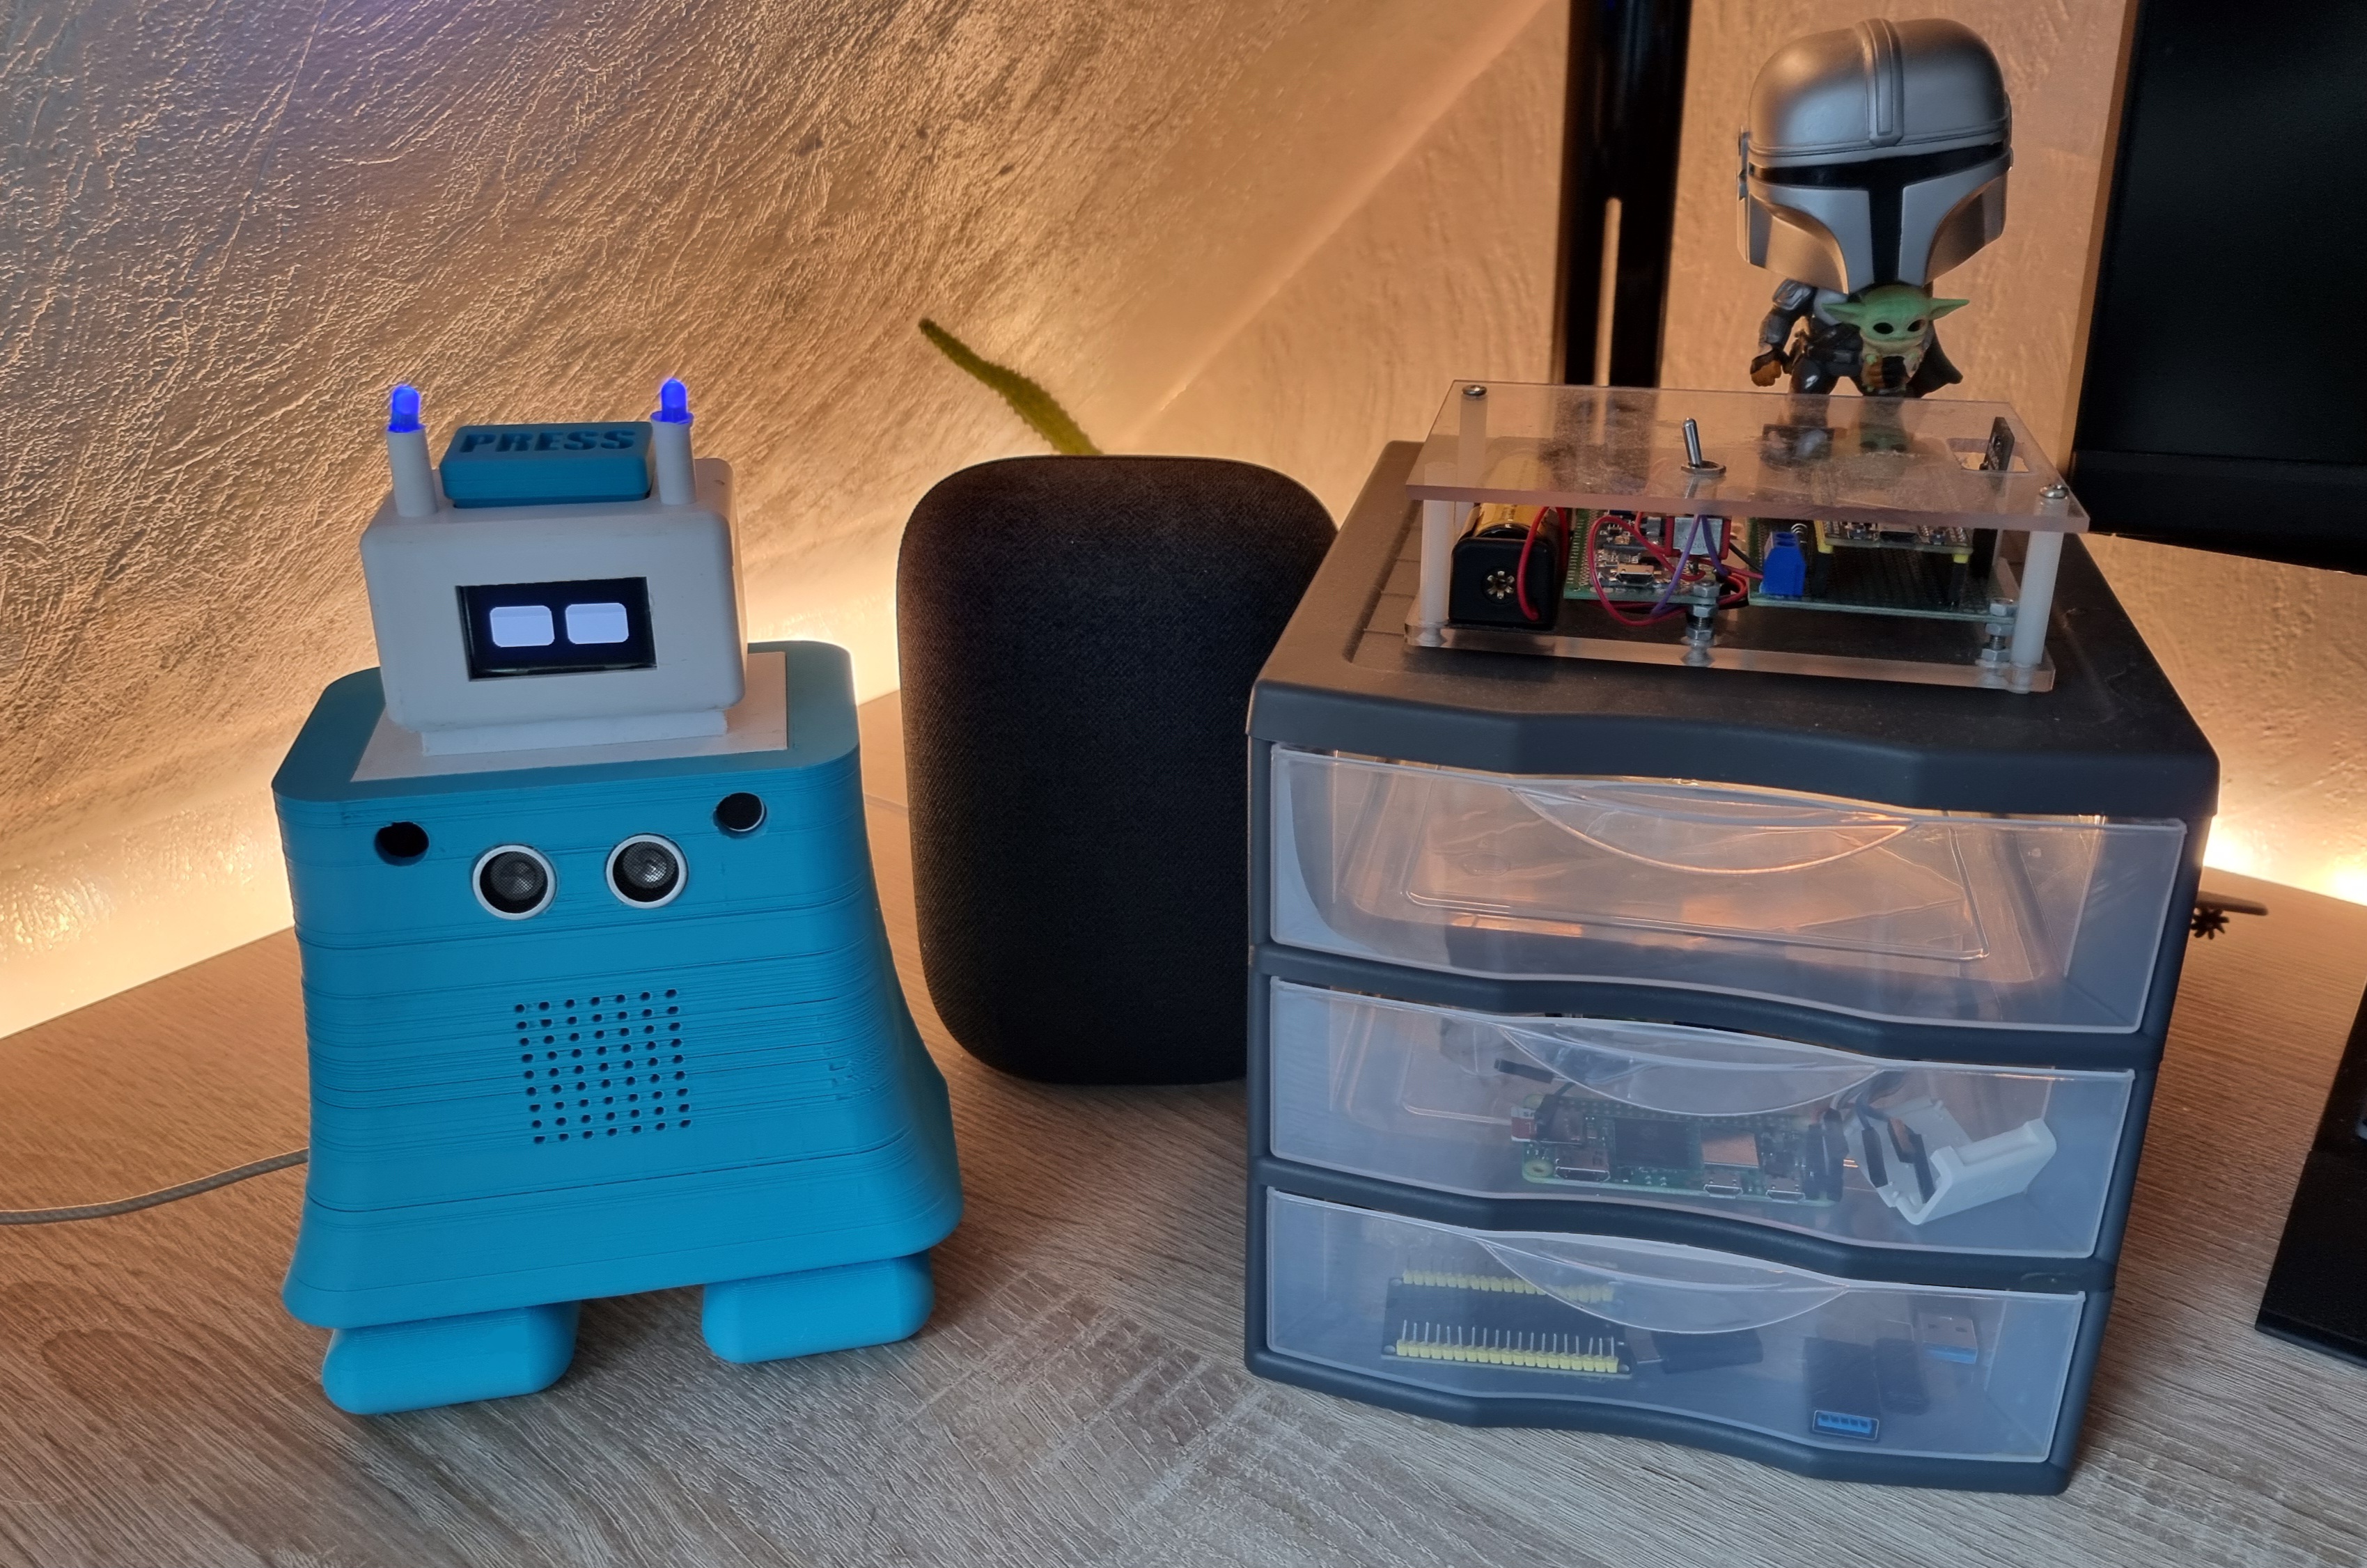
This personal project is based on a simple observation: nowadays there are a significant number of voice assistants coupled with numerous tools promising hyper connectivity and boosted productivity. We therefore end up getting lost in all these opaque layers processing our personal data as well as in subscriptions that are often prohibitively expensive compared to the simplicity of the tasks that we want our electronic companion to carry out.
Today I decided to show you in the smallest details how I managed to design Cristal a voice assistant which can respond to all your wishes as long as you are ready to fiddle a minimum between the hardware and the software.
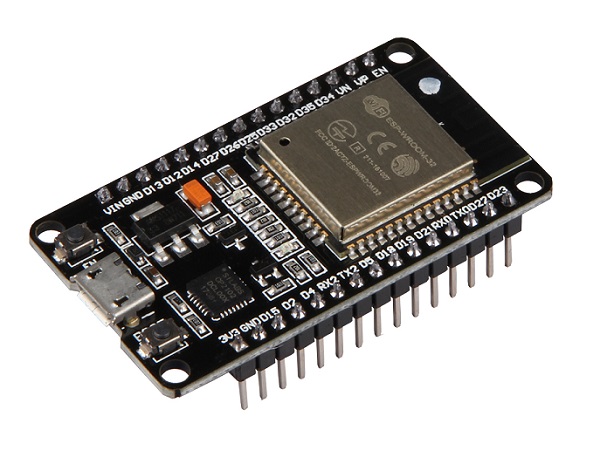
- An ESP32 will be the microcontroller of our project! We will take full advantage of its WiFi capacity but also of its integrated ADCs.
- An OLED screen (128x64) using the SH1106 chip, it will be the main means of feedback with the user.
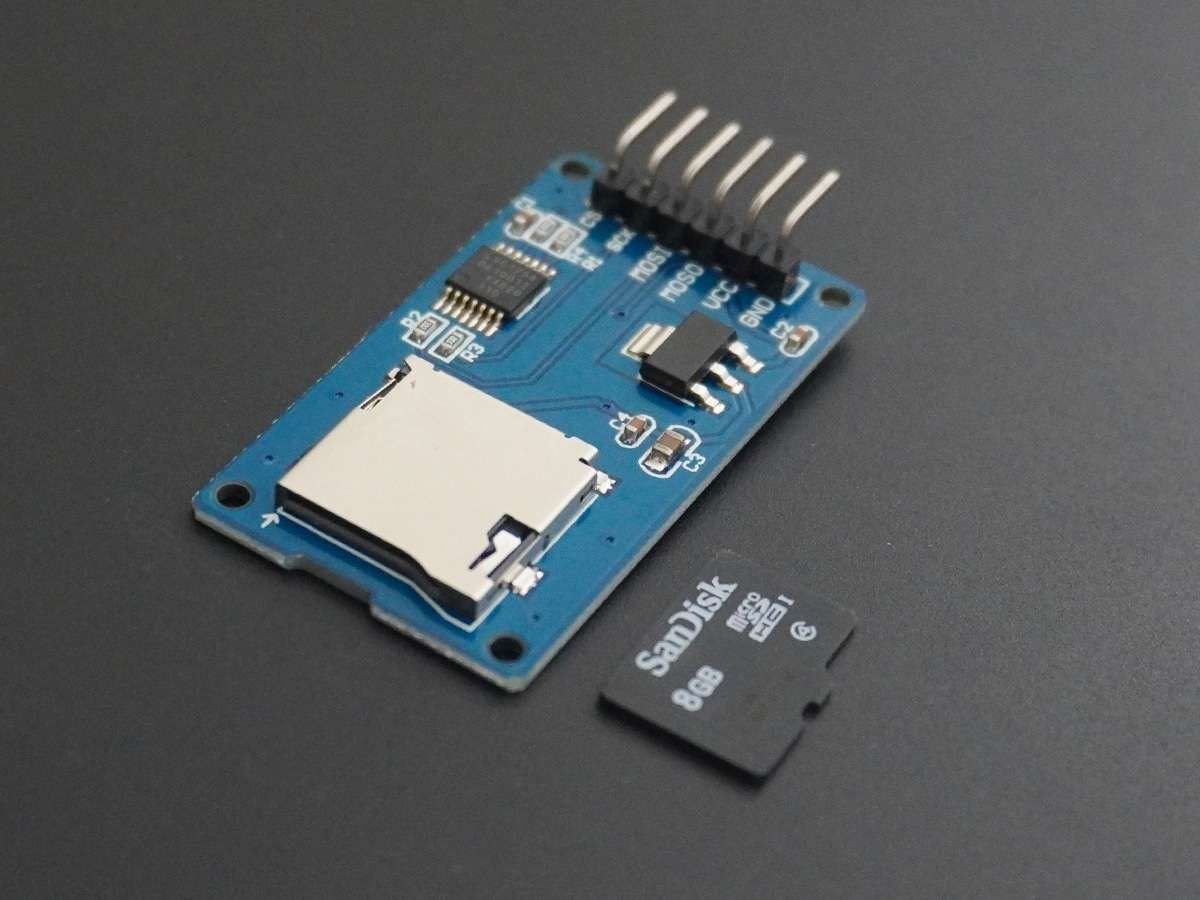
- A MicroSD Card Module as well as a microSD card with the smallest capacity you have, in fact it will be useful to us only to temporarily store the audio file recorded by the microphone as well as the secret identifiers specific to your assistant, so it only takes a few kilobytes , but if you have personal upgrades requiring storage then judge the card's capacity accordingly.
⚠️ IMPORTANT NOTE : the card must be formatted in FAT32 format
©TeachWithICT
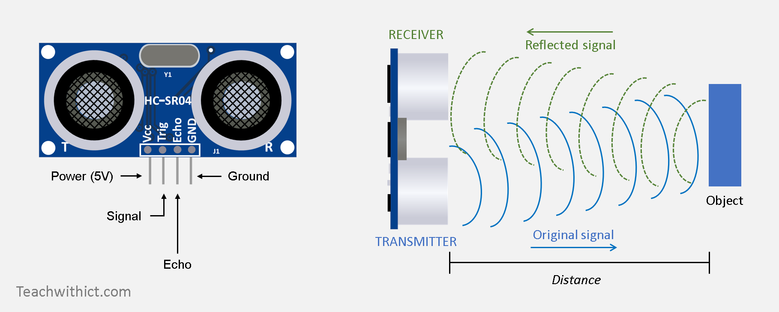
- An Ultrasonic Sensor, HC-SR04 is the safe bet.
- A microphone using the i2s protocol, personally I use the MAX9814 which is widespread in the field of microelectronics in particular because it carries a high quality amplifier with automatic gain control (AGC) and low noise microphone polarization.
- LED's of the color you want. (the best is that it matches the color of your case)
- A push button.
Unfortunately, although the esp32 is a true marvel due to the extent of its capabilities, certain actions are either not possible, or possible but within a period of time which makes use uncomfortable and not smooth.
This is the case for voice recognition for example, which is therefore central to our project, which is why it is necessary to first record the audio file before transmitting it to a more powerful device so that the latter achieves recognition. But be careful by "more powerful" I don't mean a server with 32GB of ram and a premium CPU, no it's quite the opposite! You can either rent the smallest server configuration from a host, or use a Raspberry Pi at home.
In my case for example, I rent a server thanks to DigitalOcean, I selected the lowest possible configuration with only 1GB of Ram and an inefficient Intel processor. But it is more than sufficient as you can see in the graphs below, in terms of the memory or processor usage percentages with actions initiated by my custom assistant.
Screenshot of data measured on the server I used for this project
If you would like to see in more detail how to set up your Linux server for the voice assistant and enable the Google Assistant SDK, click here.
You can print the four parts of the project, here are the 3d files, feel free to modify them as you wish! (namely I printed it with my Ender-3 V3 SE)
- The button to activate voice recording.
- The head of the robot with its two antennas.
- The body that will carry all the electronics.
- The hood to make the link between the head and the body.
Make the connections follow this:
- 3.3 V
- MISO : GPIO 19
- CLK : GPIO 18
- MOSI : GPIO 23
- CS : GPIO 5
- GND
- VCC : 5V
- Trig : GPIO 15
- Echo : GPIO 2
- GND
- VDD : 5V
- GND
- SCK : GPIO 22
- SDA : GPIO 27
- GPIO 12
- GND
- 3.3 V
- GPIO 4
- GND
- VDD : 3.3 V
- OUT : GPIO 35 (ADC1_CHANNEL_7)
- GND
-
If you want to see how to display live weather on screen via I2C, click here.
-
If you want to see how to display live date and time based on GPS coordinates (to get timezone) on an I2C screen, click here.
-
If you want to see how to display daily news on screen via I2C, click here.
-
If you want to see how to record sound on microSD card via MAX9814 microphone, click here.
-
If you want to see how to keep your API identifiers secret for this ultra-connected project, click here.


