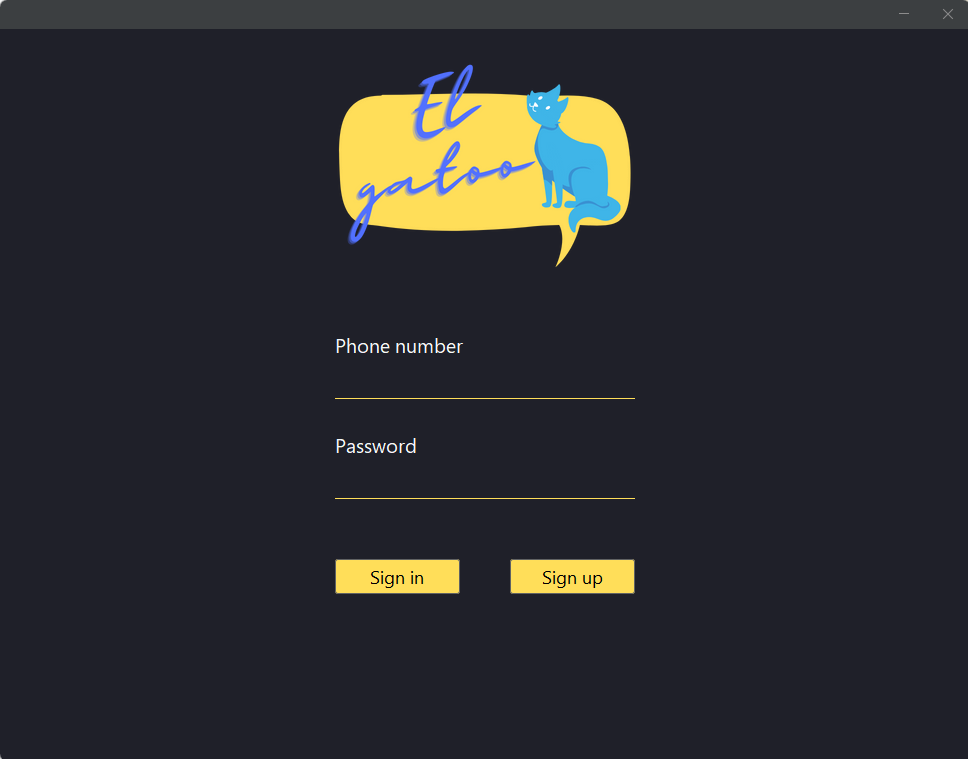
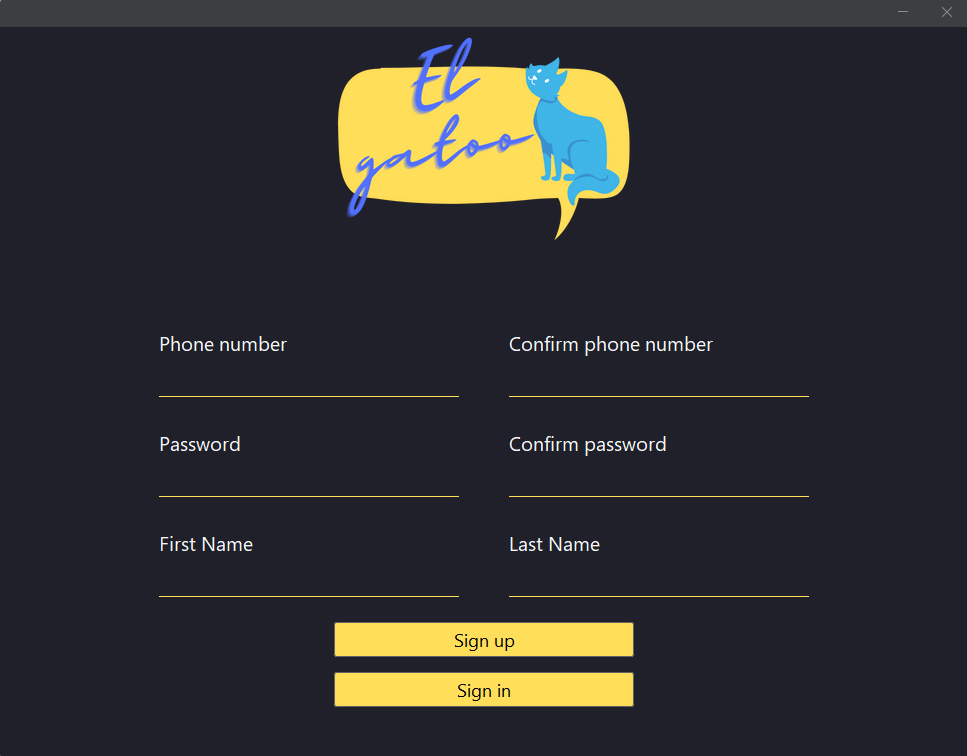
1- Signing in/up
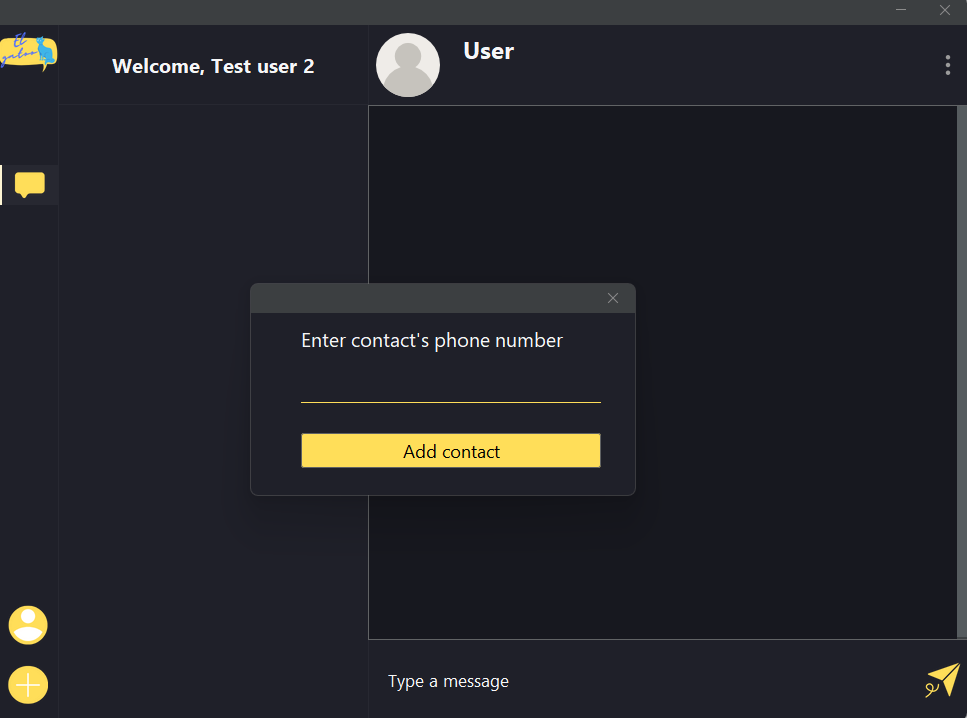
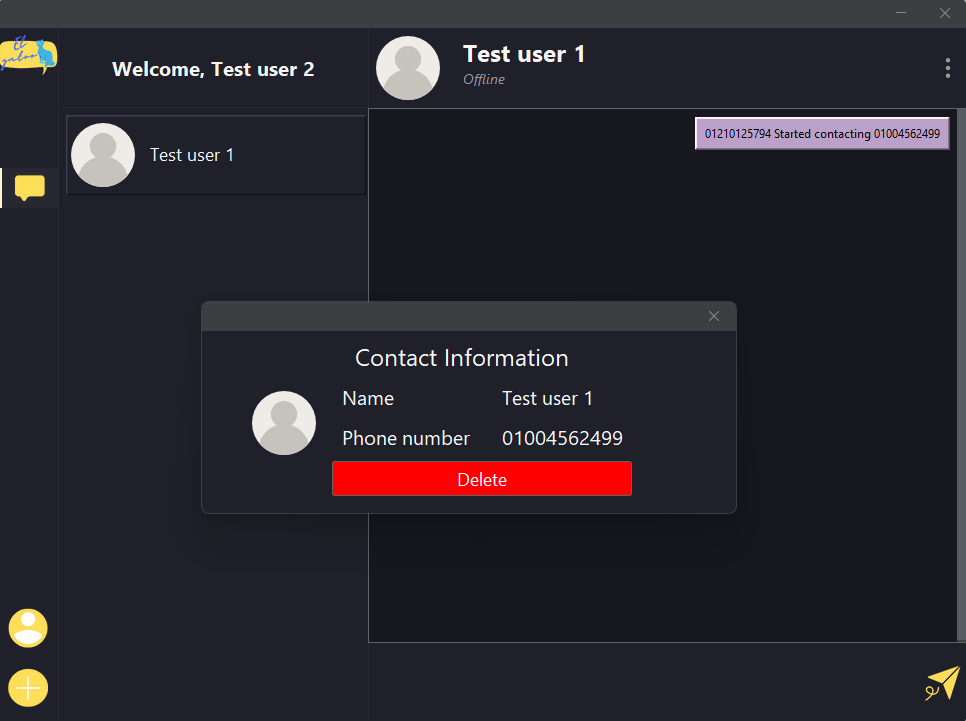
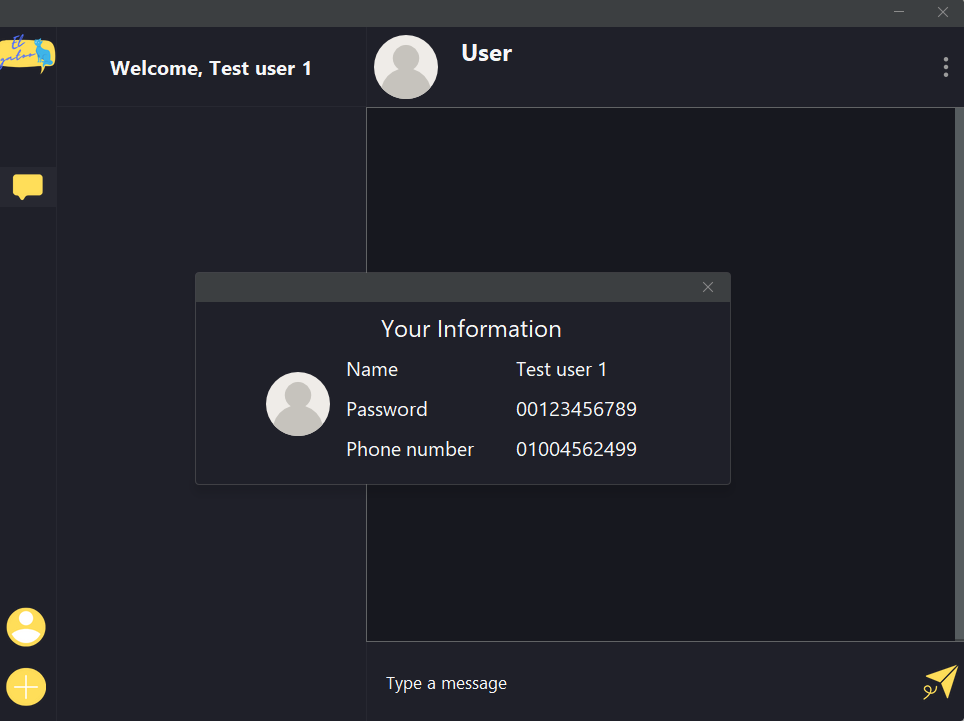
2- Adding contacts
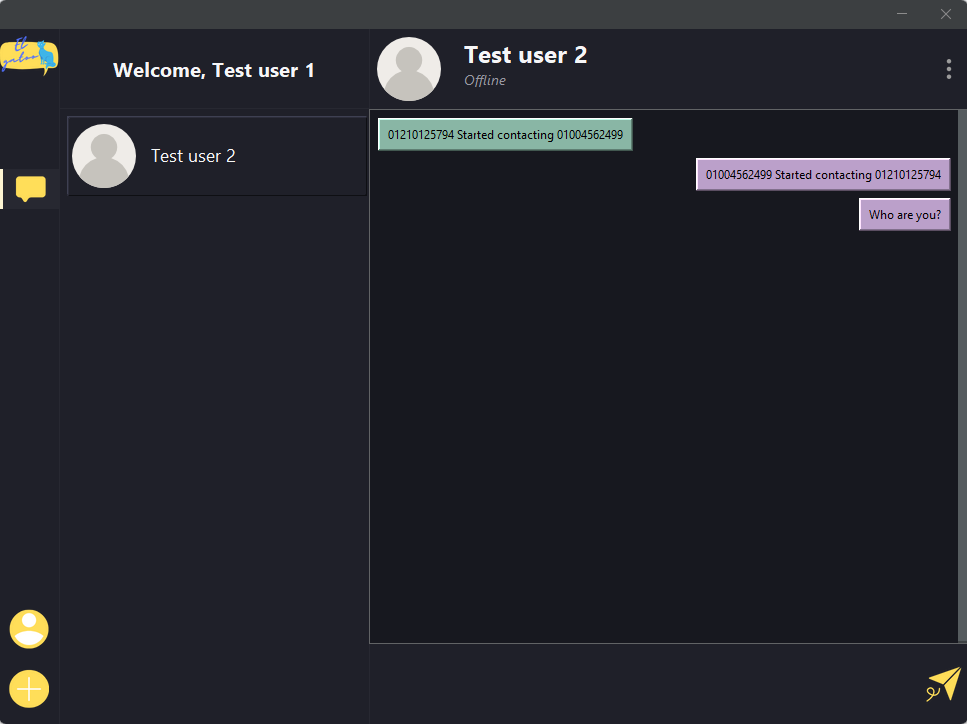
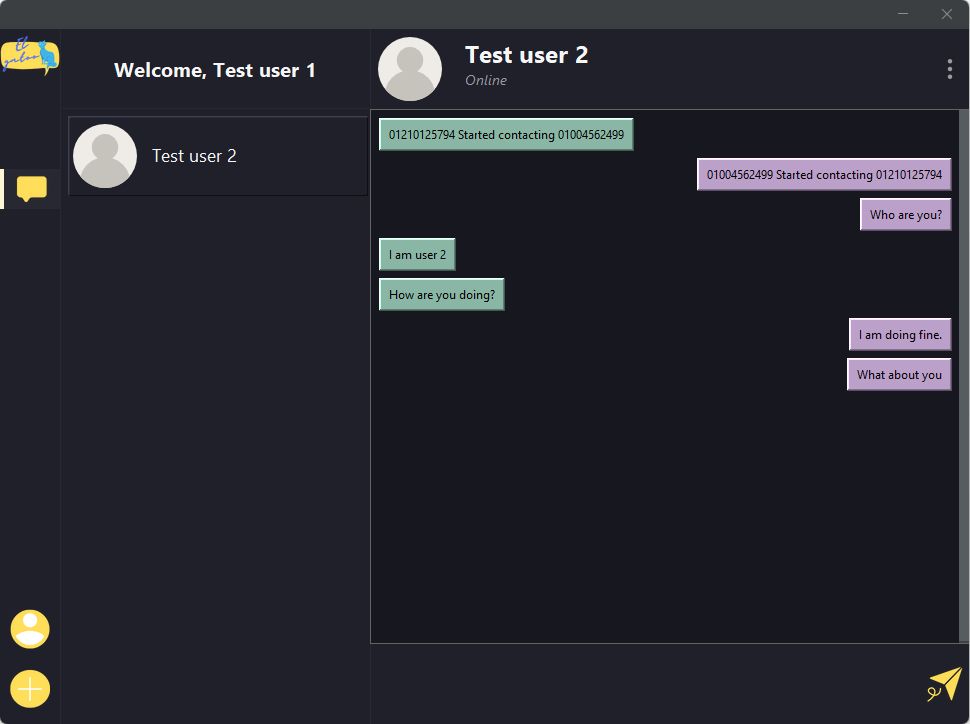
3- Chatting with different users on different machines
1- Graphical User Interface using Swing (For creating the visual (front end) part of the app)
2- Object Oriented Programming (For creating different objects that resemble the entities of the system)
3- Database system (For handling accounts information and saving chat history)
4- Networking (For communicating between two contacts on different devices/ same device/ online server hosting)
Java - Swing - MySQL - Gradle - OOP - Design patterns - Xampp - NetBeans
For testing the project functionalities on the same device, it is highly recommended to follow this guideline:
1- Download the code folder
2- Download Netbeans from https://netbeans.apache.org/ and setup it
3- Download JDK 18 from https://www.oracle.com/java/technologies/javase/jdk18-archive-downloads.html and setup it
4- Download Xaamp from https://www.apachefriends.org/download.html and setup it
5- Go to installation folder of Netbeans, -> etc folder -> netbeans.conf and change netbeans_jdkhome to the path of JDK 18
6- Open netbeans, then open file menu -> open project, choose the path of downloaded folder
7- If there are some issues to be resolved appear at starting, click resolve
8- In the project panel, open IDatabaseInfo from BackEnd package
9- Change the url to: "jdbc:mysql://localhost:3306/chat", user to: “root” and password to: “”
10- Run the xaamp server as an administrator
11- Click start button besides apache and Mysql services
12- Click admin besides apache to open the localhost website
13- From above, choose phpMyAdmin, go to Databases and create the database named by “chat”
14- Choose chat database from the left panel, then import, and finally upload chat.sql file attached
15- Go to Netbeans IDE, build the application, and run it
16- Open the project folder -> app folder -> build folder -> libs folder and you will find the jar file of the program
17- Open two different applications and enjoy!
For some connection issues that are related to xaamp sever, it is highly recommended to do this (this is a try-and-error approach and maybe there are better solutions):
1- Changing the port number of Mysql service, by selecting config in the control panel of xaamp and choosing my.ini. inside the file update the port number (mostly 4306 works).
2- Creating a new user and password on the phpMyAdmin page, by selecting users accounts form above and creating a new user
3- Now you can replace 3306 in the url by 4306, and change the user and password to the new ones.