openssl req -x509 -newkey rsa:4096 -nodes -keyout key.cert -out server.cert -days 365
- This is an OpenSSL command that generates a self-signed SSL certificate and private key in the PEM format. Here's what each option in the command does:
- req: This option specifies that the openssl command should be used for generating a certificate signing request (CSR) or a self-signed certificate.
- -x509: This option specifies that a self-signed certificate should be generated rather than a CSR.
- -newkey rsa:4096: This option generates a new RSA key pair with a key length of 4096 bits.
- -nodes: This option specifies that the private key should not be encrypted with a passphrase. This makes it easier to use the private key in automated scripts or in development environments, but it also means that anyone who has access to the private key file can use it to decrypt SSL/TLS traffic.
- -keyout key.cert: This option specifies the filename for the private key file. In this case, the file is named key.cert.
- -out server.cert: This option specifies the filename for the self-signed certificate file. In this case, the file is named server.cert.
- -days 365: This option sets the validity period of the certificate to 365 days (1 year). After this time, the certificate will expire and a new one will need to be generated.
In summary, this OpenSSL command generates a new RSA key pair with a key length of 4096 bits, uses it to generate a self-signed SSL certificate that is valid for 1 year, and saves the private key and certificate files to the current directory with the filenames key.cert and server.cert, respectively. Note that this command generates a self-signed certificate, which is not trusted by default and should only be used for development or testing purposes. For production use, it is recommended to obtain a trusted SSL certificate from a certificate authority (CA).
npm i helmet- The "helmet" package provides a collection of middleware functions, each of which sets a specific HTTP header that can help improve the security of your web application. For example, the "helmet.xssFilter()" middleware sets the "X-XSS-Protection" header to help prevent cross-site scripting attacks.
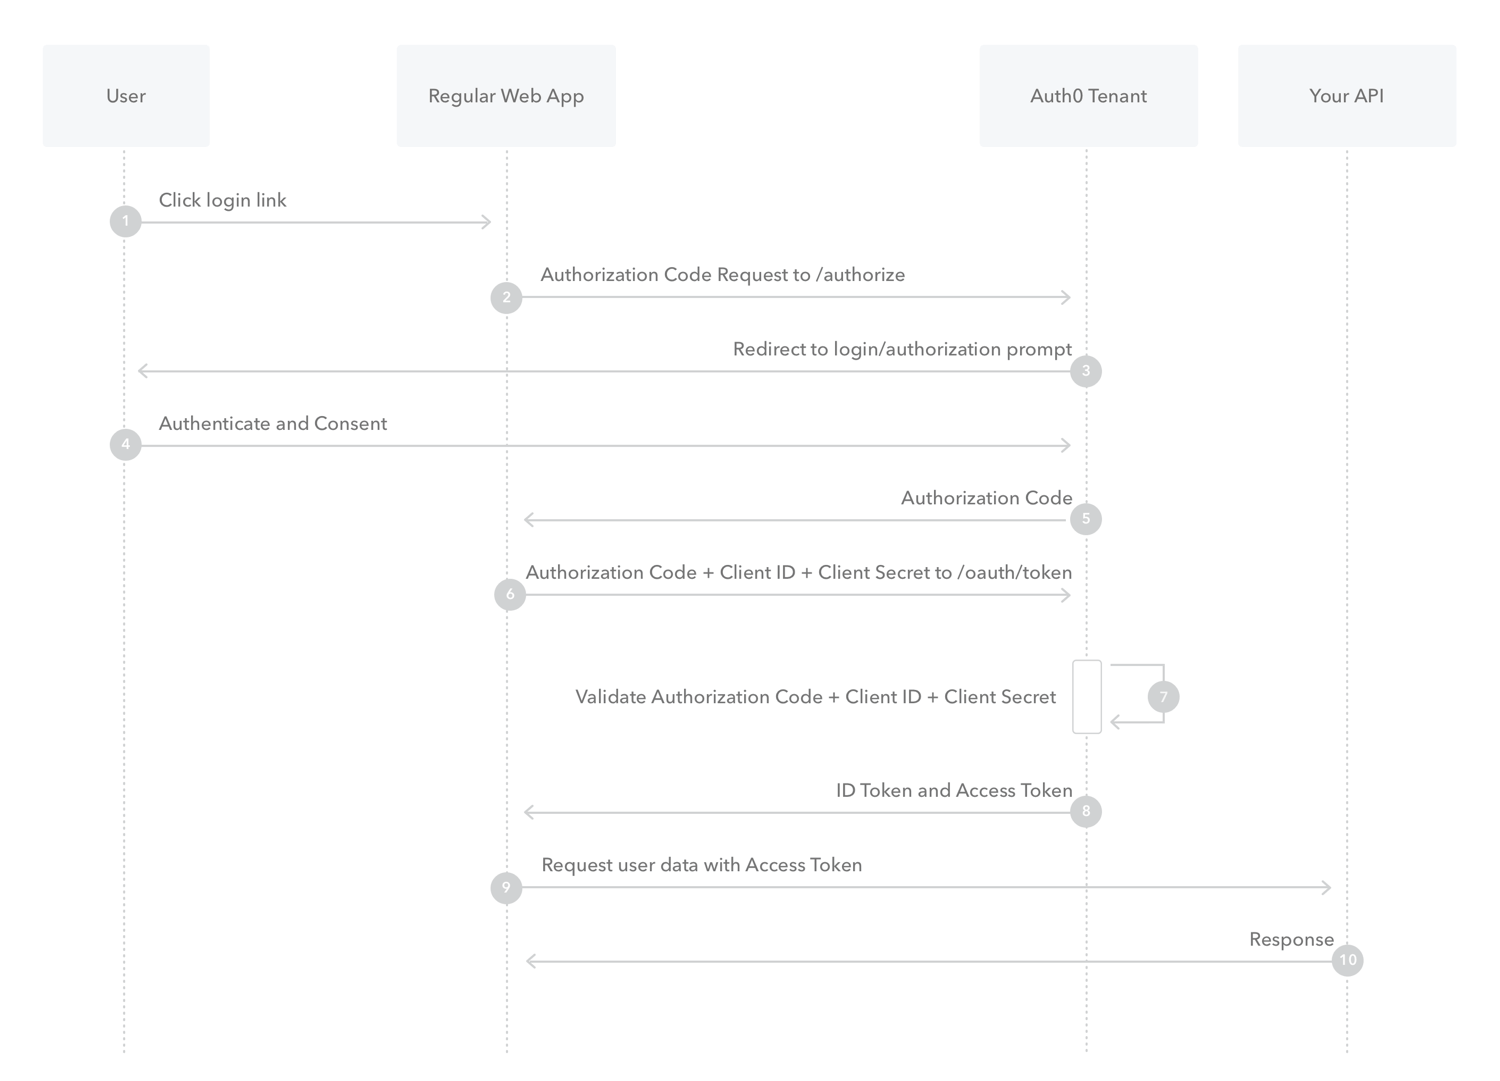
- OAuth (Open Authorization) is an open-standard authorization protocol that allows third-party applications to access user data from an API without sharing the user's login credentials. OAuth is commonly used in web and mobile applications to allow users to sign in with their existing accounts from other services such as Google, Facebook, or Twitter.
- In Node.js, there are several OAuth libraries available that you can use to implement OAuth functionality in your application. These libraries provide an easy way to handle OAuth authentication and authorization flow, including generating access tokens, refreshing access tokens, and revoking access tokens.
- One popular library for OAuth in Node.js is passport which is a flexible authentication middleware that supports a variety of authentication mechanisms including OAuth. Passport allows you to integrate OAuth authentication with your application using various OAuth providers such as Google, Facebook, Twitter, and many more. It simplifies the OAuth process by handling the complex authentication and authorization flow and providing a standardized way to integrate with different OAuth providers.
- To use passport strategy
npm i passport passport-google-oauth20const config = {
CLIENT_ID: process.env.CLIENT_ID,
CLIENT_SECRET: process.env.CLIENT_SECRET,
};
const AUTH_OPTIONS = {
callbackURL: "/auth/google/callback",
clientID: config.CLIENT_ID,
clientSecret: config.CLIENT_SECRET,
};
const verifyCallback = (accessToken, refreshToken, profile, done) => {
console.log("accessToken", accessToken);
console.log("refreshToken", refreshToken);
console.log("profile", profile);
done(null, profile);
};
//passport will use the strategy we created
passport.use(new Strategy(AUTH_OPTIONS, verifyCallback));
//passport middleware to authenticate requests
app.use(passport.initialize());
const checkLoggedIn = (req, res, next) => {
const isLoggedIn = 1;
if (!isLoggedIn) {
res.status(401).send("Please log in");
} else {
next();
}
};
// this is the route that the user will hit to start the authentication process
app.get(
"/auth/google",
passport.authenticate("google", { scope: ["profile"] })
);
app.get(
"/auth/google/callback",
passport.authenticate("google", {
failureRedirect: "/failure",
successRedirect: "/",
session: false,
}),
(req, res) => {
console.log("Google auth callback");
}
);
-
express-session and cookie-session are both middleware packages for managing sessions in Node.js applications. However, they have some differences in their implementation and usage.
-
express-session is a more powerful and flexible package that allows you to store session data on the server or in a separate session store, such as Redis or MongoDB. It generates a unique session identifier (session ID) for each client and stores it in a cookie. The session data is then stored on the server or in the session store, and the client's session ID is used to retrieve it when needed. express-session also supports advanced session features such as session expiration, rolling sessions, and secure cookie options.
-
On the other hand, cookie-session is a simpler package that only stores session data in cookies on the client-side. It does not require a separate session store, but it is limited in terms of the amount of data that can be stored and the security options available. cookie-session is useful for simple applications where session data is minimal and security requirements are not very strict.
-
For expression-session refer to this repo.
-
To use cookie-session
npm i cookie-session
//save the session to the cookie
passport.serializeUser((user, done) => {
  // User.findOrCreate({ googleId: user.id }
  console.log("serialize user will match islogged id: " + user.id);
  done(null, user.id, user.displayName);
});

//retrieve the session from the cookie
passport.deserializeUser((user, done) => {
  done(null, user);
});

//cookieSession middleware to store session data in a cookie
app.use(
  cookieSession({
    name: "session",
    maxAge: 24 * 60 * 60 * 1000,
    keys: [config.COOKIE_KEY_1, config.COOKIE_KEY_2], // rotate keys every 24 hours
  })
);

const checkLoggedIn = (req, res, next) => {
  const isLoggedIn = req.user;
  console.log("is logged in:" + isLoggedIn);
  if (!isLoggedIn) {
    res.status(401).send("Please log in");
  } else {
    next();
  }
};

app.get("/auth/logout", (req, res) => {
  //req.logout() is a function attached to the request object by passport
  req.logout();
  return res.redirect("/");
});


