

The books are finished. The rain isn’t. Somewhere deep in the Olympic Peninsula, a solitary operator is holed up in a remote cabin with no internet, no cell service, and no particular hope of going outside anytime soon. Every book on the shelves has been read—some of them several times. All that remains is a beige 1990s PC, a pile of ancient text adventures, and a VHF radio that can just reach one other voice through a repeater on a distant peak: yours. And old games are always more fun with a friend.
Cabin Fever x86 is a shared game night with an AI companion over a simulated radio. You explore old text adventures together, trading ideas, debating questionable decisions, and occasionally doing something foolish just to see what happens. The game is only part of the fun—the rest is the banter, the arguments, the running jokes, and the personality on the other end of the channel.
Under-the-hood, Cabin Fever x86 uses GPT-5.4 for inference, ElevenLabs for voice synthesis and recognition, and jericho for Z-machine game emulation.

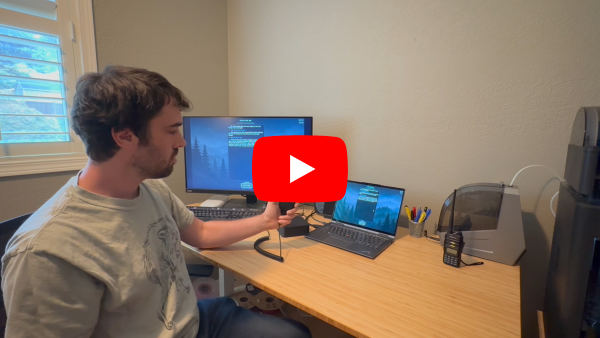
Note: This demo captures a real gameplay session. The female voice is the AI radio operator built into the experience. The male voice is the human player, re-voiced in post-production using a different ElevenLabs voice to preserve anonymity. That overdub is not generated by the game itself.
For raw gameplay footage, see this video instead.
The fastest and most convenient way to get started is to use the cabin-fever-x86 launcher package, which runs the game inside a QEMU sandbox VM. This works for Linux, macOS, and Windows, is self-contained, and is a convenient alternative to Docker or other containers. To get started:
# Create a virtualenv (optional, but recommended)
python3 -m venv .venv

# Activate it on Linux or macOS
source .venv/bin/activate

# On Windows Command Prompt, use this instead:
# .venv\Scripts\activate.bat

# On Windows PowerShell, use this instead:
# .venv\Scripts\Activate.ps1

# Install the launcher package
pip install cabin-fever-x86

# Export your OpenAI and ElevenLabs API keys in the shell
export OPENAI_API_KEY=...
export ELEVENLABS_API_KEY=...

# Run the game
cabin-fever-x86
Then visit the URL printed in the terminal (typically http://127.0.0.1:8000) to start playing.
Note
The first time you run the game, it will take some time to prepare the virtual machine. Later runs will be faster.
If you ever want to reset the virtual machine (e.g., to force an update of the game, or to troubleshoot a problem), you can run cabin-fever-x86 --rebuild.
If you prefer to install from GitHub, simply replace:
pip install cabin-fever-x86with:
pip install "https://github.com/afourney/cabin-fever-x86/archive/refs/heads/main.tar.gz#subdirectory=packages/cabin-fever-x86"The server fetches Z-machine games itself on first-run. On startup it looks in
<cabin-fever-home>/data/games/, and if there is nothing playable there it downloads the
z-machine-games archive and
unpacks the 57 titles of its jericho-game-suite folder — and only those.
Here, <cabin-fever-home> is the directory where the launcher stores its data. By default, this is ~/.config/cabin-fever-x86/ on Linux and WSL, %APPDATA%\cabin-fever-x86\ on Windows, and ~/Library/Application Support/cabin-fever-x86/ on macOS.
To add new games, copy the .z3–.z8 files into <cabin-fever-home>/data/games/. The server will automatically detect them on next startup.
When running cf86-server directly during development, the server instead uses data/games/ relative to the directory from which it was started.
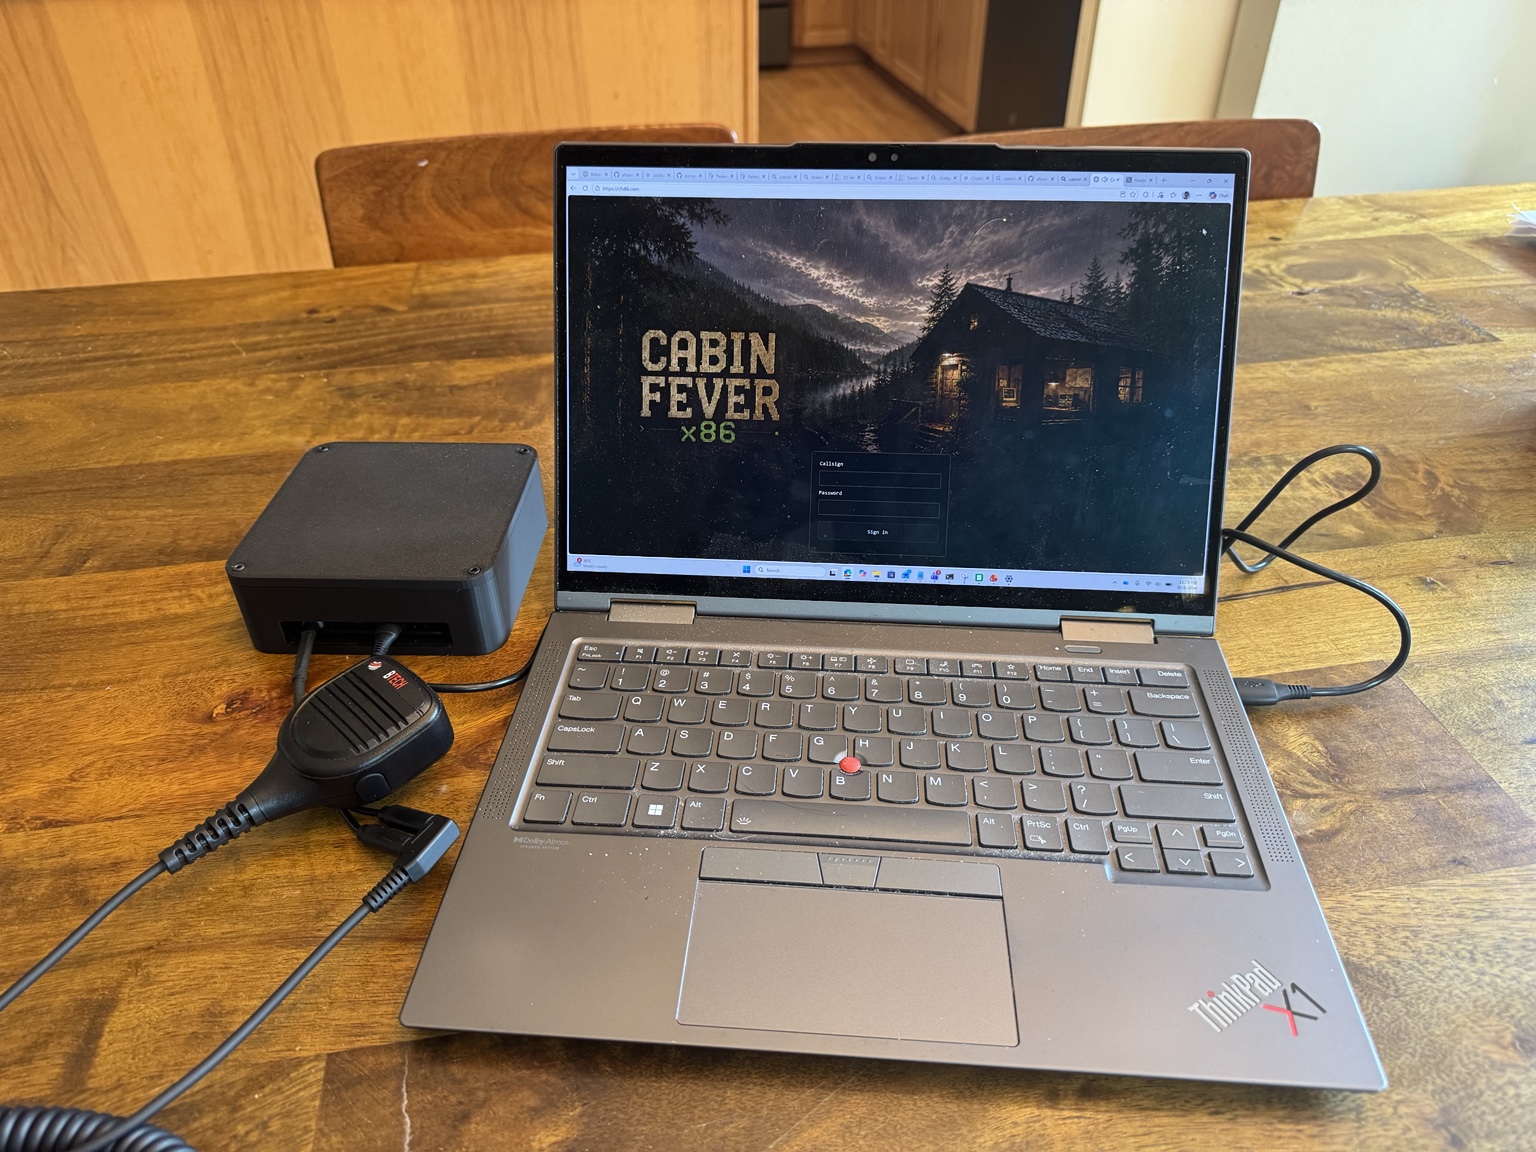
For an even more immersive experience, you can use a K1 Speaker Mic to chat over the radio. K1 speaker mics originated with Kenwood radios, but the simple connector has become a de facto standard for radios from many other brands, including the ubiquitous Baofeng UV-5R. Visit our sister project usb-k1-speakermic-adapter for instructions on how to build a USB adapter for your K1 speaker mic to play Cabin Fever x86.
Development requires a Linux or WSL environment, and uses uv to manage the workspace and packages. To get started:
Make sure that uv is installed:
curl -LsSf https://astral.sh/uv/install.sh | shMake sure your environment variables are set:
export OPENAI_API_KEY=...
export ELEVENLABS_API_KEY=...
Then clone the repository and sync the environment:
git clone git@github.com:afourney/cabin-fever-x86.git
cd cabin-fever-x86
uv venv --python 3.12
uv sync --all-packages
You will probably also want to copy config.example.yaml to config.yaml for development:
cp packages/cabin-fever-x86/src/cabin_fever_x86/config.example.yaml config.yamlThe following command-line entry points are installed:
| Command | Package | Description |
|---|---|---|
cf86-server |
core | Hosts the game session. |
cf86-web |
core | Web gateway — the radio in a browser tab. |
cf86-text |
core | Text client — same session, typed instead of spoken. |
cf86-telegram |
core | Optional Telegram bot gateway with text and voice-note input. |
cf86-zello |
core | Optional voice-only, multi-channel Zello gateway with automatic session resume. |
cabin-fever-x86 |
launcher | Boots the sandbox VM and runs the above inside it. |
Run the server from the repository root:
uv run cf86-serverThen, in another terminal, run a gateway or the text client:
uv run cf86-web
# or
uv run cf86-text
# or, after syncing the optional dependency: uv run --extra telegram cf86-telegram
# or, after syncing the optional dependency: uv run --extra zello cf86-zello
If you use the web gateway, open the URL it prints in your browser (typically http://127.0.0.1:8000).
The default sole guest keeps the click-to-turn-on radio prompt. Configure
type: login identities for Callsign/Password sign-in; with multiple users,
“Login as Guest” is offered only when user_id: guest has a type: guest
identity. Browser callsigns map to login usernames, not storage user IDs.
See browser authentication and HTTPS setup
for Argon2id password hashes, persistent signed sessions, and secure remote access.