To create an indoor navigation system based on dead reckoning, to track objects in a complex indoor environment. The critical concepts used in this project are as follows
- Yaw estimation (absolute heading)
- Step detection
- Step length estimation
- Altitude determination
Please note that this project is not being updated for subsequent versions of the softwares used. Version errors often accompany new versions of software. In such a case, the recommended (last known working) versions of the softwares are mentioned for 1:1 replication.
- Arduino Nano 33 BLE
- Arduino Nano 33 IoT (Used only as a BLE Beacon)
- Gravity BMX160+BMP388 10 DOF Sensor SEN0252

Upload the code from Arduino/LSM9DS1_AHRS onto the Arduino Nano 33 BLE and upload the code from Arduino/BLE_PerIoT onto the Arduino Nano 33 IoT.
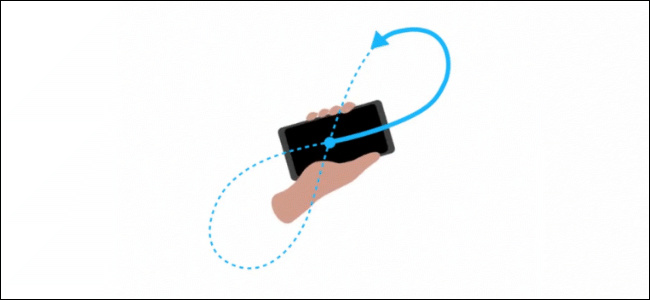
Reset the Arduino Nano 33 BLE and let the device stay absolutely flat on a surface (a table is recommended). Open the Serial Monitor and follow the instructions to calibrate the magnetometer. You will need to move your setup in a figure-8 motion repeatedly, making sure to show the magnetometer all sides. This is shown in the image below.
Once the magnetometer is calibrated, set the device on the table again. After about 3 seconds, shake the device. If you have outputs in the Serial Monitor, then you are ready to open the Visualization.pde sketch from the Visualization folder and run it in the Processing IDE.
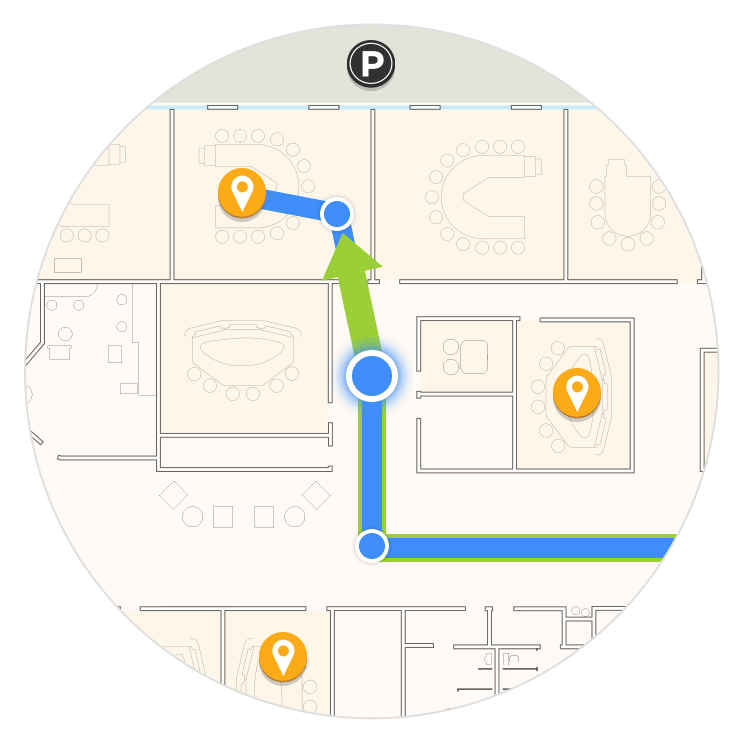
Click on any square to set your start point. Once the GUI elements come to life, you should see a navy blue marker on the map where you clicked. This is the start point. Take steps with the device in hand in any direction and your marker in the 2D map will move along with you.
The Madgwick filter and implementation of the driver for the LSM9DS1 on the Nano 33 BLE is wholly utilized from github.com/radiohound/Nano33BLE
The BMP388 driver code is based on the examples provided by Adafruit-BMP3XX
The BLE interfacing code is based on the examples provided by Arduino-BLE
The Filters implemented are based on the examples provided by EmotiBit_ArduinoFilters
To set up the BMX160, we use the code provided by DFRobot-BMX160