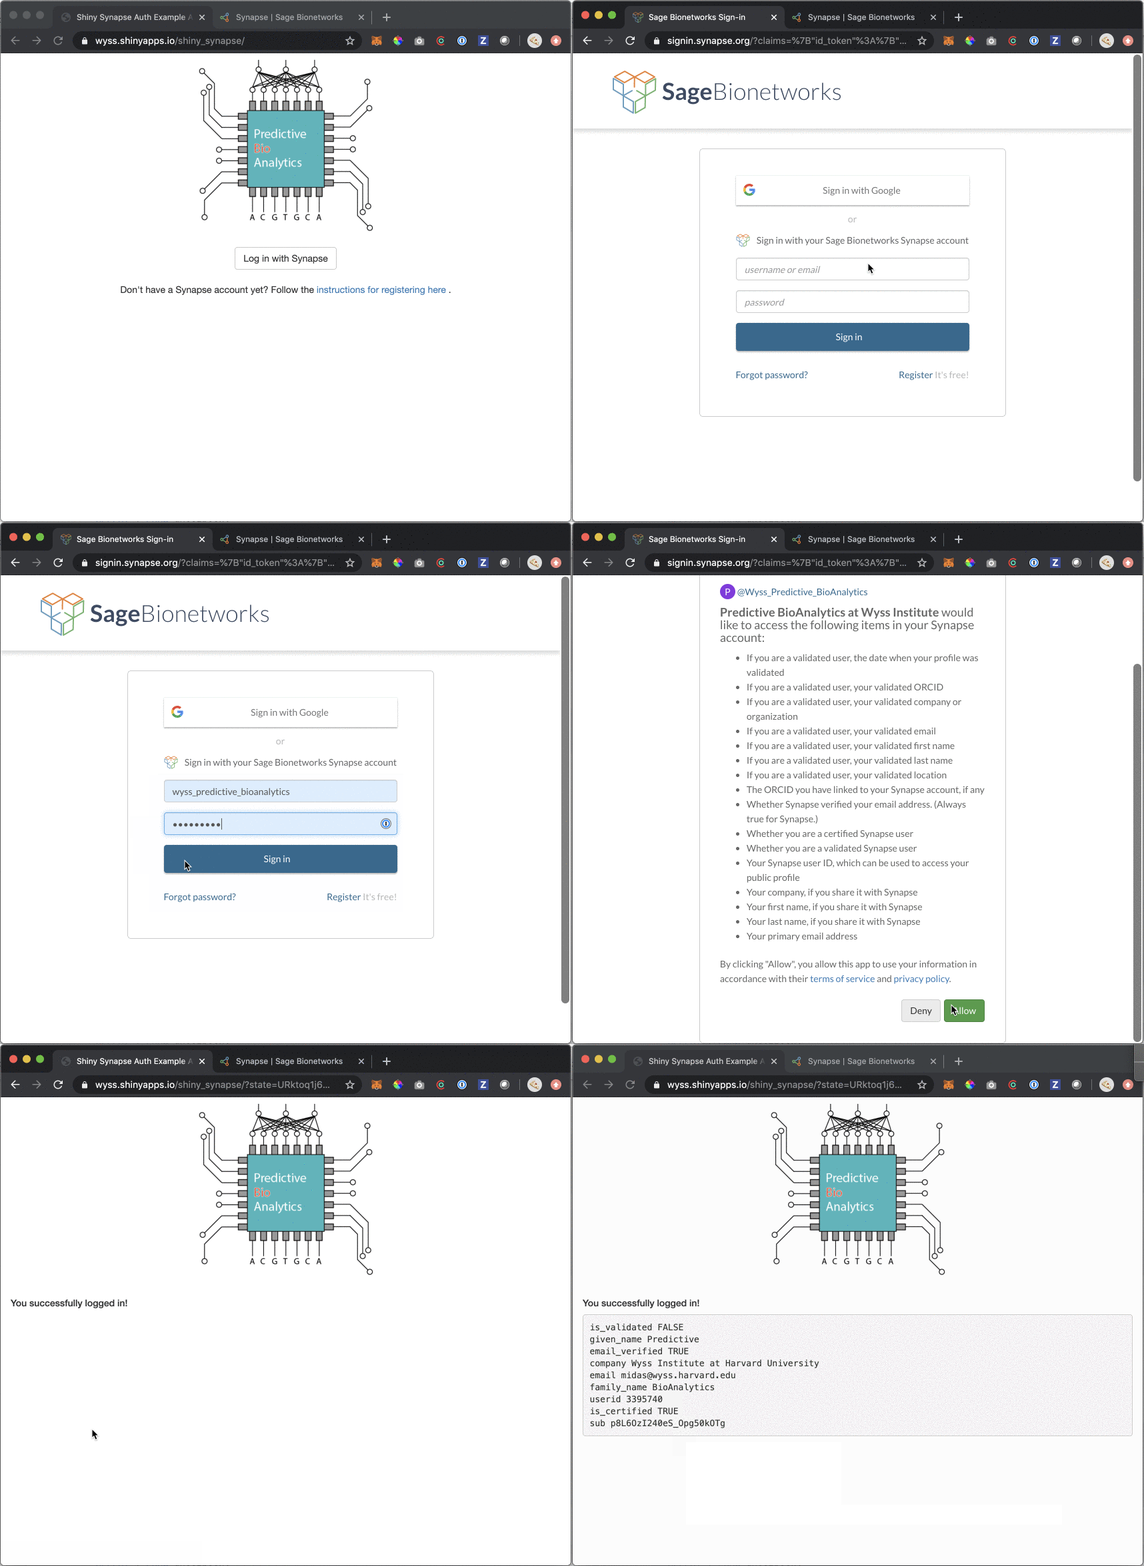
A Shiny app demonstrating how to use Synapse as an OAuth 2.0 server, enabling users to log in with their Synapse credentials, with their consent. A live demo can be seen here.
-
Python 3
-
virtualenv (
pip install virtualenv) -
R and RStudio
First, create and register your OAuth 2.0 client with Synapse. Create one client for local testing and another one for production. (The create_prod_client() and create_local_client() functions in connect_to_synapse.py can be used for this - simply modify them with your own app name and redirect uris.)
After your clients have been activated by the Synapse team, store their IDs and secrets in an .Renviron file in the project directory with the following format:
CLIENT_ID=<client id>
CLIENT_SECRET=<client id>
CLIENT_ID_LOCAL=<client id for local testing>
CLIENT_SECRET_LOCAL=<client secret for local testing>
SYN_USERNAME=<synapse username>
SYN_API_KEY=<synape API key>
APP_URL_LOCAL="http://127.0.0.1:7450"
APP_URL=<target URL when deployed>
In addition to the client secrets, include your Synapse username and API key. Your API key can be found in Synapse under Profile > Settings > Synapse API Key.
The synapser R package developed by Sage Bionetworks depends on the older PythonEmbedInR package, which has compatibility issues. For this reason, this app interacts with the Synapse API using the Synapse Python client and uses the R package reticulate to call that Python code via the Shiny server.
Use the reticulate package to create a Python 3 virtualenv and install Python packages synapseclient and requests into it. In the R console:
> reticulate::virtualenv_create(envname = 'python35_env',
                                python = '/usr/bin/python3')

> reticulate::virtualenv_install('python35_env',
                                 packages = c('synapseclient', 'requests'))
Note: Avoid running library(reticulate) as this will cause reticulate to initialize in the R session with your system version of Python rather than the one specified in the python arg of virtualenv_create(). If this happens, you may see an error similar to:
ERROR: The requested version of Python ('~/.virtualenvs/python35_env/bin/python') cannot be used, as
another version of Python ('/usr/bin/python') has already been initialized.
If you see this error, restart your R session and run the two commands above to create your virtual environment.
In RStudio, open app.py and click the "Run App" button or run shiny::runApp() in the console. Open a web browser and go to http://127.0.0.1:7450 to see the app.
Sensitive data like passwords and secret keys should never be checked into git in cleartext (unencrypted). If you need to store sensitive info, you can use the openssl cli to encrypt and decrypt the file.
$ openssl enc -aes256 -base64 -in .Renviron -out .Renviron.encrypted
$ openssl enc -d -aes256 -base64 -in .Renviron.encrypted -out .Renviron
-
Thanks to Bruce Hoff for being responsive answering questions about the Synapse REST API. His Shiny + Synapse OAuth demo app is here.
-
Sage Bionetworks also has their own Synapse Shiny App here.
-
See the full Synapse REST API docs for detailed explanations of all available endpoints.
