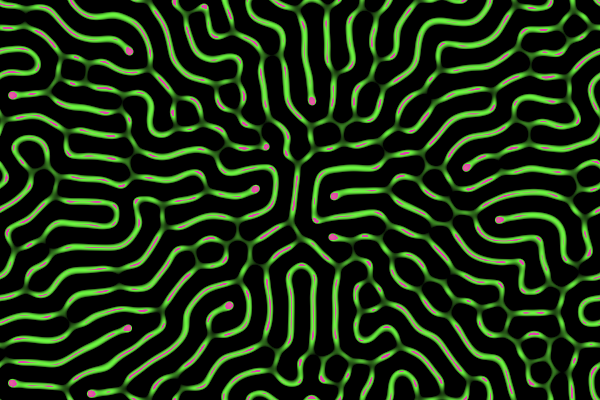
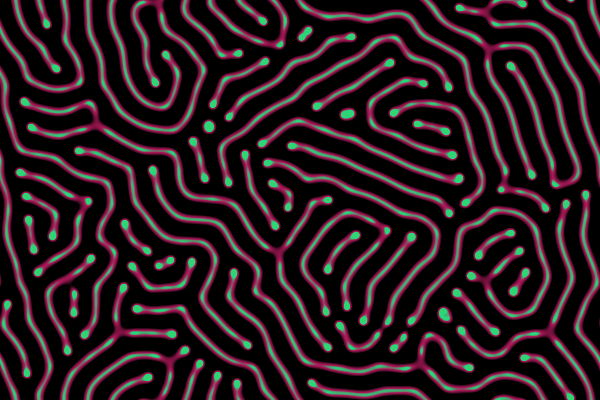
Reaction Diffusion Simulation
This program is motivated by pmneila's javascript project.
Firstly make sure pyglet is installed on your computer:
pip install pygletThen run python main.py to play with the simulation. You can specify more params by running
python main.py -width 600 -height 480 -p unstable -v 1 which creates a window of size 600x480, running the pattern "unstable" and saving the frames to the folder frames/.
Mouse and keyboard control:
- Click or drag your mouse to draw on the window.
- Press
sto switch to another pattern. - Press
pto use another palette. - Press
Enterto take snapshots. - Press
spaceto clear the window. - Press
Ctrl + sto save current config to the json filepalette.json. - Press
Ctrl + oto load a config frompalette.json. - Press
Ctrl + vto start saving the frames into a folder and pressCtrl + vto stop saving frames. - Press
Escto exit.


To understand the code you must have some basic knowledge of the OpenGL rendering pipeline and the shading language. Beginners may start by learning how to draw a triangle on the screen with shader programs, and then move on to more advanced topics like framebuffers and projective transformations.
The core part of the code are the two shader files reaction.frag and render.frag. Here reaction.frag is used to compute the process in an invisible buffer and render.frag is used to display the result in the window buffer.
pyglet.gl is only a thin wrapper of OpenGL so one has to write his own helper classes to manage things like vao, vbo, framebuffer, etc. There are some modules like vispy and gletools that do this job, but that lays the burden of learning one more package.
I wrote two helper classes shader.py (adapted from other people's work) and framebuffer.py. They are not meant to be serious tools, just kept simple and suffice for our work.
The glsl code borrows heavily from pmneila's work, the most genius part in his code is the use of a brush variable (u_mouse in our program) as the interface between the shader and the mouse.
I found it hard to program buttons and menus in pyglet, so let this be a command line version.
You may press Ctrl + v to start saving frames at any time, and press Ctrl + v again to stop this. Then you can do whatever you like with the frames:
to make a gif animation (assuming ImageMagick is installed), run the bash commmand
./makegif.shTo make a mp4 animation (assuming FFmpeg is installed):
./makemp4.shFor example to make the following gif, do

-
run
python main.py -width 200 -height 120 -p unstable -s 1 -v 1
-
let the animation run for a while and then press
Ctrl + vto stop saving frames. -
run
./makegif.shto create the gif file.