Home
You should have
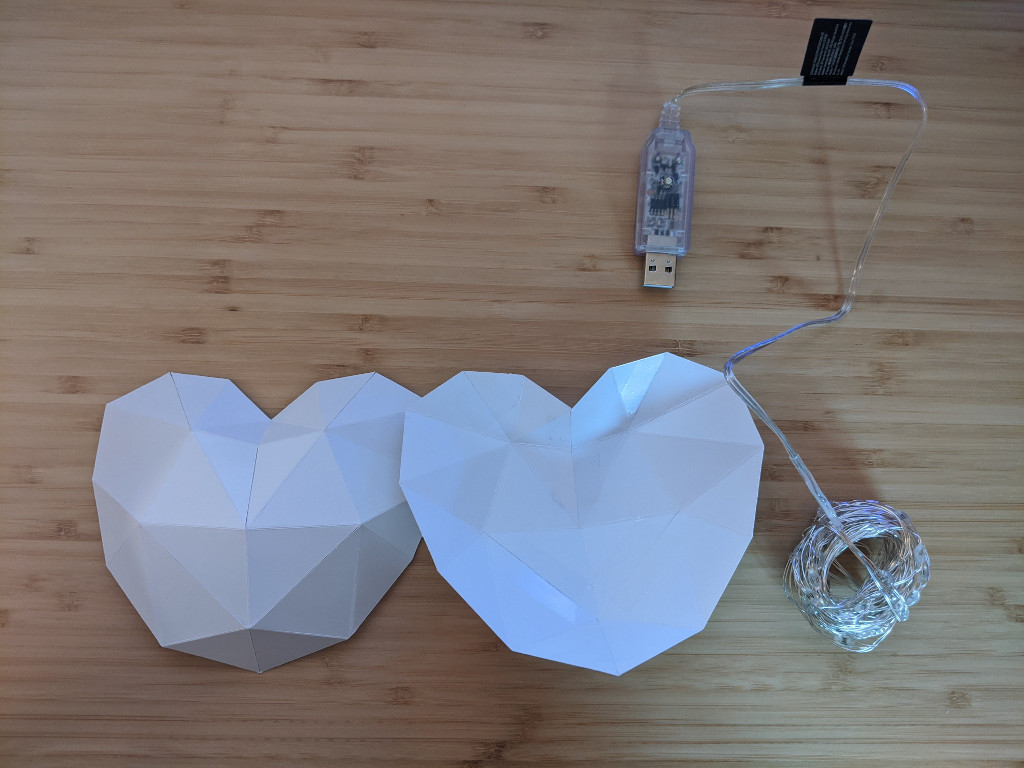
- 2 heart halves that are pre-cut and scored.
- USB Lights
- Scotch tape

-
Carefully push the pre-cut hearts out of the surrounding card.

-
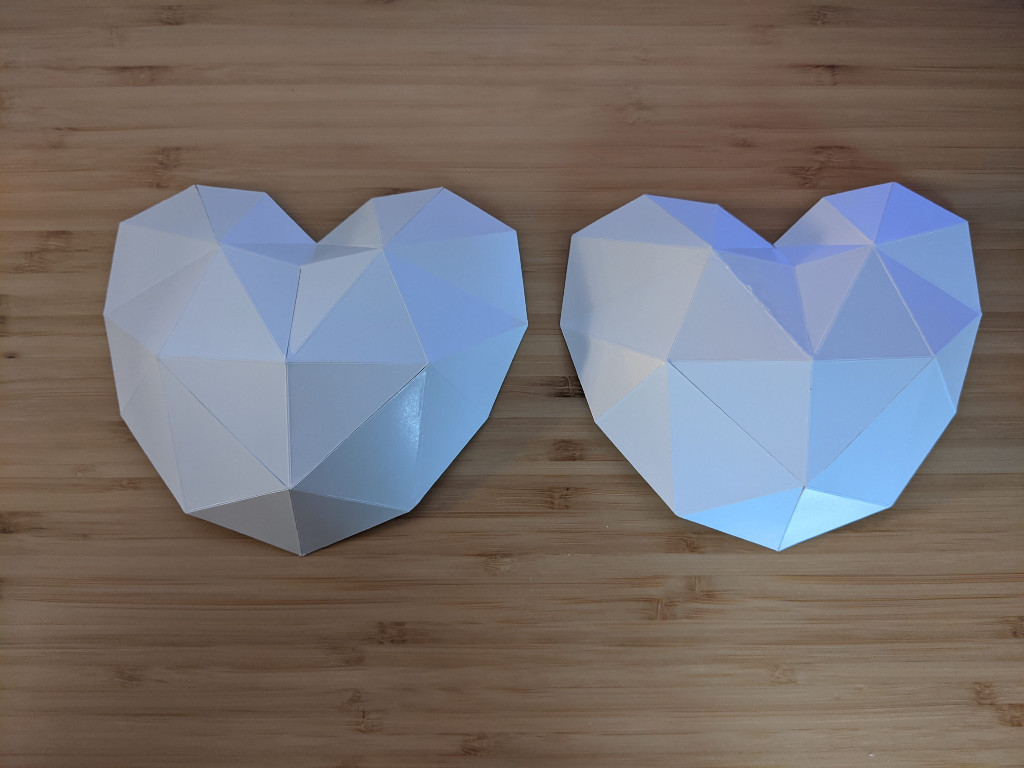
Make the folds along the score lines. You'll get the best results if you have the score lines pointing upwards and you begin by making all folds into valley folds (crease at the bottom). You can use your nail to glide over the fold to make the folds nice and tight. After that, change all folds except the 4 marked here with the black dotted lines into mountain folds (crease at the top). If you start by making the folds into mountain folds right away, the fold lines won't look as good and it'll be harder to make the first fold as well.

-
Tape each heart half together on the inside (underneath all the mountain folds). Each heart has 7 connections that need to be taped. Try to tape the connecting pieces so they're touching. Any space between taped pieces will show as a bright line when the light is on, it'll look better when this space is minimized.

-
Wind up the lights so they'll fit nicely into the heart. You have to try and make it pretty tight so the lights don't touch the sides of the heart when they're inside. Any light that touches the side will show up as a bright dot. If no lights touch the paper you'll get nice uniform lighting.
-
Tape the two heart halves together on the inside, starting at the bottom. Things will get tight as you make your way to the top of the heart. You can always tape on the outside but it'll look better if you tape as much as you can on the inside. leave the top 4 lines open.


-
Put the wound up lights inside the heart and tape up the last 4 lines of the heart on the outside (it's too hard to tape these lines on the inside).

-
Done! I like to plug the heart into a usb port on my monitor so it turns on and off with my monitor but they should work in any usb port or power plug. I like the fade or smooth mode.

