My early growlab
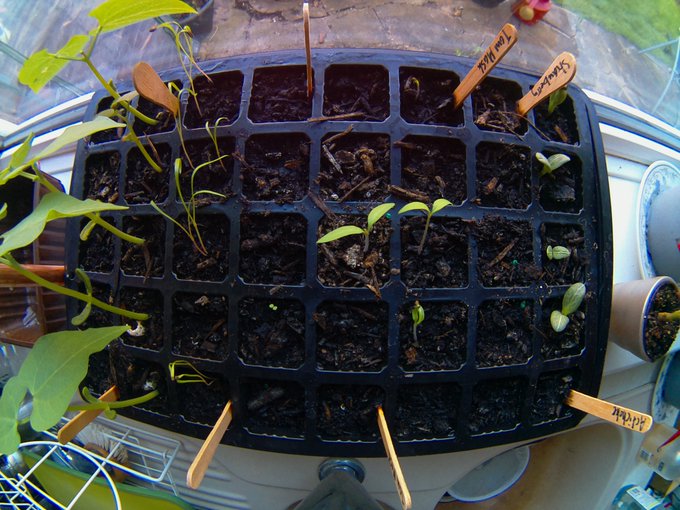
A capture from phototimer of my seed tray with a wide-angle camera positioned above
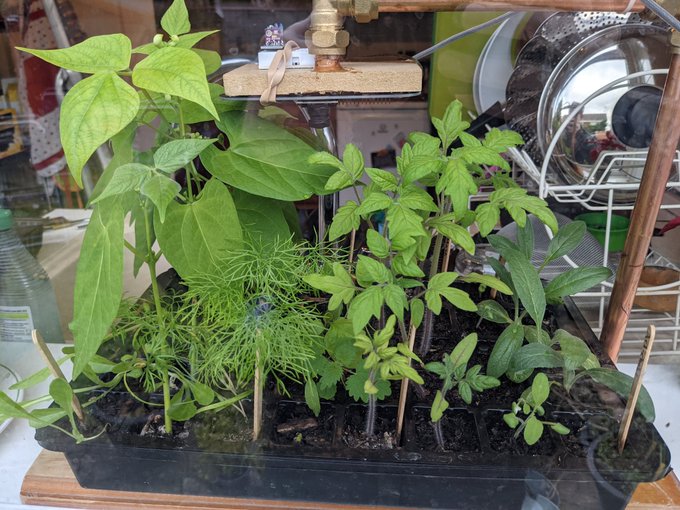
My own growlab laboratory
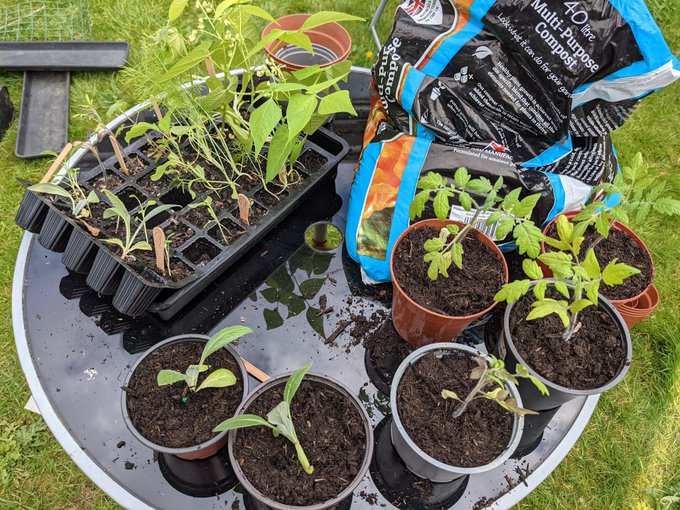
Graduated seedlings
- Overview - Growing your own with the Raspberry Pi with Alex Ellis at GIFEE Day
- Live stream "Grow your own with Raspberry Pi" - Alex Ellis & Richard Gee
- Read the launch blog post: Join the Grow Lab Challenge.
- Order your kit, or decide you're taking part by sending a PR and adding yourself to the "growlab Technicians" section below.
- Build your own
#growlabusing one of the designs, or customise it. And start growing and recording a timelapse. - Use the #growlab hashtag and share as many pictures as you like.
- Send a Pull Request and link to each Tweet to unlock each level.
- At the conclusion of the growing period, we'll send some prizes from OpenFaaS Ltd and Pimoroni to entries at random for different tiers.
Note: Growlab 2021 concludes Sunday 3rd October to mark Harvest Festival in the United Kingdom.
Prizes to be provided by: OpenFaaS Ltd and Pimoroni. Want to sponsor or provide prizes? Send an email to [email protected]
Before you get started with your build, send a PR to list yourself as a "lab technician".
Bronze - assemble your #growlab using one of the recommend designs or customise it. Tweet a photo of your build fully assembled.
Silver - install the software and capture your first photo of your seed tray or pots. Tweet the photo.
Gold - Wait until at least one of your seeds has germinated and grown into a seedling - around 2-3cm in height. Tweet the photo taken by the timelapse software.
Platinum - use the phototimer or seeds2 software to capture images over 14 days. Compile the images into a timelapse and upload it to YouTube. We recommend one photo every 10 minutes. Feel free to exclude any photos prior to the seeds germinating. Tweet a link to the video.
Technicians work in laboratories, and you are no different, so if you've bought your kit, or have decided to join, then add your details below so that we can encourage each other and see how many people are participating. If you don't have a Twitter or GitHub handle just put N/a.
A live preview URL keeps things interesting and lets the community get a view inside your lab.
See the new growlab app for your Raspberry Pi
| Name | Bronze | Silver | Gold | Platinum |
|---|---|---|---|---|
| Alex Ellis | Bronze | Silver | Gold | Platinum |
| Simon Emms | Bronze | Silver | Gold | Platinum |
| Richard Gee | Bronze | Silver | Gold | Platinum |
| Jakob Waibel | Bronze | Silver | Gold | Platinum |
| Florian Clanet | Bronze | Silver | ||
| Felix Pojtinger | ||||
| Sam Perrin | Bronze | Silver | Gold | |
| Philippe Charrière | ||||
| John McCabe | Bronze | Silver | ||
| Adam Craggs | Bronze | |||
| Martin Woodward | Bronze | Silver | Gold | |
| Jérôme Velociter | Bronze | |||
| Philippe Ensarguet | Bronze | Silver | Gold | Platinum |
| Sander Vanhove | Bronze | Silver | Gold | |
| Sergei Vasilev | ||||
| IbooNox | Bronze | Silver | Gold | |
| Allan Pead | Bronze | Silver | ||
| Keith Hubner | Bronze | Silver | Gold | |
| Antoine Mouchere | Bronze | |||
| Kyle Brennan | ||||
| Carlos Panato | Bronze | Silver | ||
| Felipe Cruz | Bronze | Silver |
- phototimer - Record images for the timelapse contest
- app - Generate and upload a live-preview with sensor data growlab app
- data-logger - Capture environment data and plot on a Grafana dashboard
Some cameras like the HQ camera are variable focus, the cheaper lenses can also have their glue broken to enable them to close focus.
Low latency with built-in web-browser:
"Raspberry Pi High Quality Camera setup for low-latency Video Conferencing"
Quick and functional:
# On your Raspberry Pi
raspivid -t 0 -w 1280 -h 720 -fps 10 -o - | nc -lkv4 8080

# On your computer, enter this URL into VLC under "Network Stream"
# Replace with your Raspberry Pi's IP
tcp/h264://192.168.0.53:8080If you're using phototimer, then you can run the following with ffmpeg. It's advised that you copy the images to your PC before running the command since the Raspberry Pi Zero is rather slow at crunching videos.
echo $(echo $(find ./Desktop/image/ | sort -V|grep jpg)) | xargs cat | ffmpeg -framerate 10 -f image2pipe -vcodec mjpeg -i - -vcodec libx264 out.mp4iMovie is also relatively easy to use, by dragging the images into the timeline and changing the time between images to ~ 0.1s
Here's a sample from 9th-22nd April you can watch on YouTube:
Click here to watch my video timelapse
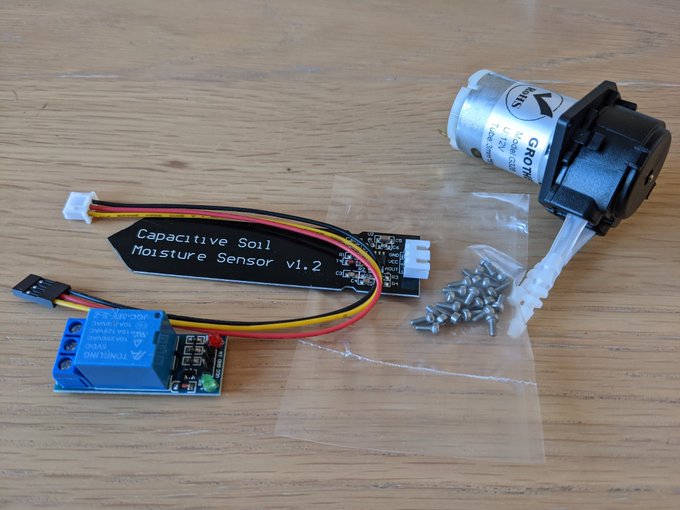
A self-watering system
- Overlay temperature and humidity data with a Bosch BME280 or BMP280 sensor
- Add a self-watering system with a small pump and capacitive soil sensor
- Try a garden RGB grow-light to give your seeds a little more help
- Experiment with hydroponics
- Install your lab in an outdoor greenhouse, shed or cold-frame
- Use a light sensor / LDR or UV sensor measure available light
- Try a suitable solar panel and battery capacity to run your experiment outdoors or in a room without a socket
- phototimer for capturing photos from the RPi camera for a timelapse: alexellis/phototimer
- Richard Gee's seeds2 repo for tweeting and capturing images: rgee0/seeds2
- Sam Perrin's seed-viewer for viewing the images captured with phototimer sam-perrin/seed-viewer
- Sander Vanhove's plant-monitor using Waylay: SanderVanhove/plant-monitor


