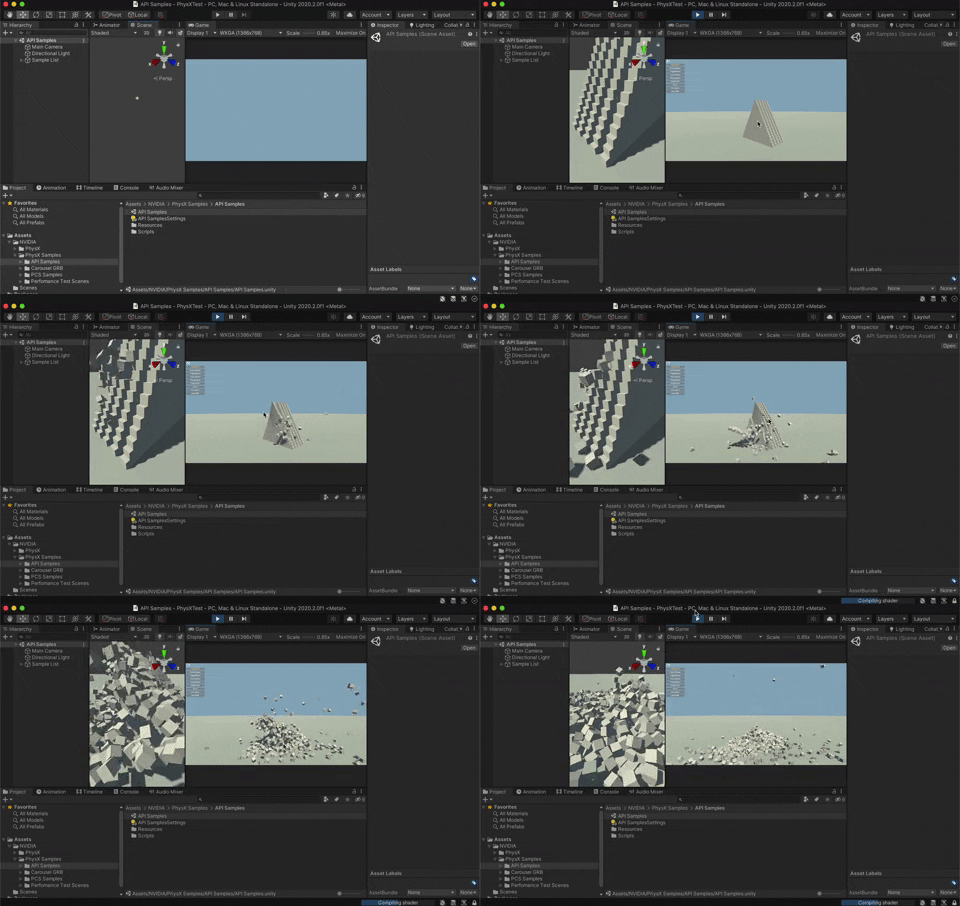
Experimental Unity package to enable access to NVIDIA PhysX SDK 4 from within Unity.
This fork is specifically set up for building on macOS. All references to CUDA have been commented out.
Tested on Unity 2020.2.0f1, built with Xcode 12.2 on macOS 10.15.
- CMake 3.14+ SWIG 4.0+
brew install cmake - SWIG 4.0+
brew install swig - A Windows machine/VM with Visual Studio 2017, CMake 3.14+ and SWIG 4.0+
- Get PhysX 4.1 from GitHub (https://github.com/NVIDIAGameWorks/PhysX)
- In
<PhysX Dir>/physx/buildtools/presets/public/mac64.xmlmake surePX_GENERATE_STATIC_LIBRARIESis set toTrue. - Use
generate_projects.shto generate your Xcode project. Additional information- You may have to remove
-Werrorand add-Wanon-enum-enum-conversion -Wno-allocato the compiler flags in./physx/source/compiler/cmake/mac/CMakeLists.txt
- You may have to remove
- Build the PhysX project, use the ALL_BUILD scheme in Release.
- Set the
PHYSX_DIRvariable in the CMakeLists.txt in./NVIDIA.PhysX.Nativeto your PhysX root folder. For example/Users/username/PhysX. - Set your working directory to
./NVIDIA.PhysX.Nativeand runcmake ./ -G Xcodeto generate your Xcode project. - Open the Xcode project and set the ALL_BUILD scheme to Release
- Build the project.
- The built
NVIDIA.PhysX.Native.dylibfile will be in./NVIDIA.PhysX.Native/Release
Note: cmake does not support C# on macOS. However, SWIG does and this step might work on macOS if done manually.
- Copy your local repository over to your Windows partition/machine.
- Build PhysX (for Release) for Windows following the instructions for nvidia's plugin repository
- Using nvidia's fork as a base, replace the Header, Helpers, and Interface folder from this fork in
./NVIDIA.PhysX.Native/. - Generate and Build the VS2017 solution and collect the
NVIDIA.PhysX.dllC# library.- Alternatively, you can also copy the generated Partial.cs and Wrapper folder to your Unity project.
- Back to your macOS machine. Put
NVIDIA.PhysX.dllin your Unity projects's Wrapper (or Plugins) directory.
You can grab the binaries and example project from the macos-il2cpp branch
I've documented the process of getting IL2CPP to work here. It was a long and arduous process because of some antiquated toolchains that were involved. Again, you will need Windows because cmake does not support c# on macOS.
- Get this particular fork of SWIG and build it.
- For macOS/Unix, follow these instructions: http://www.swig.org/svn.html.
- For Windows, use these instructions as a guideline: http://www.swig.org/Doc4.0/Windows.html#Windows_swig_exe. However, instead of using mingw-32, set up MSYS2 and use that for building. First build PCRE according to the instructions and then
./autogen.sh,./configureandmake.
- Make sure
where swig(which swigfor Windows) points to your newly built swig. (Set PATH variable)
- Store a copy of the previously generated .cs files in Wrapper somewhere. We will need most of it later.
- Add the
-monoaotcompatflag to yourCMAKE_SWIG_FLAGS(set(CMAKE_SWIG_FLAGS ${CMAKE_SWIG_FLAGS} -namespace NVIDIA.PhysX -nodefaultctor -monoaotcompat)) - Generate and build the VS2017 solution as usual. (It might fail, but the required files should have been generated.) Store the resulting Wrapper folder seperately and copy it over to your macOS partition.
- Here, we're only building the NVIDIA.Physx.Native.dylib library, but with the
-monoaotcompatflag added to theCMAKE_SWIG_FLAGS. - Follow the above instructions to get the native library.
- In your Unity project (with the previous non-IL2CPP Wrapper), replace these files with the Wrapper .cs files that we just generated.
- NativePINVOKE.cs
- All files that end with *Callback.cs (such as PxErrorCallback.cs)
- In those *Callback.cs files, find in files to replace calls to
Dispose()withdestroy()to be compatible with the sample code. - Done! Whew!
Hints gathered along the way:
Start Unity and open .\Unity\PhysX project and try out the sample scenes.
