Before you begin, ensure you have the following prerequisites:
-
A Signalwire Account
-
A Signalwire API Credentials
-
Docker Desktop
-
An NGROK account and token. NGROK is optional but recommended for tunneling into the WireStarter container.
- Docker Desktop: Download and Install
- GitHub Desktop: Download and Install
- NGROK Account and Token: Sign Up
- Launch Docker Desktop.
- Open GitHub Desktop.
- Clone the repository.
- In GitHub Desktop, navigate to
Repository>Open in Command Prompt. - Install Git if prompted.
- Run the
windows-start.batscript
Start-WireStarter.shis an optional automated option to launch WireStarter in Linux- How to use Start-WireStater.sh:
chmod +x Start-WireStater.sh
./Start-WireStater.sh
- Pull the repository:
git pull. - Build and start the container:
make up. - Enter the container:
make enterordocker exec -ti wirestarter bash.
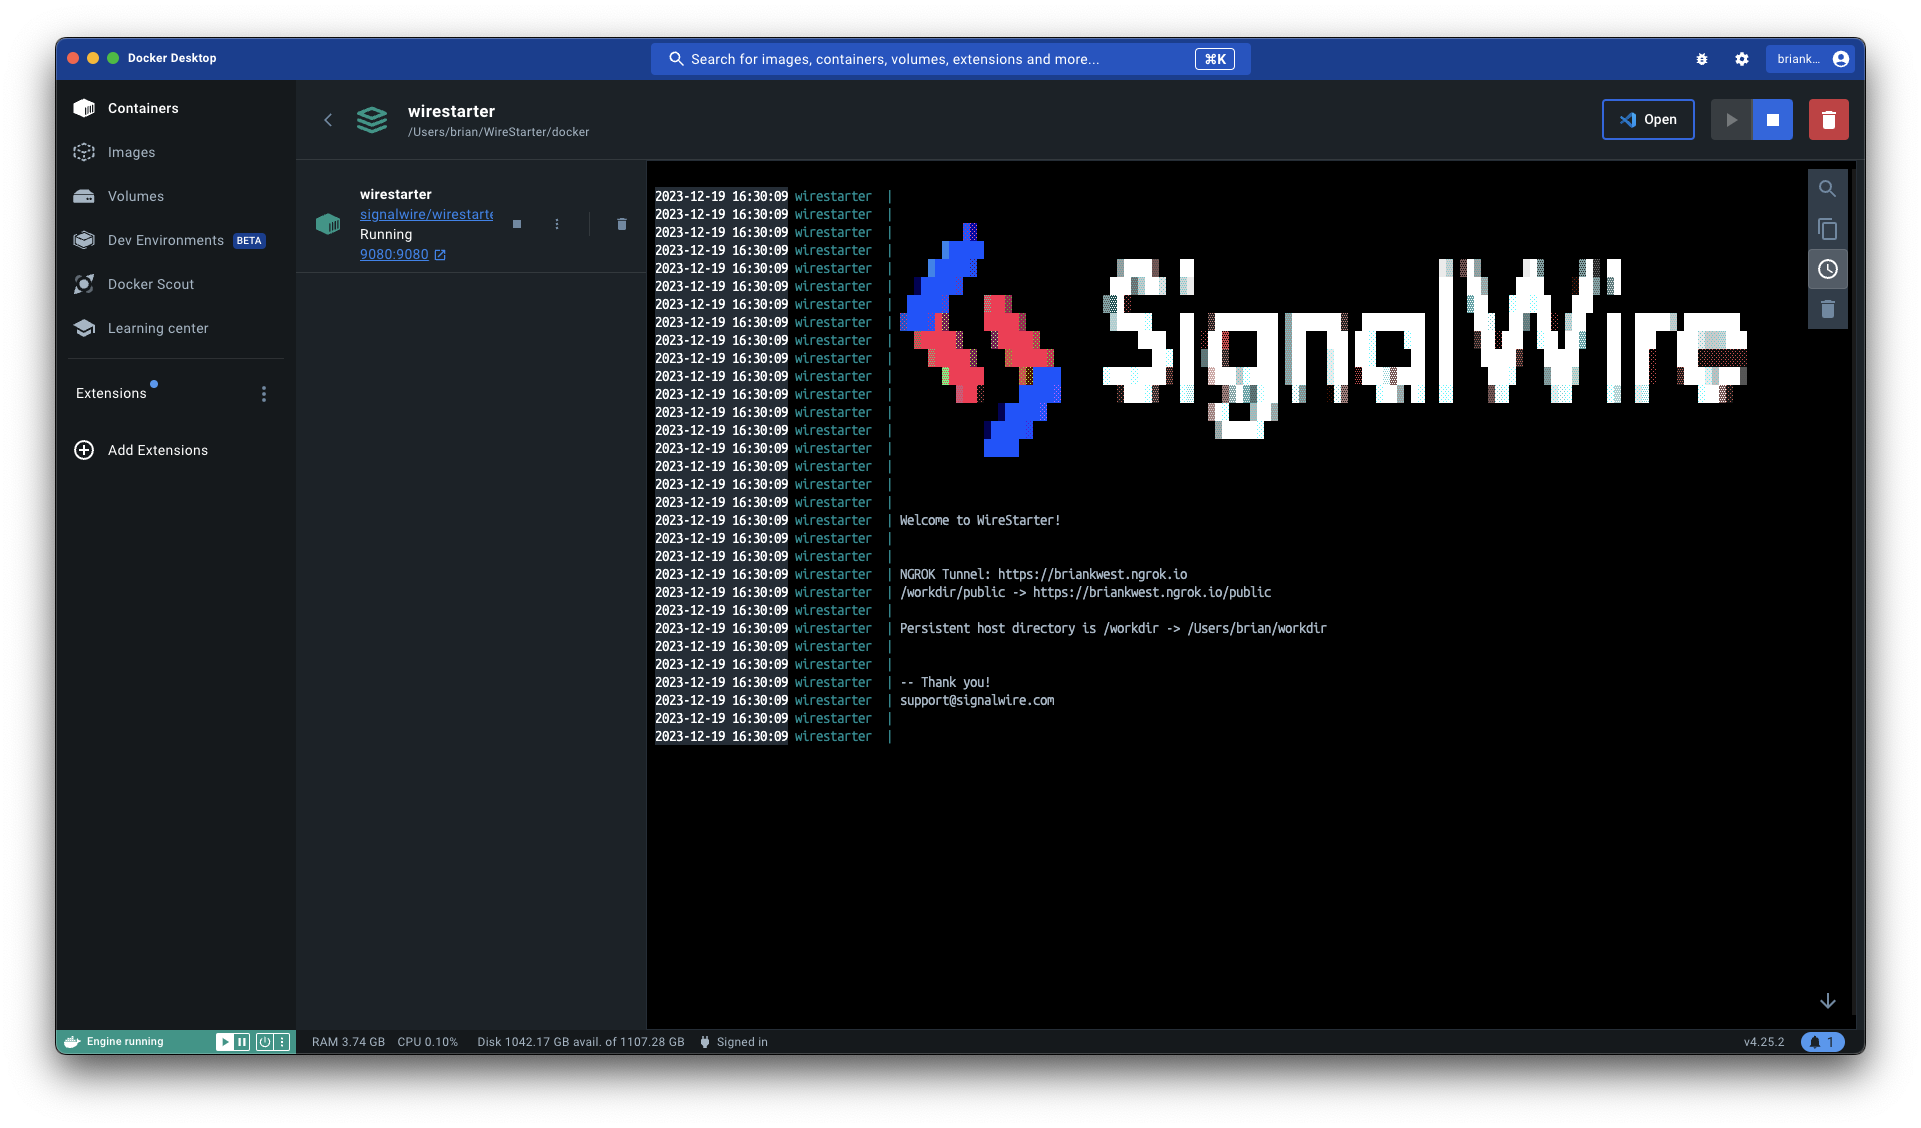
After starting, the container will build in the background and automatically place you in the SWiSH shell.
The following features and utilities are available if they exist in /workdir:
- Source environment variables:
. /workdir/.env. - Source bash configurations:
. /workdir/.bashrc. - Link Emacs configuration:
ln -f -s /workdir/.emacs ~/.emacs. - Link Git configuration:
ln -f -s /workdir/.gitconfig ~. - Link SSH configuration:
ln -f -s /workdir/.ssh ~. - Copy GitHub Copilot configuration:
cp -drp /workdir/github-copilot ~/.config/. - Install Perl dependencies:
cpanm --installdeps /workdir/if/workdir/cpanfileexists. - Set up Go and Node Version Manager:
setupgolangandsetupnvmfor persistent environments in/opt, which will be its own volume.
For more information, visit the WireStarter GitHub repository.
WireStarter also has the capability to setup and run pre-made AI Agent demo's. To install and run an AI Agent:
- Type exit or ctrl+d to go back to exit the
swshcommand line - Then type
setup.sh - Choose a language to work with
- Select the Ai Agent to install.
*Please note each language has different AI Agents*

