-
Notifications
You must be signed in to change notification settings - Fork 9
HOWTO: Use your own blender distributive
By default BlendNet provides a way to choose the original available version of blender distributive, but in case you want to use the additional plugins, settings or a custom build of blender - there is a way to set the custom url/checksum to your own distributive.
Here you will find how to tell the cloud providers (GCP/AWS/...) which distributive of blender to
use on Manager and Agents. For the Local provider you have the complete control over the
environments, and about how to setup that you can read here: HOWTO: Setup provider: Your own render farm (local).
The way cloud providers is working - they download the required version of the blender distributive
during the instance creation (exactly creation, during stop/start procedure it will reuse the
existing unpacked distributive (BlendNet v0.3.2)). When the Manager or Agent going through startup
procedure it checks /srv/blender/blender executable existing
and if there is none - it downloads
the specified distributive (for now it uses the special instance startup script where the
url/checksum is put during the instance creation) URL using HTTP protocol and verifies the checksum.
Later it unpacks the distributive using tar
to /srv/blender and uses it to run Manager or Agent.
Quite simple process, but the important thing for our case - you will need to make sure you have the custom distributive available through HTTP (or valid HTTPS) and the Manager or Agent have direct access to this URL.
The easiest way to create your own distributive - is to repack the original blender release. You can download the required version from the official blender site: https://www.blender.org/ - make sure you're downloading linux amd64 tar.* (tar.gz, tar.bz2, tar.xz, ...) binaries and it's recommended to use linux host to execute the operations to be sure the file permissions will be set correctly.
Now just unpack it somewhere:
$ tar xf blender-2.90-linux64.tar.xz
and you will get the folder, like blender-2.90.0-linux64 where all the files of dist are stored.
It's time to apply your changes - the dist contains multiple interesting folders, but the most interesting ones is:
-
blender-2.90.0-linux64/2.90/scripts/addons/- to put your unpacked addons here -
blender-2.90.0-linux64/2.90/scripts/startup/- contains the blender startup scripts. You can modify them to change the startup behavior, for example to activate the new addon.
It's important to save the existing distributive structure - means you need to pack the entire folder, not the binaries. And it's better to preserve the original compression mechanism - like XZ in our case:
$ tar -c --xz -f ./blender-2.90-linux64-custom.tar.xz ./blender-2.90.0-linux64
When you get the dist archive file you can calculate it's checksum - to be sure that the file will not be altered during receiving process on Manager and Agent. So let's make it happen:
$ sha256sum ./blender-2.90-linux64-custom.tar.xz
and the result will look like:
581c2a377275617092e9ab31343c0550772056e6bddfdbf80e5898b1d8b21974 ../blender-2.90-linux64-custom.tar.xz
You will need to use the first part (64 symbols) of this result later in Addon UI.
The custom distributive should be available for Manager & Agent instance to download and you can use the cloud bucket for such purpose. Cloud buckets are quite complicated things in terms of access restrictions, so to simplify the example we can use the bucket was already created by BlendNet during the first Manager instance creation - it usually looks like:
-
AWS -
blendnet-<SESSION_ID>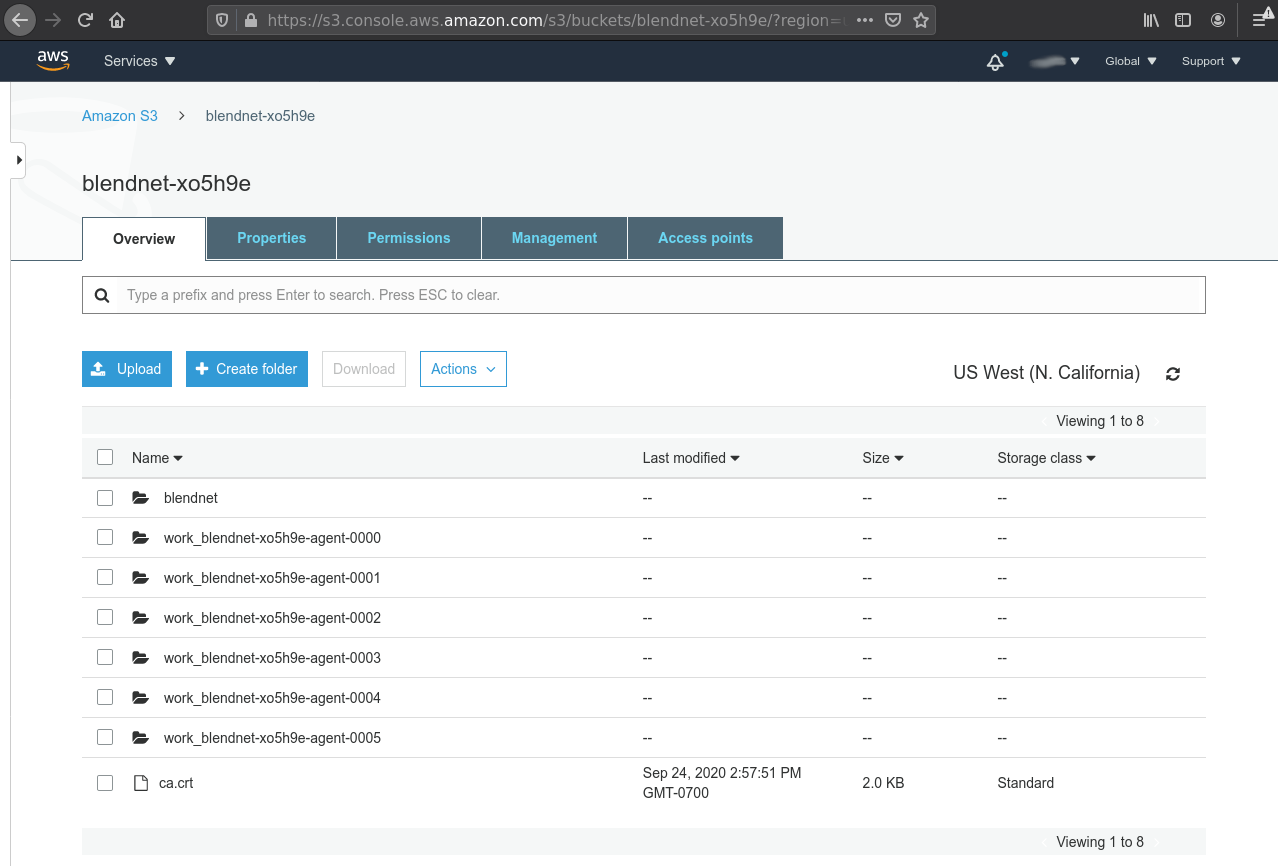
-
GCP -
<PROJECT_ID>-blendnet-<SESSION_ID>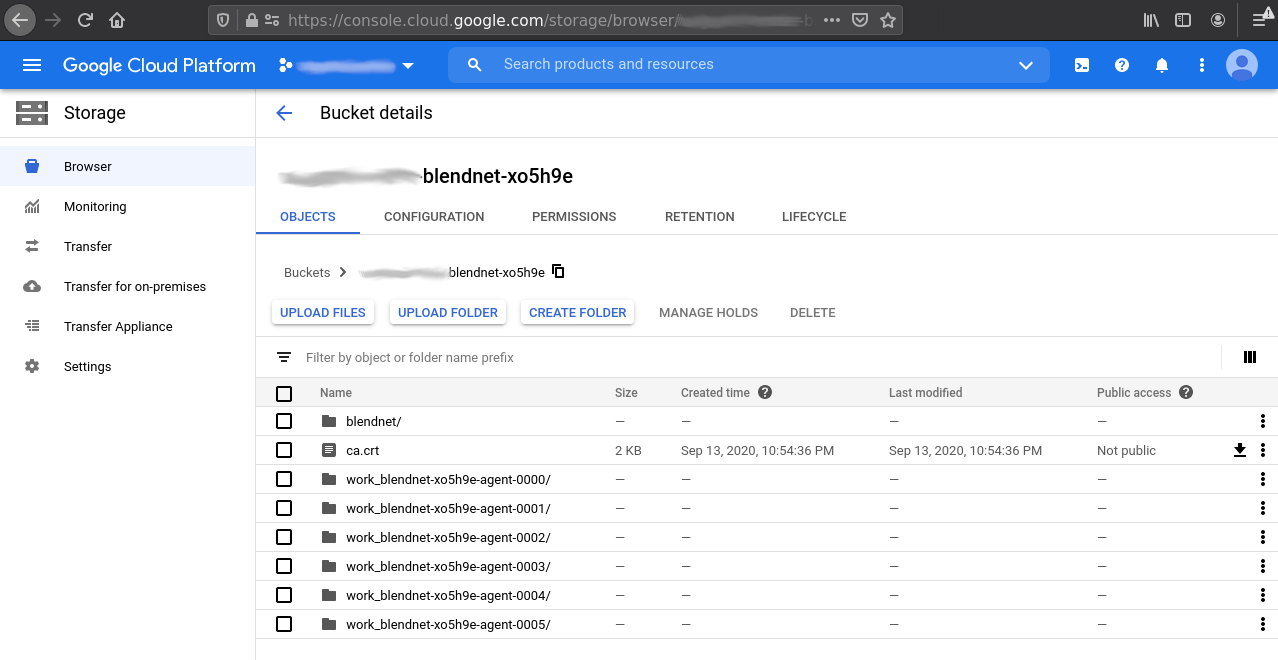
Find the upload button and choose your created custom distributive file:
-
AWS:
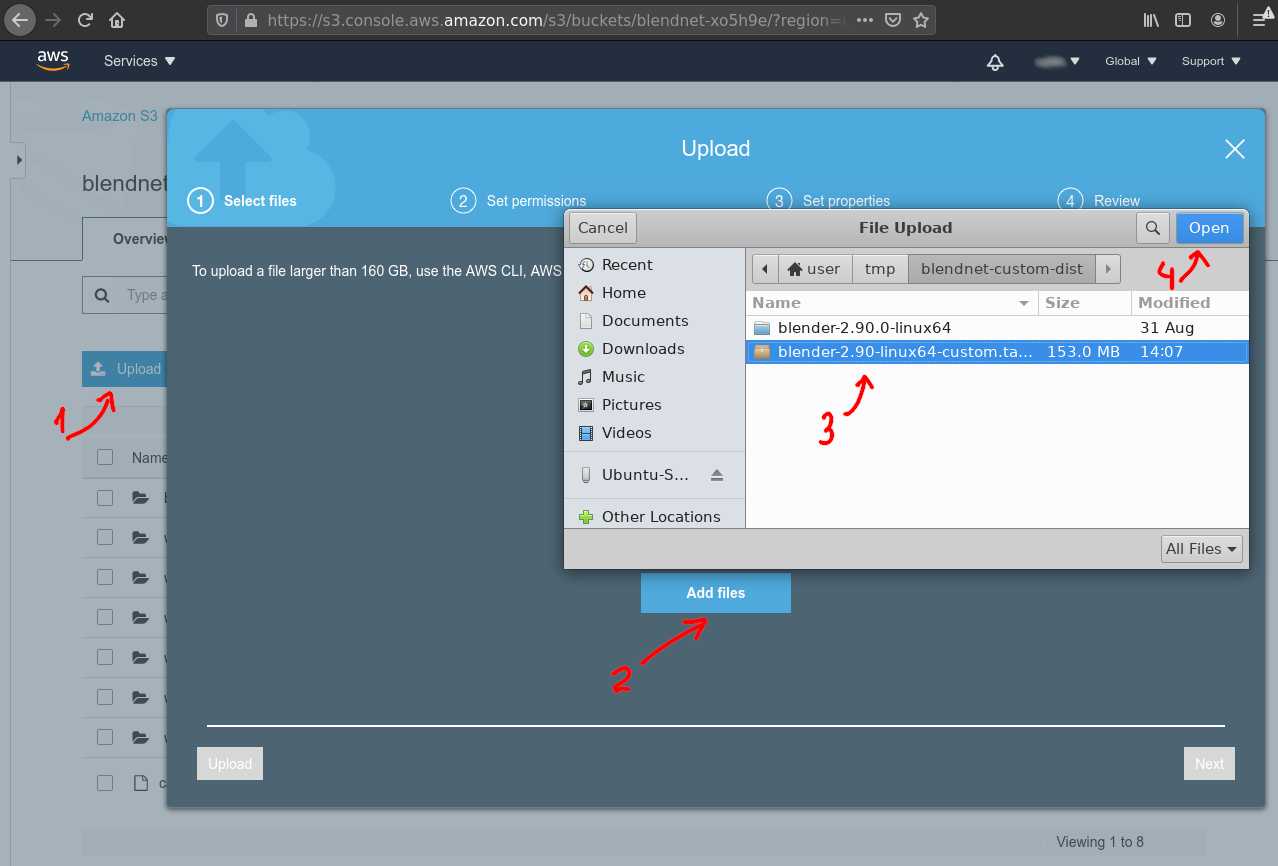
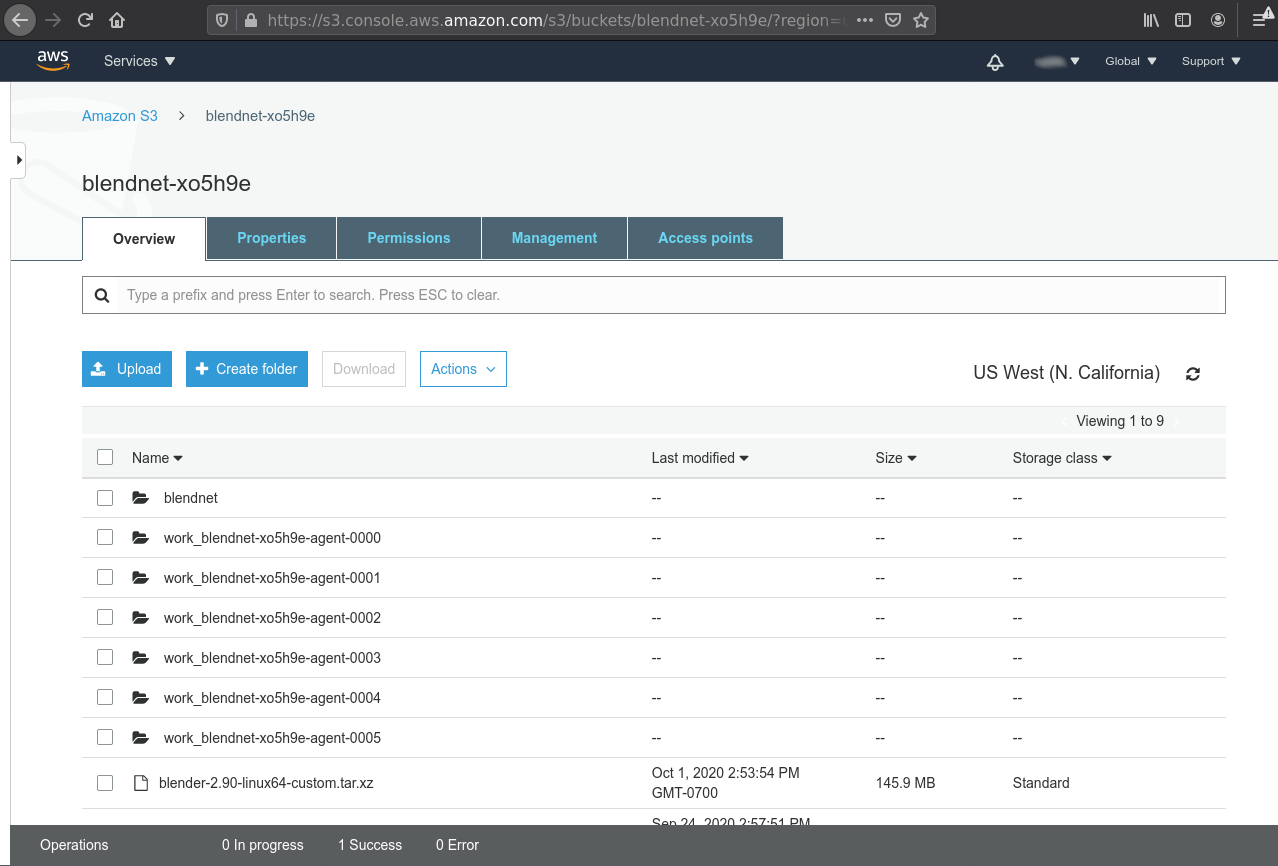
-
GCP:
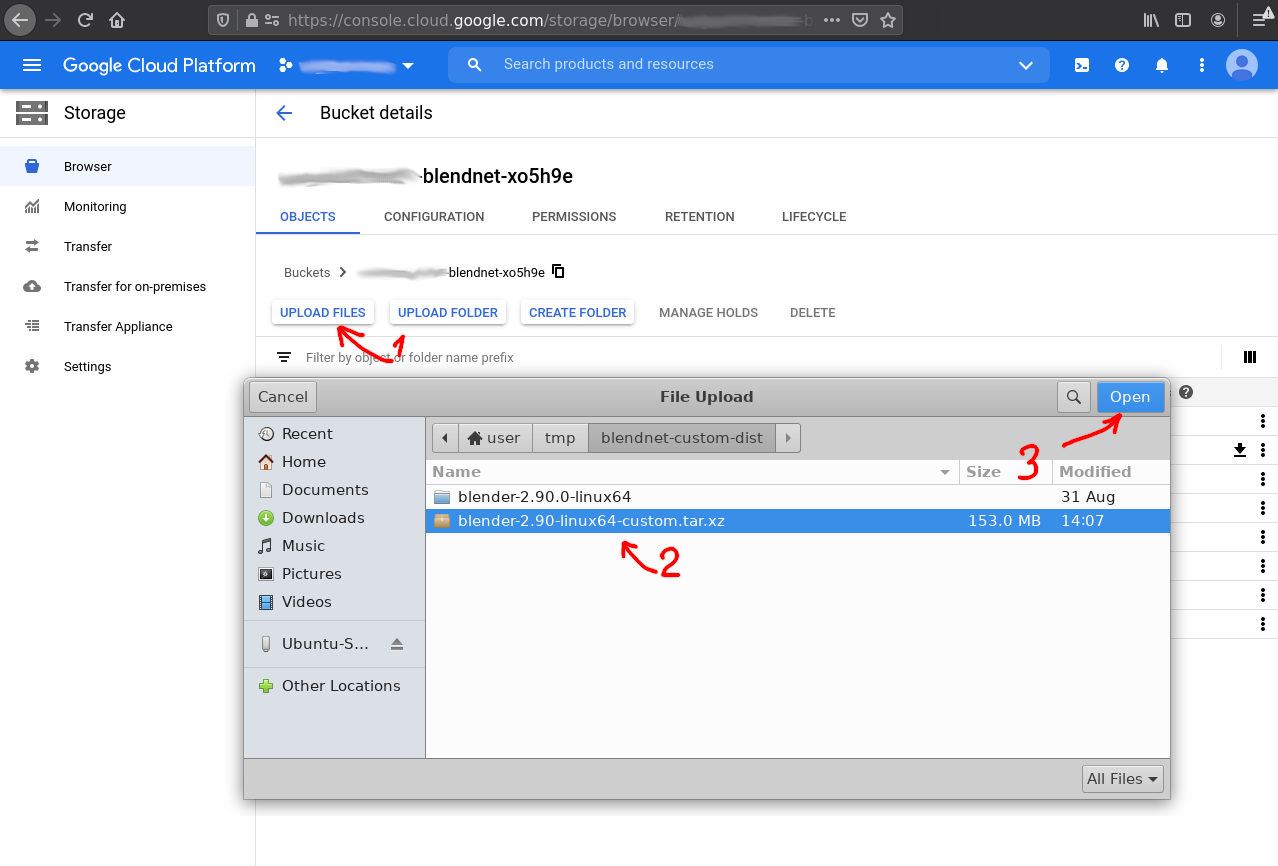
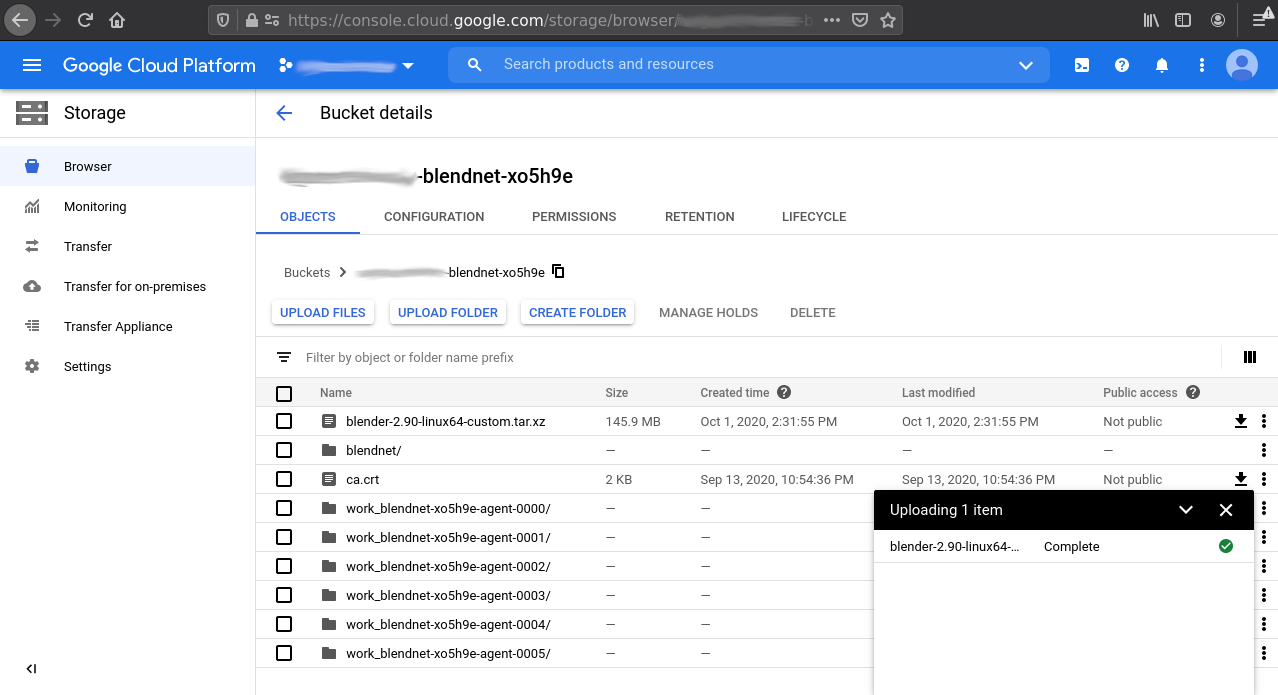
-
AWS:
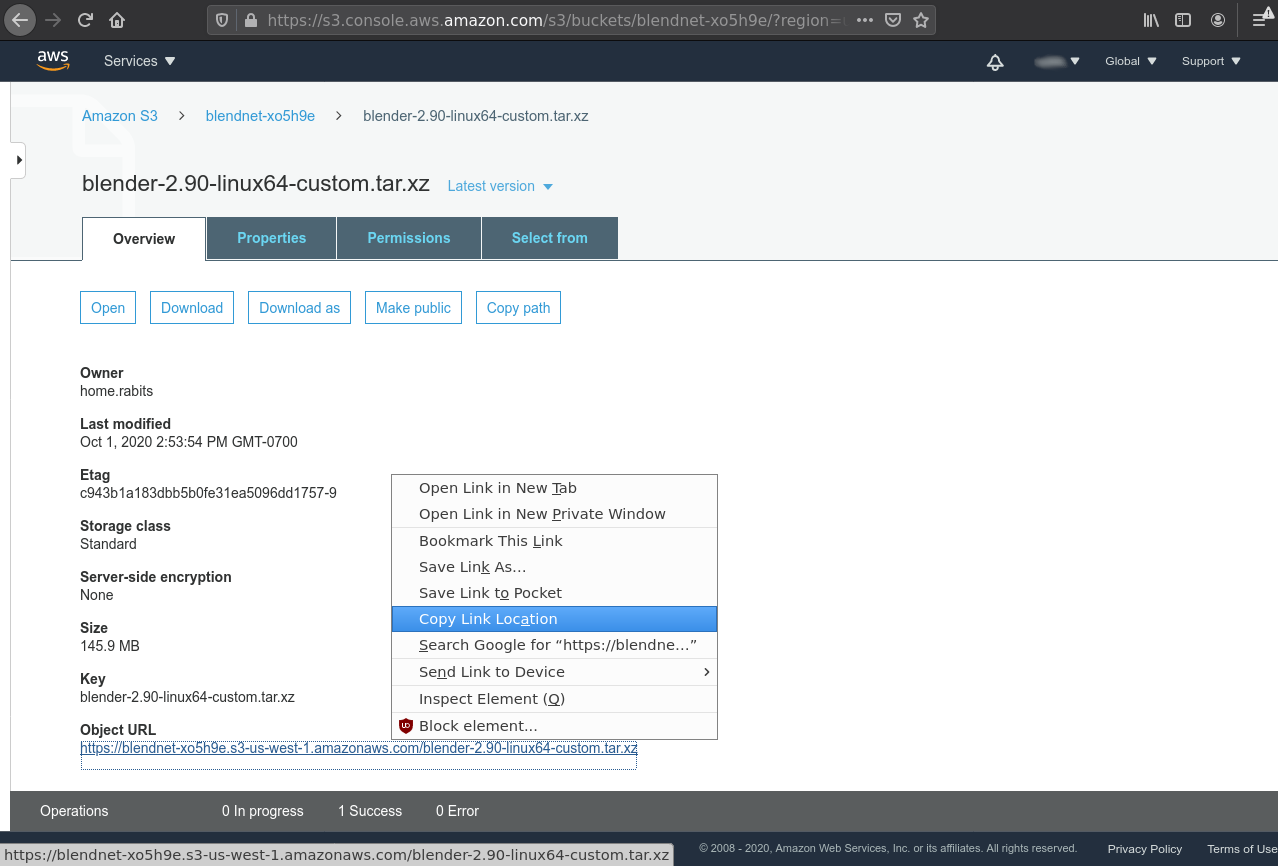
-
GCP:
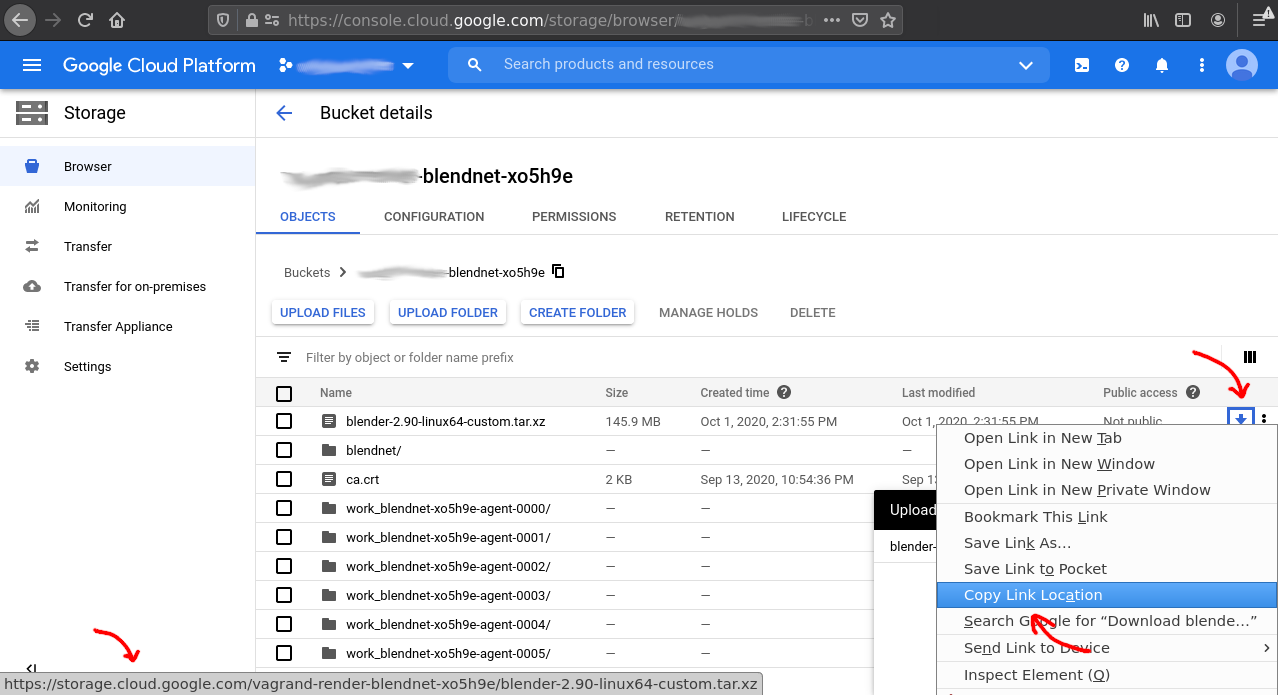
Now when it's prepared - you can modify the Addon settings, just check the checkbox and put the URL and checksum into the fields.
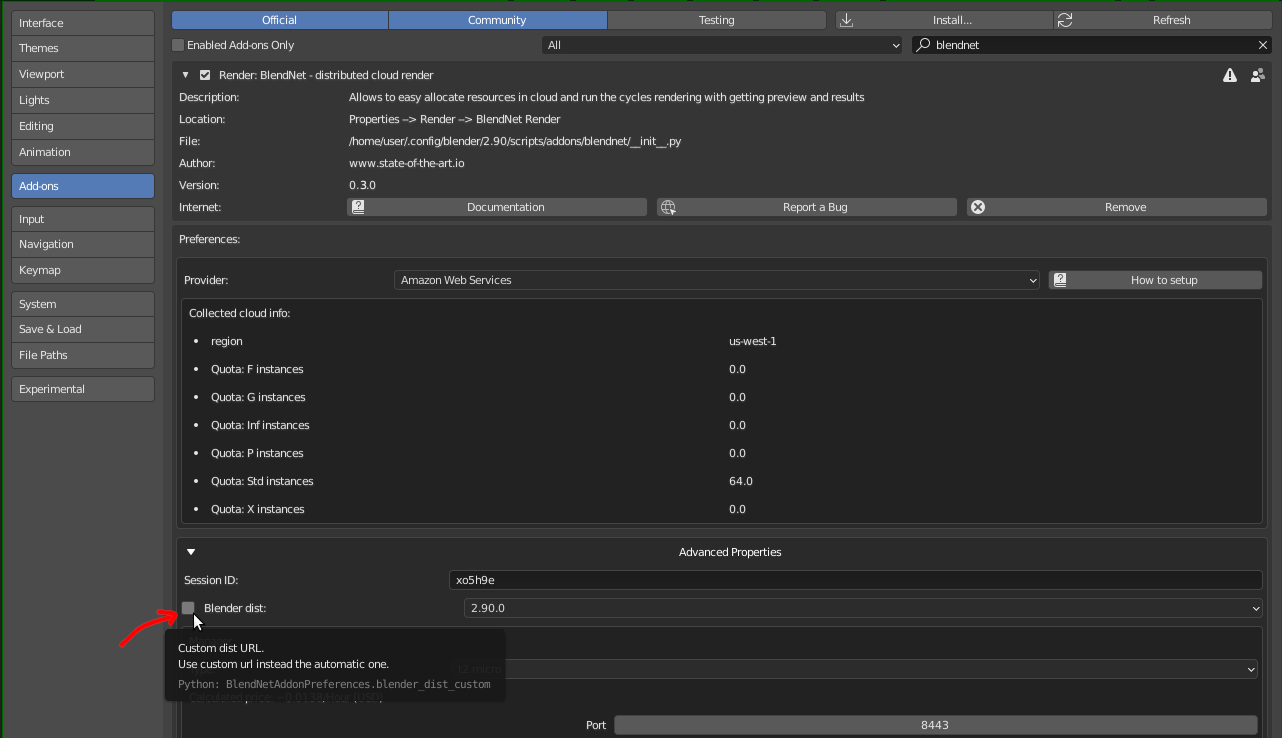
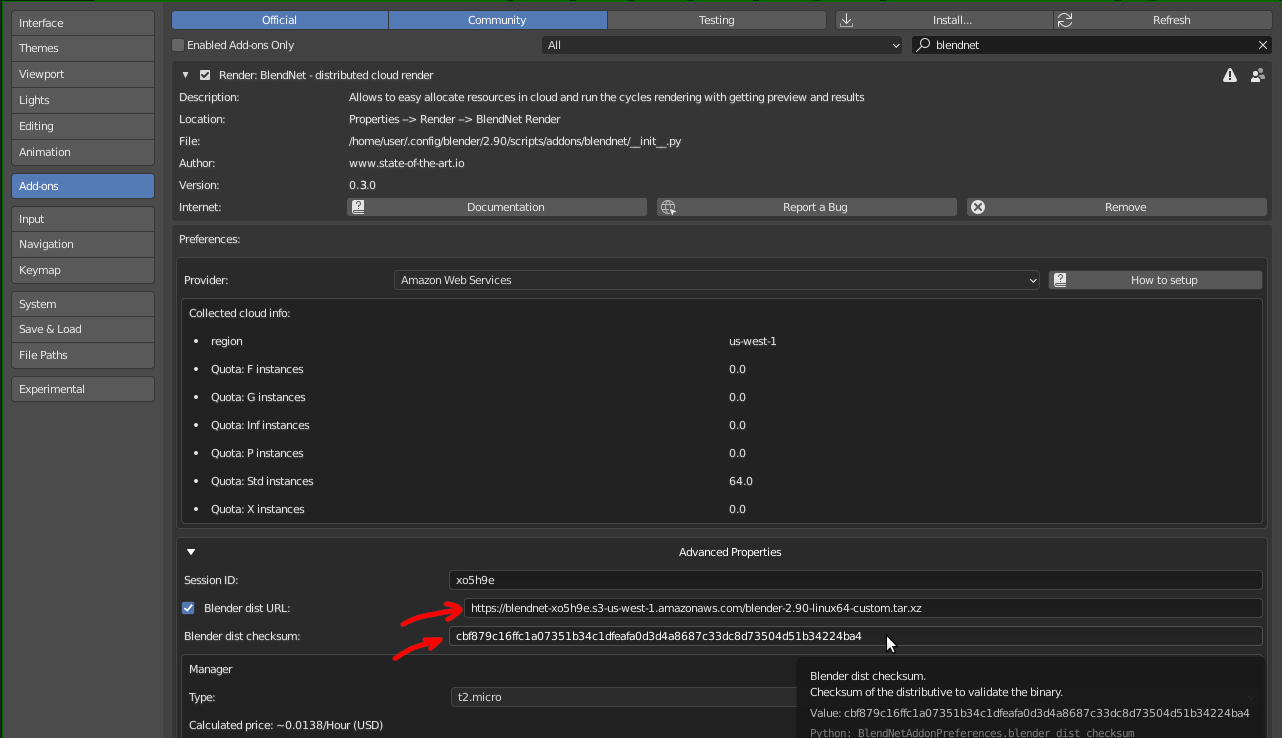
When it's done - you can recreate the Manager instance and use your own custom blender for render.