-
Notifications
You must be signed in to change notification settings - Fork 0
Home
We have created a example app for the cordova sdk integration.
Please check the Example directory for know to how the Trackier SDK can be integrated.
Basic integration First, download the library from npm:
$ npm install trackier/cordova_sdk
In case you are using Ionic Native, Please follow the below steps for integration:-
- Install the the trackier cordova sdk by run the below commands in Terminal/Cmd.
$ npm install trackier/cordova_sdk
- You need to add the awesome cordova plugins by run the below commands in Terminal/Cmd.
$ npm install @awesome-cordova-plugins/core --save
- Run the below commands in Terminal/Cmd.
$ ionic cap sync
After following all the above steps, Please add the trackier folder in the the @awesome-cordova-plugins which is located in the node_modules.
You can download the trackier folder by the click on below link.
Link - https://github.com/trackier/cordova_sdk/releases/tag/v1.6.29
Please check the below screenshots for the reference.
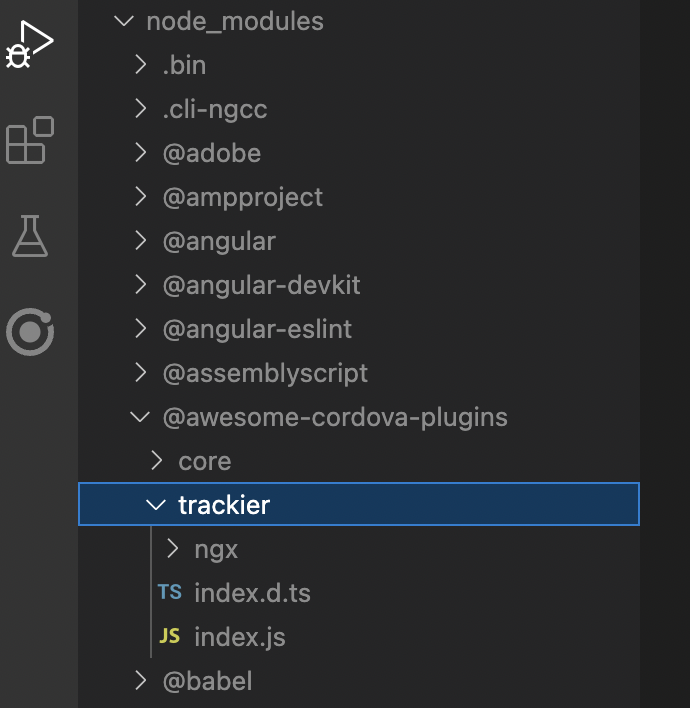
Your node_modules looks similar like above screenshots.
For initialising the Trackier SDk. First, We need to generate the Sdk key from the Trackier MMP panel.
Following below are the steps to retrieve your SDK key:-
- Login to your Trackier MMP account.
- Select the application from dashboard which you want to get the app token for.
- Go to SDK Integration via the left side navigation menu.
- Copy the SDK Key there to be used as the "app_token".
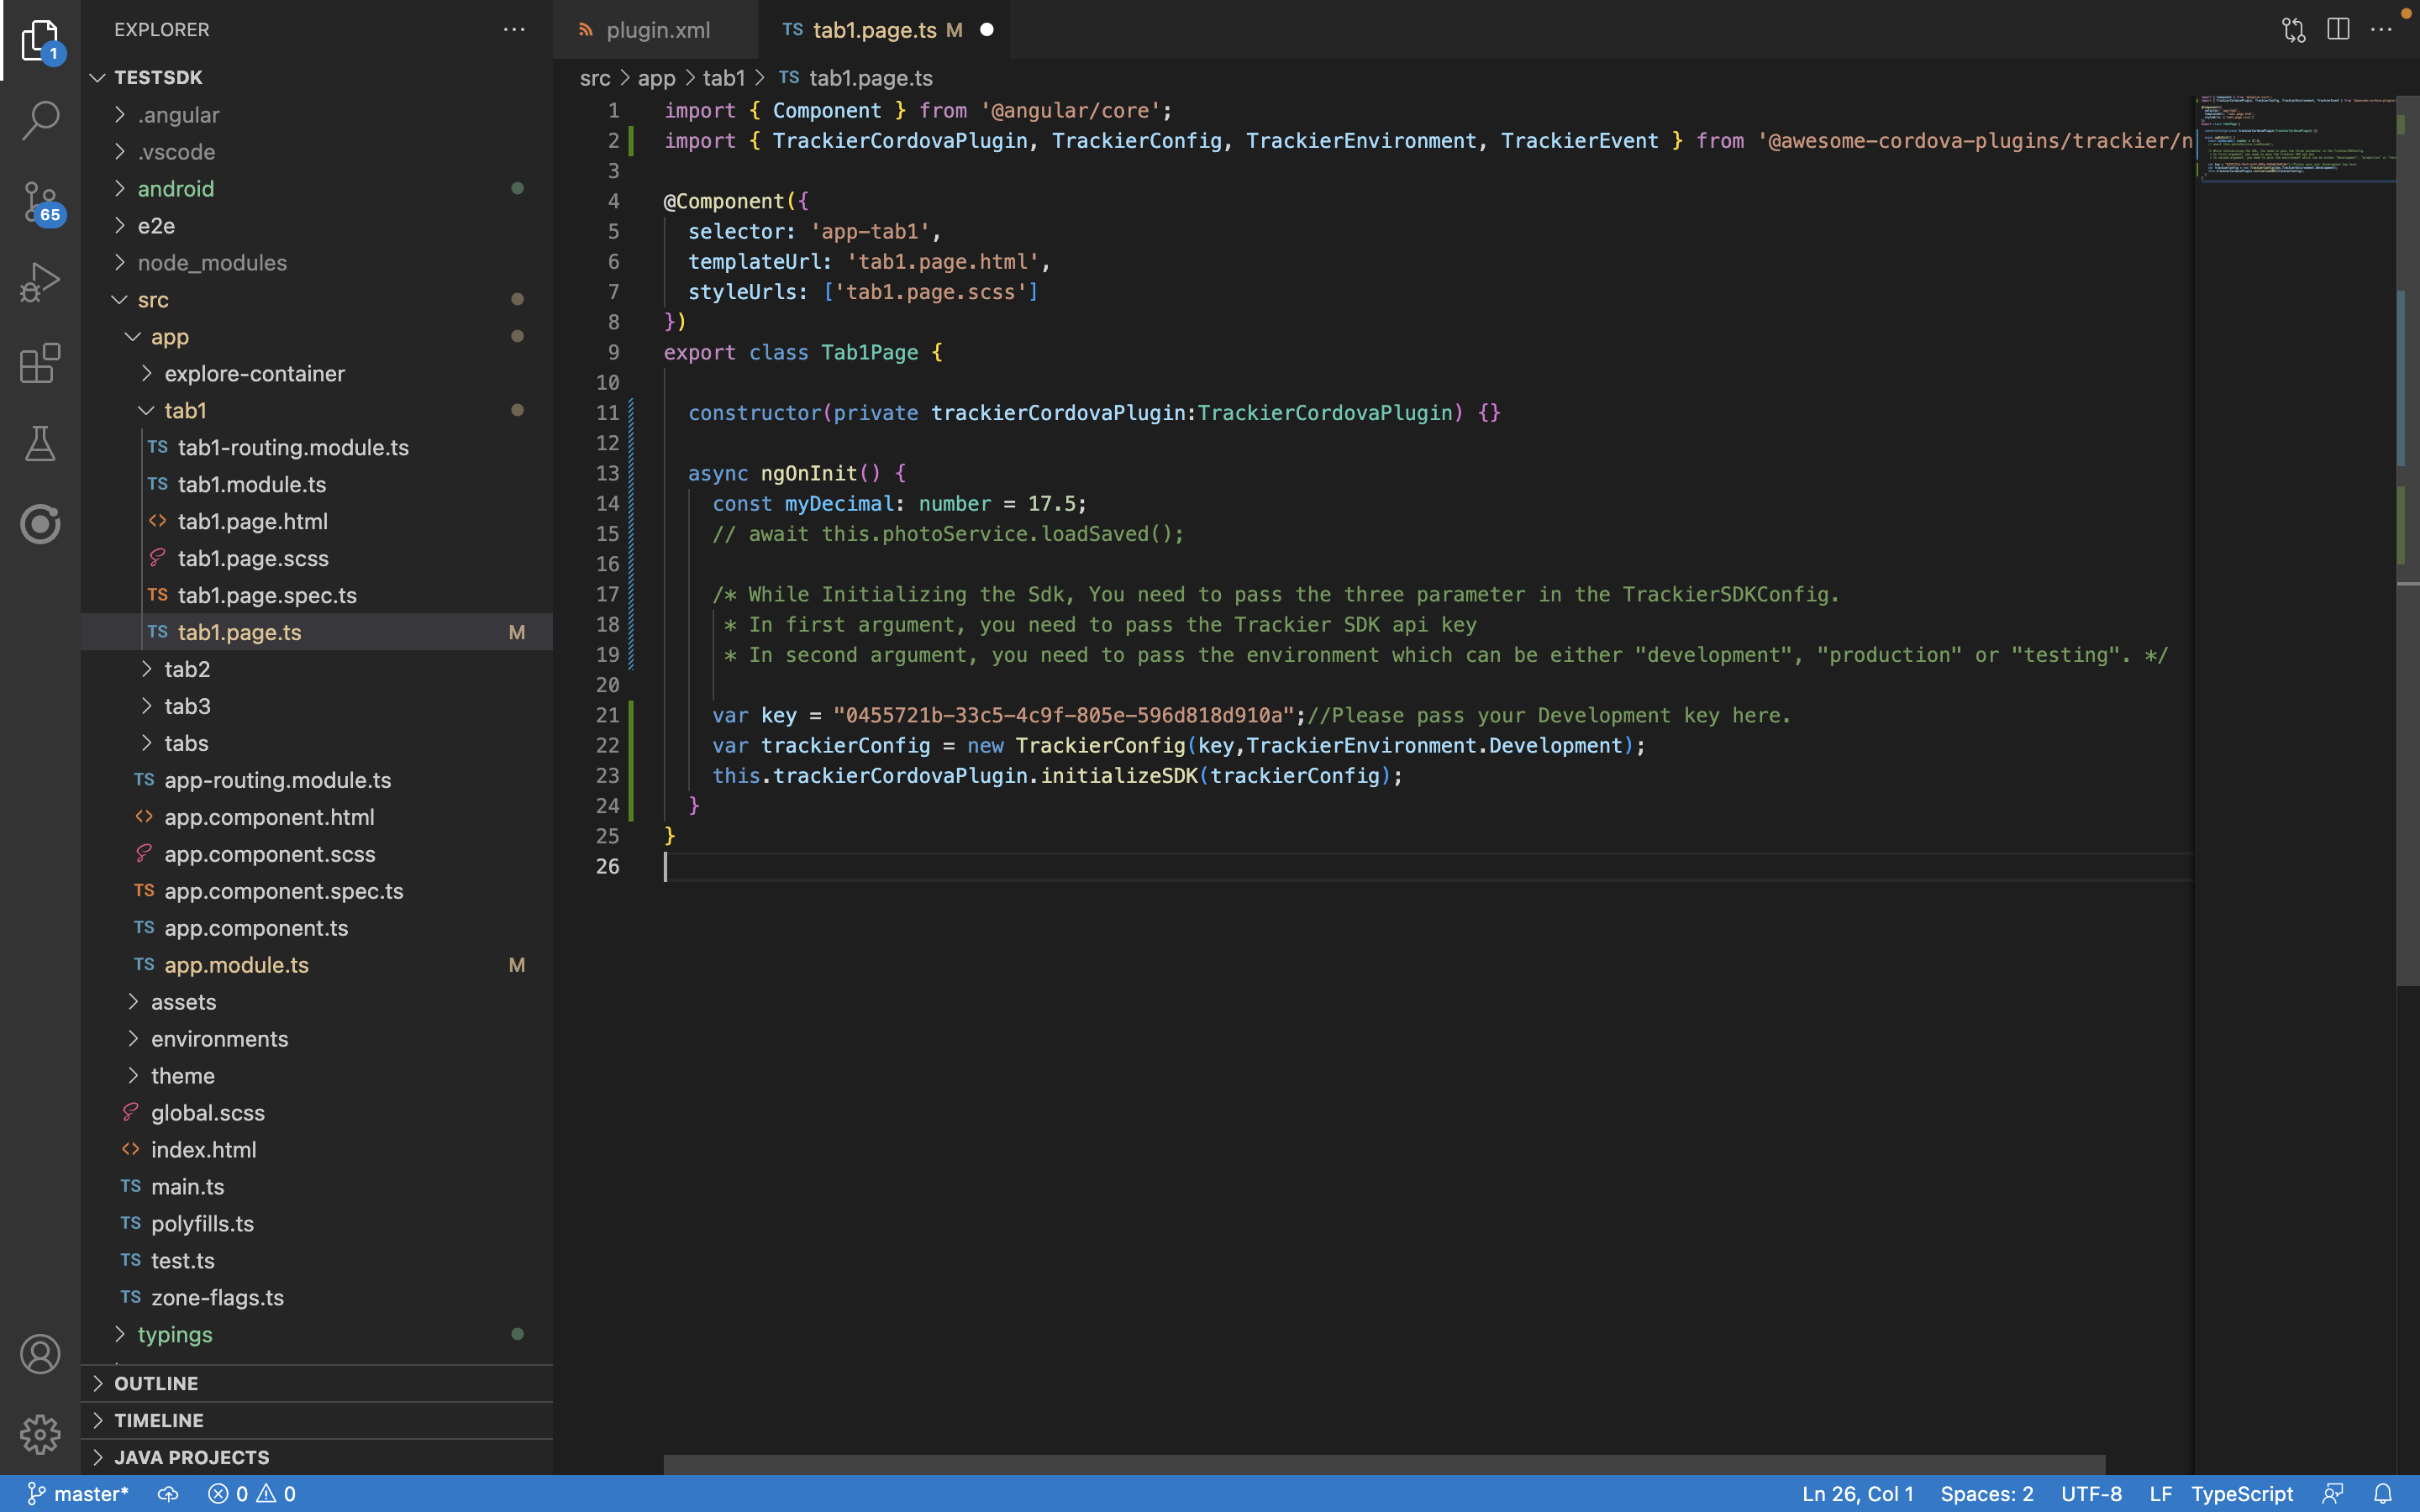
After following all the steps, Your SDK key should look like the below screenshot
Screenshot[1]

The Trackier SDK automatically registers with the Cordova events deviceready, resume and pause.
Depending on whether you build your app for testing or for production, you must set environment with one of these values:
TrackierEnvironment.Development
TrackierEnvironment.Production
TrackierEnvironment.Testing
In your index.js file after you have received the deviceready event, add the following code to initialize the Trackier SDK:
import { Component } from '@angular/core';
import { TrackierCordovaPlugin, TrackierConfig, TrackierEnvironment, TrackierEvent } from '@awesome-cordova-plugins/trackier/ngx';

@Component({
  selector: 'app-tab1',
  templateUrl: 'tab1.page.html',
  styleUrls: ['tab1.page.scss']
})

export class Tab1Page {

  constructor(private trackierCordovaPlugin:TrackierCordovaPlugin) {}

  async ngOnInit() {

    /* While Initializing the Sdk, You need to pass the three parameter in the TrackierSDKConfig.
     * In first argument, you need to pass the Trackier SDK api key
     * In second argument, you need to pass the environment which can be either "development", "production" or "testing". */

    var key = "0455721b-XXXX-XXXXX-596d818d910a";//Please pass your Development key here.
    var trackierConfig = new TrackierConfig(key,TrackierEnvironment.Development);
    this.trackierCordovaPlugin.initializeSDK(trackierConfig);
  }
}
Also, you can the screenshot of example below:-
Screenshot[2]
In case you are using ionic native application:
1)Register the provider at app.module.ts:
You need to import the plugin and add the provider into app.module.ts, so add the import line and the provider in @NgModule:
import { NgModule } from '@angular/core';
import { BrowserModule } from '@angular/platform-browser';
import { RouteReuseStrategy } from '@angular/router';
import { IonicModule, IonicRouteStrategy } from '@ionic/angular';
import { AppRoutingModule } from './app-routing.module';
import { AppComponent } from './app.component';
import { TrackierCordovaPlugin} from '@ionic-native/trackier-cordova-plugin/ngx';

@NgModule({
  declarations: [AppComponent],
  entryComponents: [],
  imports: [BrowserModule, IonicModule.forRoot(), AppRoutingModule],
  providers: [TrackierCordovaPlugin,{ provide: RouteReuseStrategy, useClass: IonicRouteStrategy }],
  bootstrap: [AppComponent]
})
export class AppModule {}Trackier events trackings enable to provides the insights into how to user interacts with your app. Trackier sdk easily get that insights data from the app. Just follow with the simple events integration process
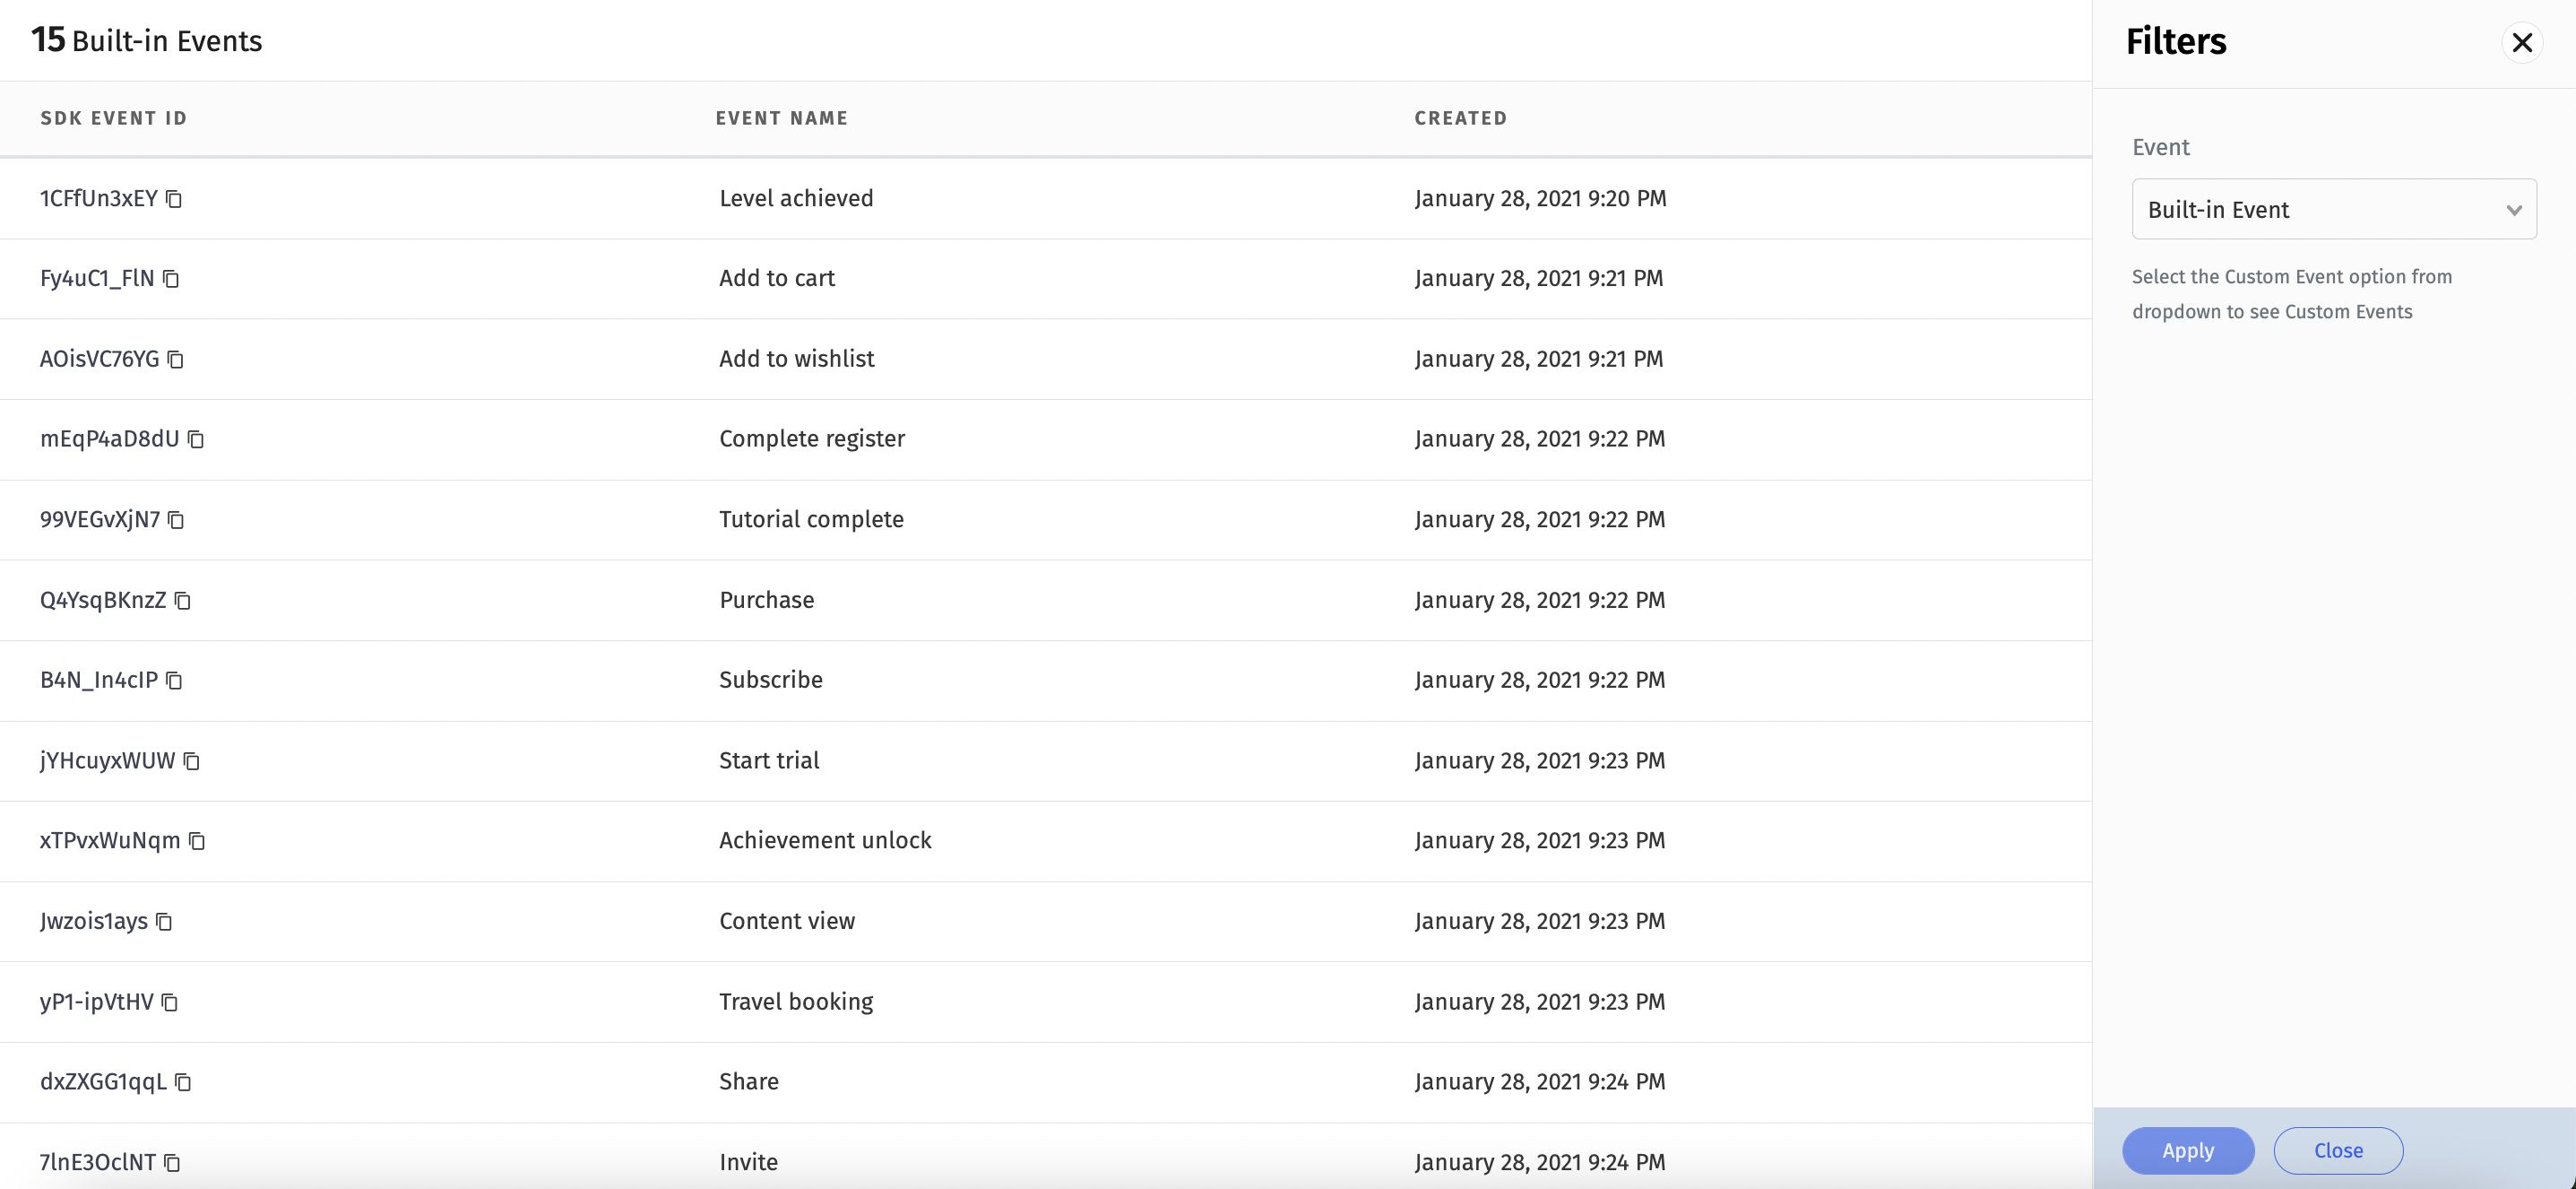
Trackier provides the Built-in events and Customs events on the Trackier panel.
Predefined events are the list of constants events which already been created on the dashboard.
You can use directly to track those events. Just need to implements events in the app projects.
Screenshot[3]
import { Component } from '@angular/core';
import { TrackierCordovaPlugin, TrackierConfig, TrackierEnvironment, TrackierEvent } from '@awesome-cordova-plugins/trackier/ngx';

@Component({
  selector: 'app-tab3',
  templateUrl: 'tab3.page.html',
  styleUrls: ['tab3.page.scss']
})

export class Tab3Page {

  constructor(private trackierCordovaPlugin:TrackierCordovaPlugin) {}

  async ngOnInit() {

    // Below are the example of built-in events function calling
    // The arguments - "1CFfUn3xEY" passed in the Trackier event class is Events id
    var trackierEvent = new TrackierEvent("1CFfUn3xEY");

  /* Below are the function for the adding the extra data,
     You can add the extra data like login details of user or anything you need.
     We have 10 params to add data, Below 5 are mentioned */
    trackierEvent.setParam1("Param 1");
    trackierEvent.setParam2("Param 2");
    trackierEvent.setParam3("Param 3");
    trackierEvent.setParam4("Param 4");
    trackierEvent.setParam5("Param 5");
    trackierEvent.setCouponCode("TestCode");
    this.trackierCordovaPlugin.setUserId("TesUserId");
    this.trackierCordovaPlugin.setUserName("Test");
    this.trackierCordovaPlugin.setUserPhone("8130XXX721");
    this.trackierCordovaPlugin.setUserEmail("[email protected]");
    this.trackierCordovaPlugin.trackEvent(trackierEvent);
  }

}
Note:- Argument in Trackier event class is event Id.
You can integrate inbuilt params with the event. In-built param list are mentioned below:-
orderId, revenue, currency, param1, param2, param3 ,param4, param5, param6, param7, param8, param9, param10.
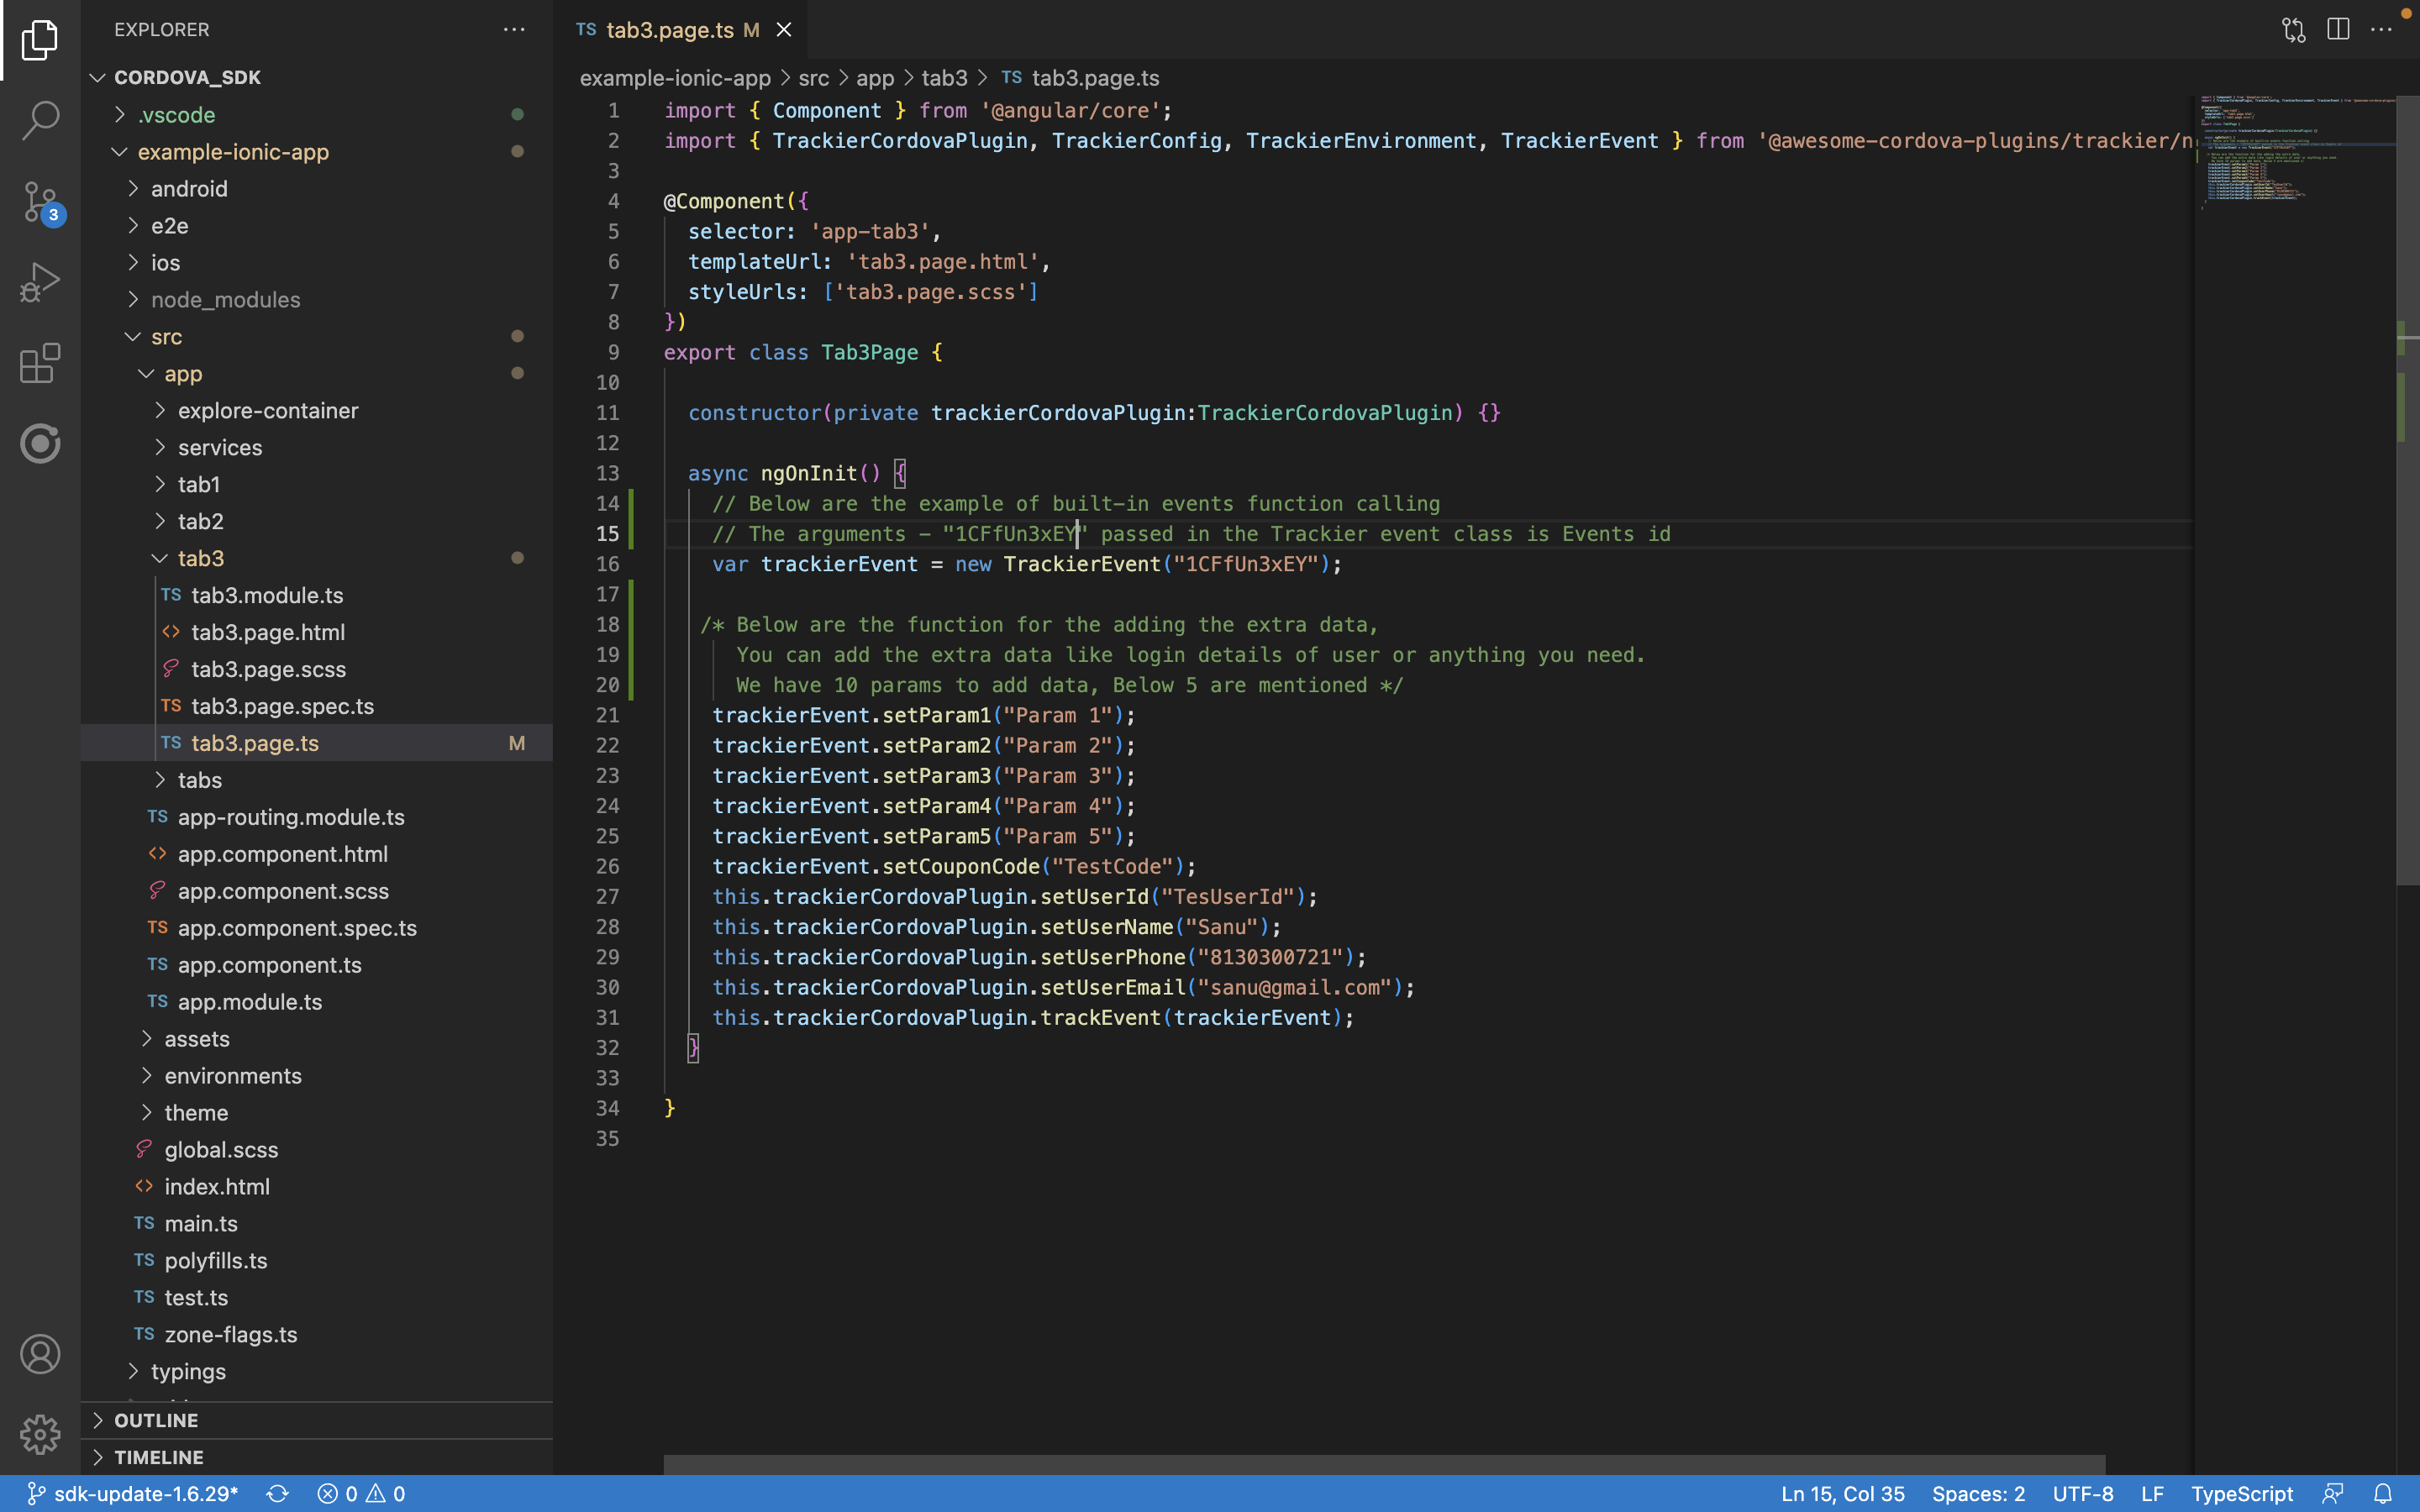
Below are the screenshot of following example
Screenshot[4]
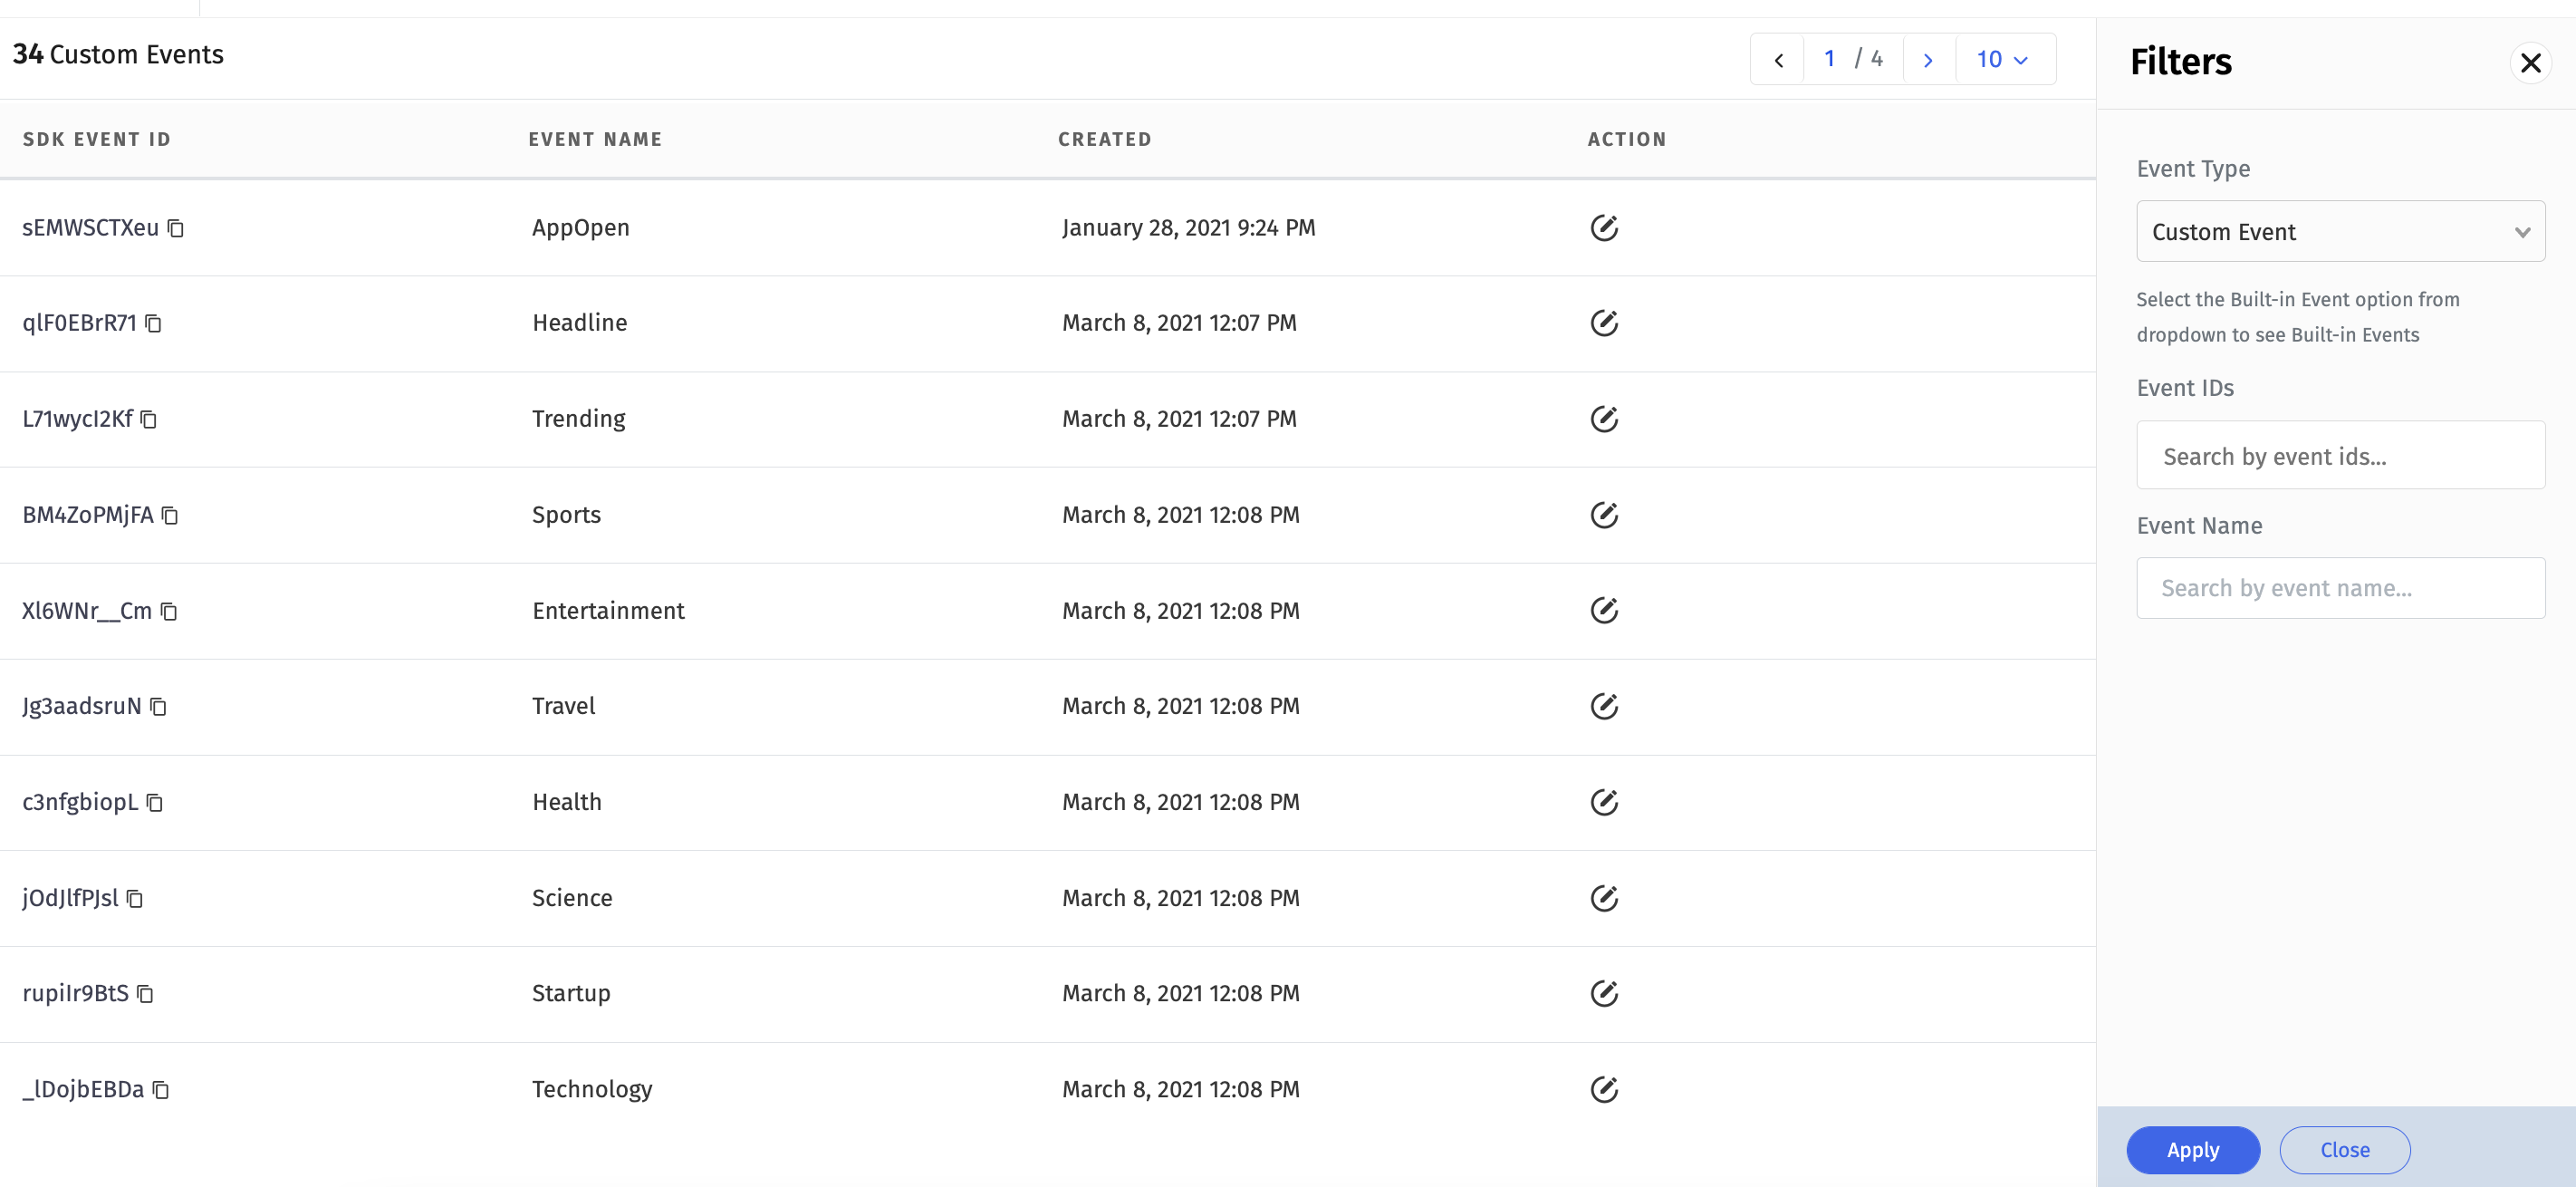
Customs events are created by user as per their required business logic.
You can create the events in the Trackier dashboard and integrate those events in the app project.
Screenshot[5]
import { Component } from '@angular/core';
import { TrackierCordovaPlugin, TrackierConfig, TrackierEnvironment, TrackierEvent } from '@awesome-cordova-plugins/trackier/ngx';

@Component({
  selector: 'app-tab3',
  templateUrl: 'tab3.page.html',
  styleUrls: ['tab3.page.scss']
})

export class Tab3Page {

  constructor(private trackierCordovaPlugin:TrackierCordovaPlugin) {}

  async ngOnInit() {
    // Below are the example of customs events function calling
    // The arguments - "1CFfUn3xEY" passed in the Trackier event class is Events id
    var trackierEvent = new TrackierEvent("1CFfUn3xEY");

 /* Below are the function for the adding the extra data,
    You can add the extra data like login details of user or anything you need.
    We have 10 params to add data, Below 5 are mentioned */
    trackierEvent.setParam1("Param 1");
    trackierEvent.setParam2("Param 2");
    trackierEvent.setParam3("Param 3");
    trackierEvent.setParam4("Param 4");
    trackierEvent.setParam5("Param 5");
    trackierEvent.setCouponCode("TestCode");
    this.trackierCordovaPlugin.setUserId("TesUserId");
    this.trackierCordovaPlugin.setUserName("Test");
    this.trackierCordovaPlugin.setUserPhone("8130XXX721");
    this.trackierCordovaPlugin.setUserEmail("[email protected]");
    this.trackierCordovaPlugin.trackEvent(trackierEvent);
  }

}
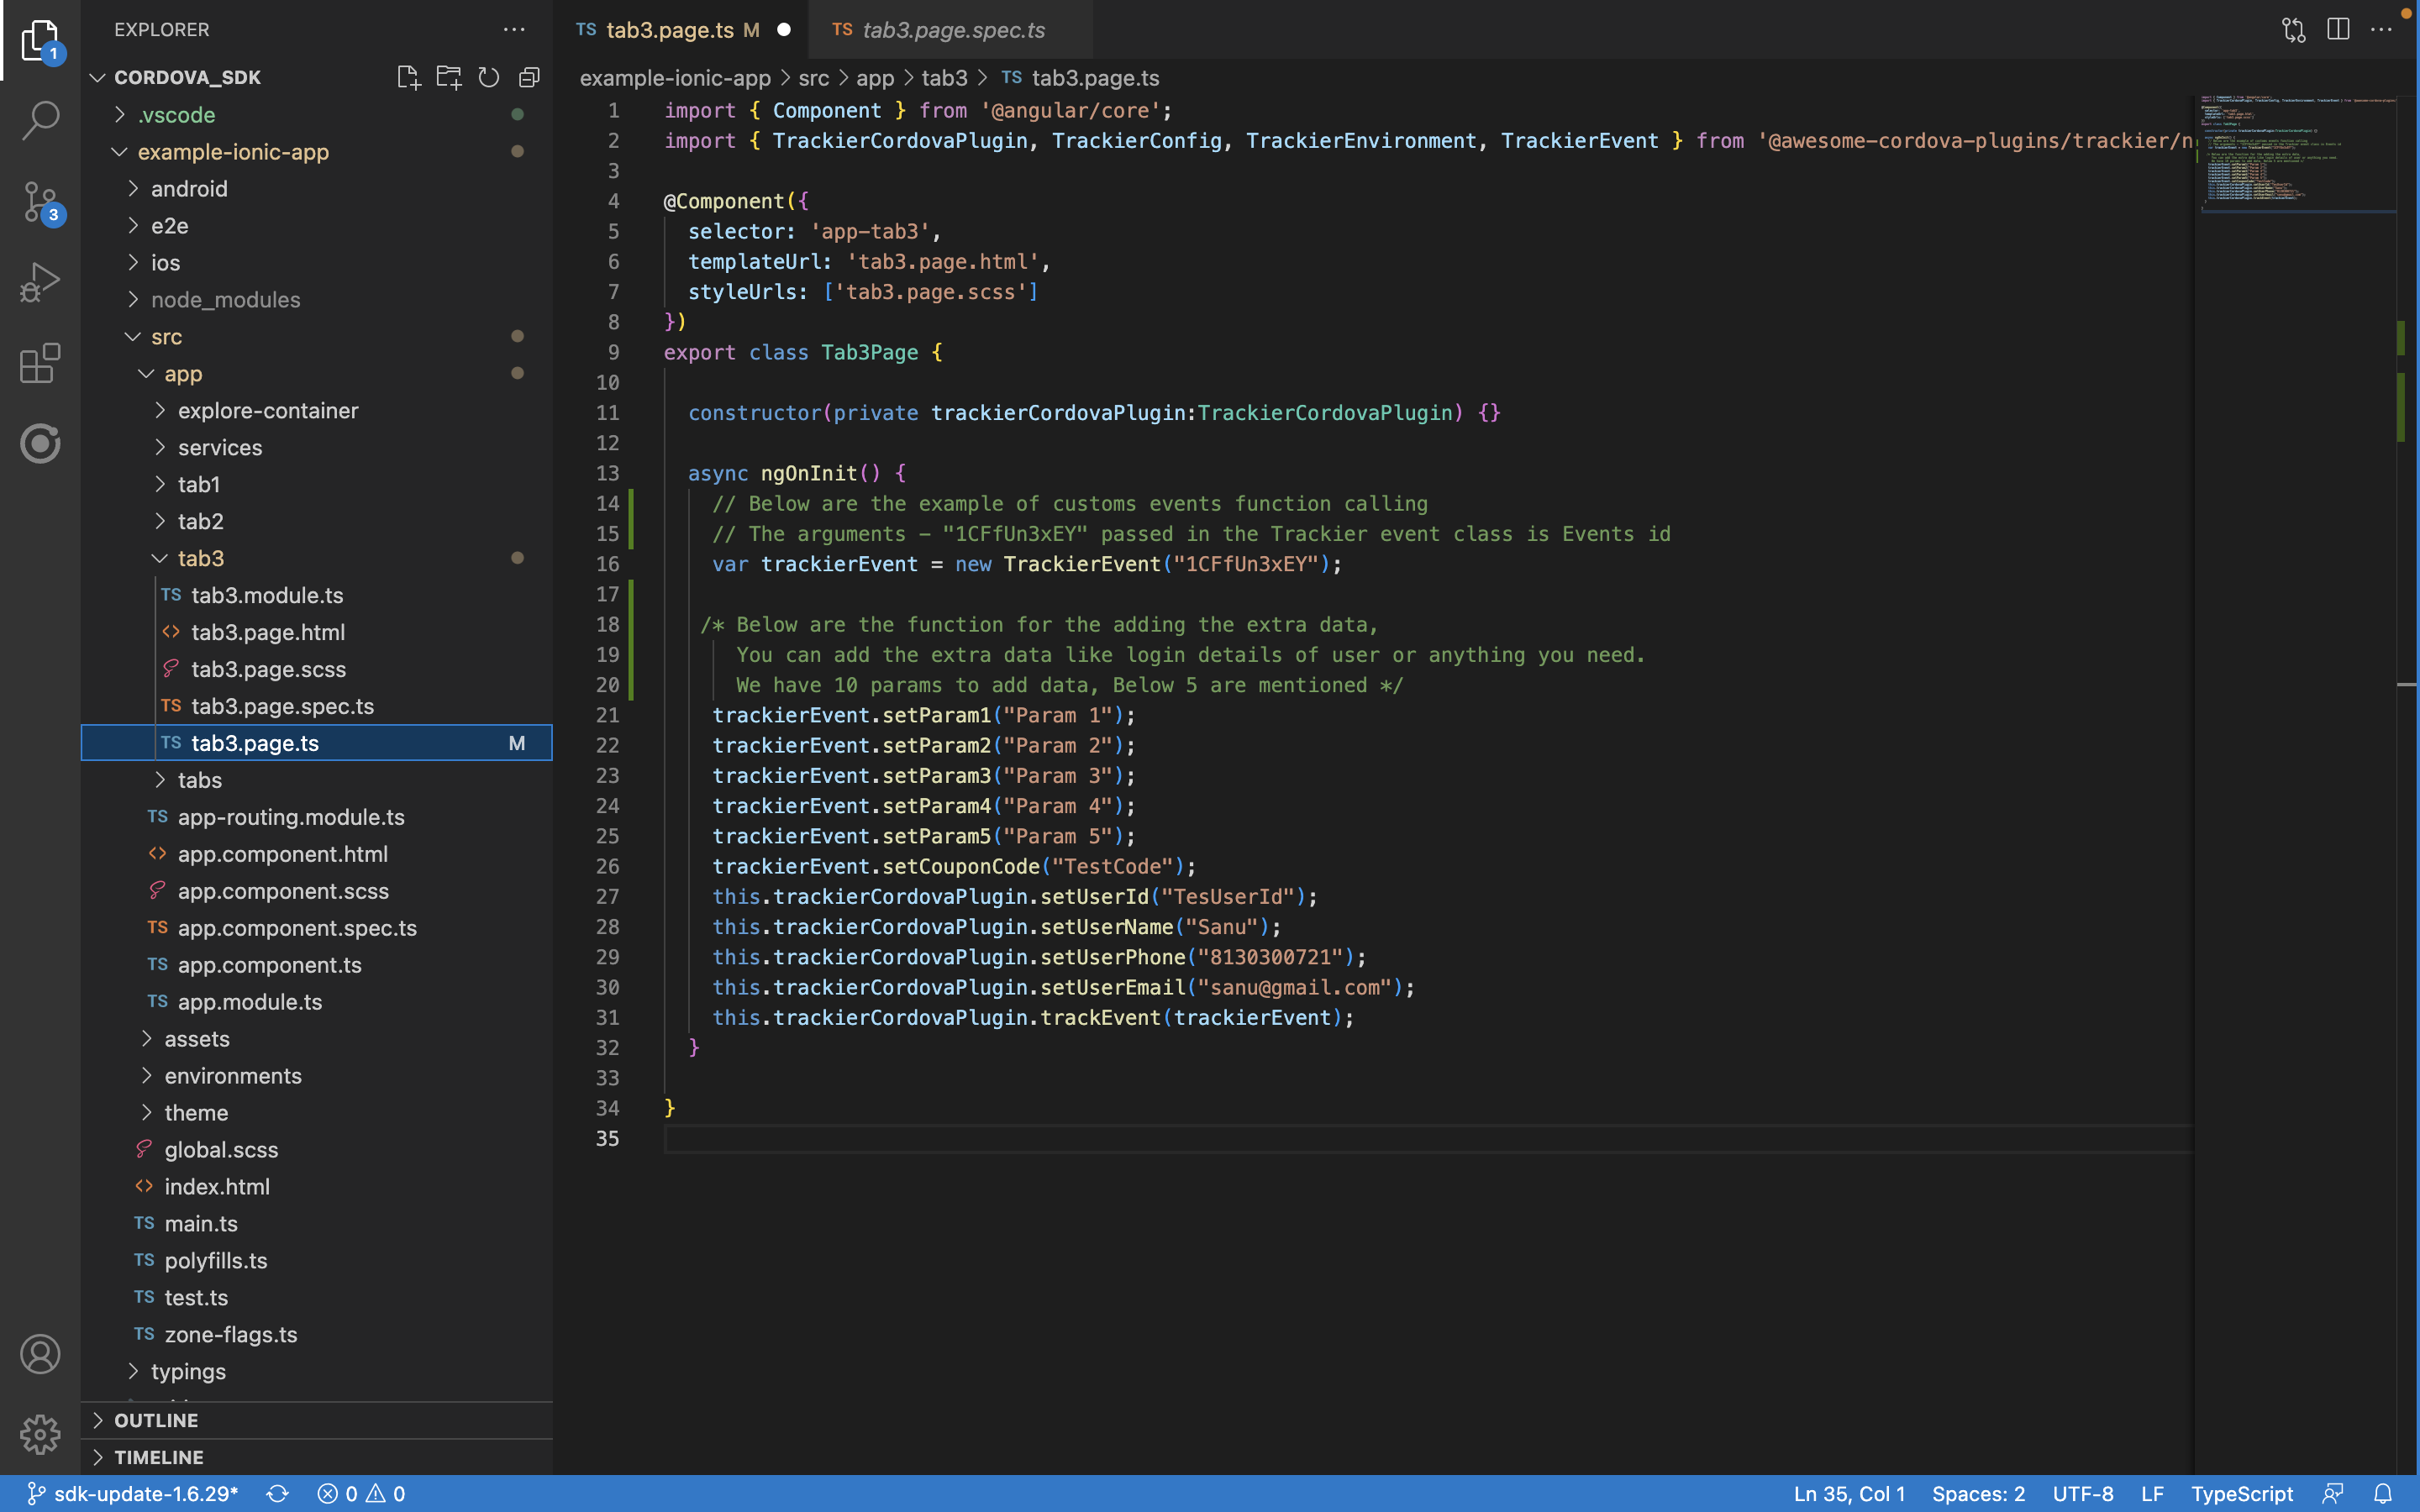
Below are the screenshot of customs events calling
Screenshot[6]
Trackier allow user to pass the revenue data which is generated from the app through Revenue events. It is mainly used to keeping record of generating revenue from the app and also you can pass currency as well.
import { Component } from '@angular/core';
import { TrackierCordovaPlugin, TrackierConfig, TrackierEnvironment, TrackierEvent } from '@awesome-cordova-plugins/trackier/ngx';

@Component({
  selector: 'app-tab3',
  templateUrl: 'tab3.page.html',
  styleUrls: ['tab3.page.scss']
})

export class Tab3Page {

  constructor(private trackierCordovaPlugin:TrackierCordovaPlugin) {}

  async ngOnInit() {
    // Below are the example of customs events function calling
    // The arguments - "1CFfUn3xEY" passed in the Trackier event class is Events id
    var trackierEvent = new TrackierEvent("1CFfUn3xEY");

 /* Below are the function for the adding the extra data,
    You can add the extra data like login details of user or anything you need.
    We have 10 params to add data, Below 5 are mentioned */
    trackierEvent.setParam1("Param 1");
    trackierEvent.setParam2("Param 2");
    trackierEvent.setParam3("Param 3");
    trackierEvent.setParam4("Param 4");
    trackierEvent.setParam5("Param 5");
    trackierEvent.setCouponCode("TestCode");
    trackierEvent.revenue(10.0);
    trackierEvent.currency("INR");
    this.trackierCordovaPlugin.trackEvent(trackierEvent);
  }

}
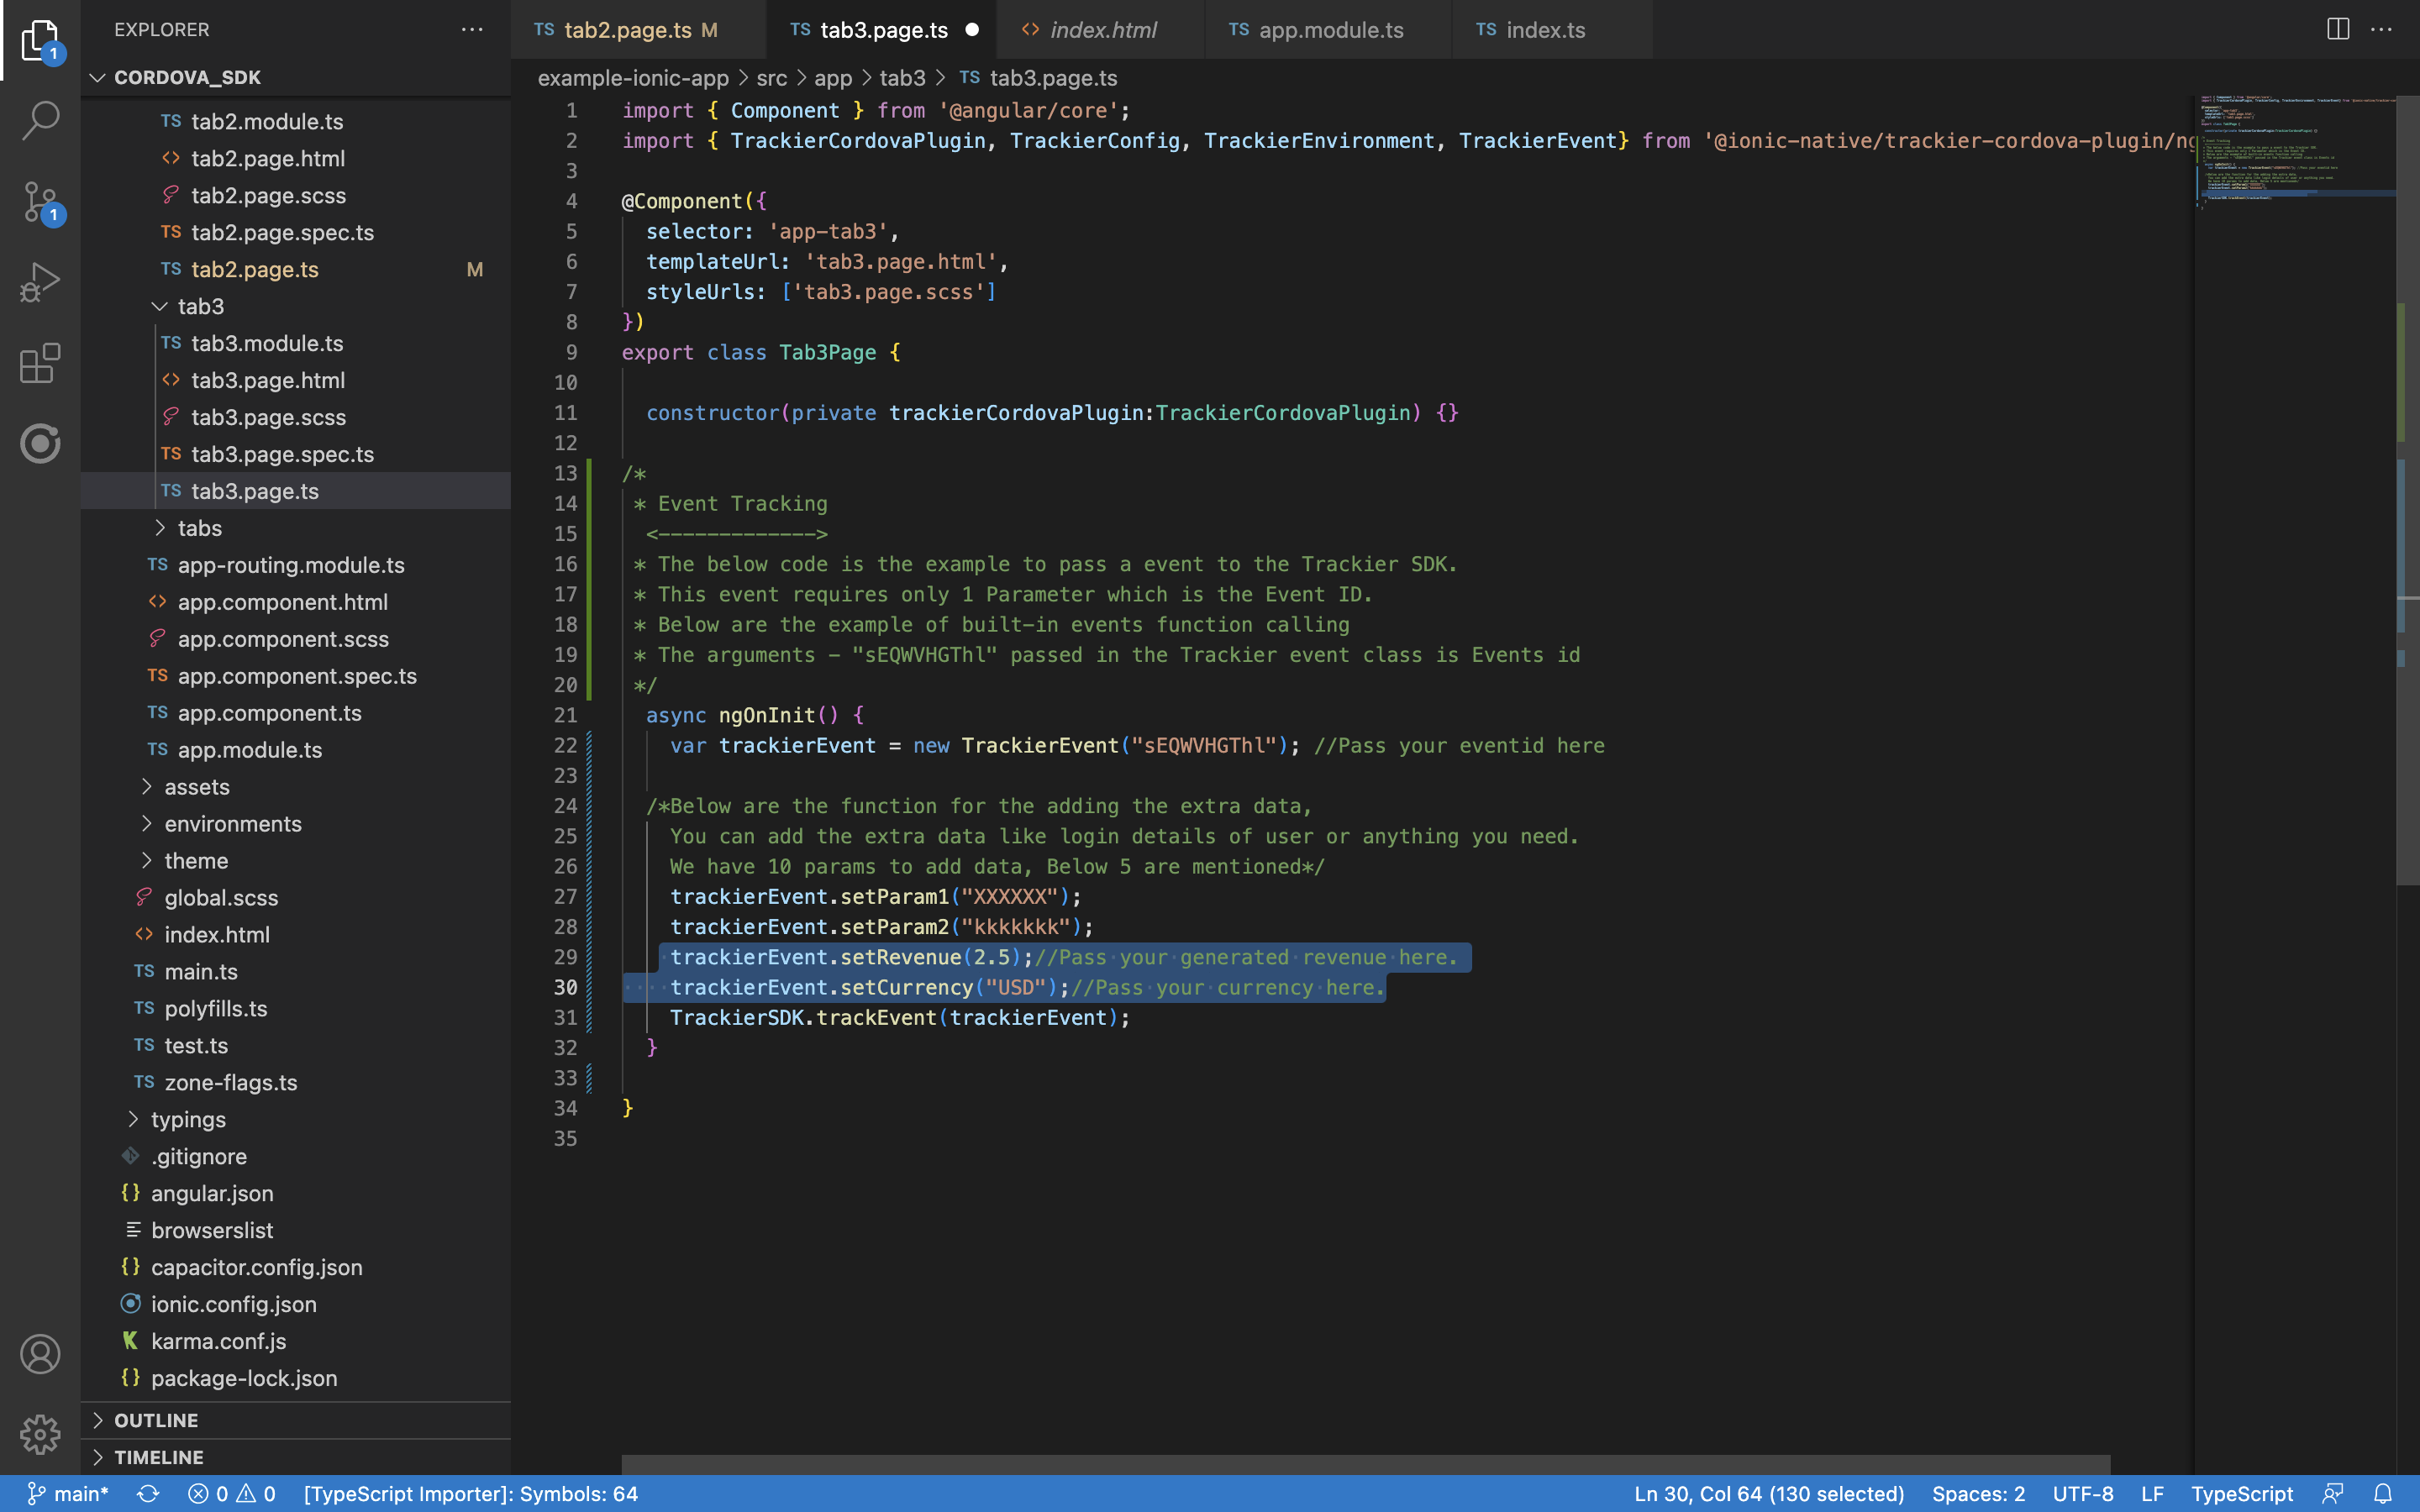
Below are the screenshot of example of revenue events
Screenshot[7]
If your app is using proguard then add these lines to the proguard config file
  -keep class com.trackier.sdk.** { *; }
  -keep class com.google.android.gms.common.ConnectionResult {
      int SUCCESS;
  }
  -keep class com.google.android.gms.ads.identifier.AdvertisingIdClient {
      com.google.android.gms.ads.identifier.AdvertisingIdClient$Info getAdvertisingIdInfo(android.content.Context);
  }
  -keep class com.google.android.gms.ads.identifier.AdvertisingIdClient$Info {
      java.lang.String getId();
      boolean isLimitAdTrackingEnabled();
  }
  -keep public class com.android.installreferrer.** { *; }