-
Notifications
You must be signed in to change notification settings - Fork 8
Configure bunq2IFTTT
To see how to install bunq2IFTTT, see Installation.
Your IFTTT service must be configured before you configure bunq2IFTTT. If you haven't already done so, please go to Configure IFTTT service. You need the IFTTT Service Key for the next step.
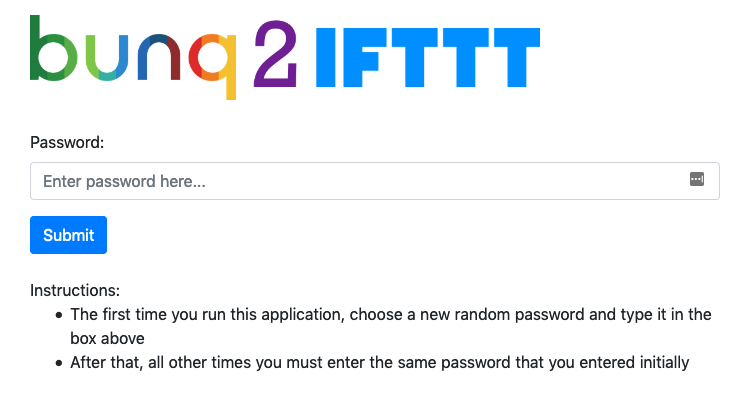
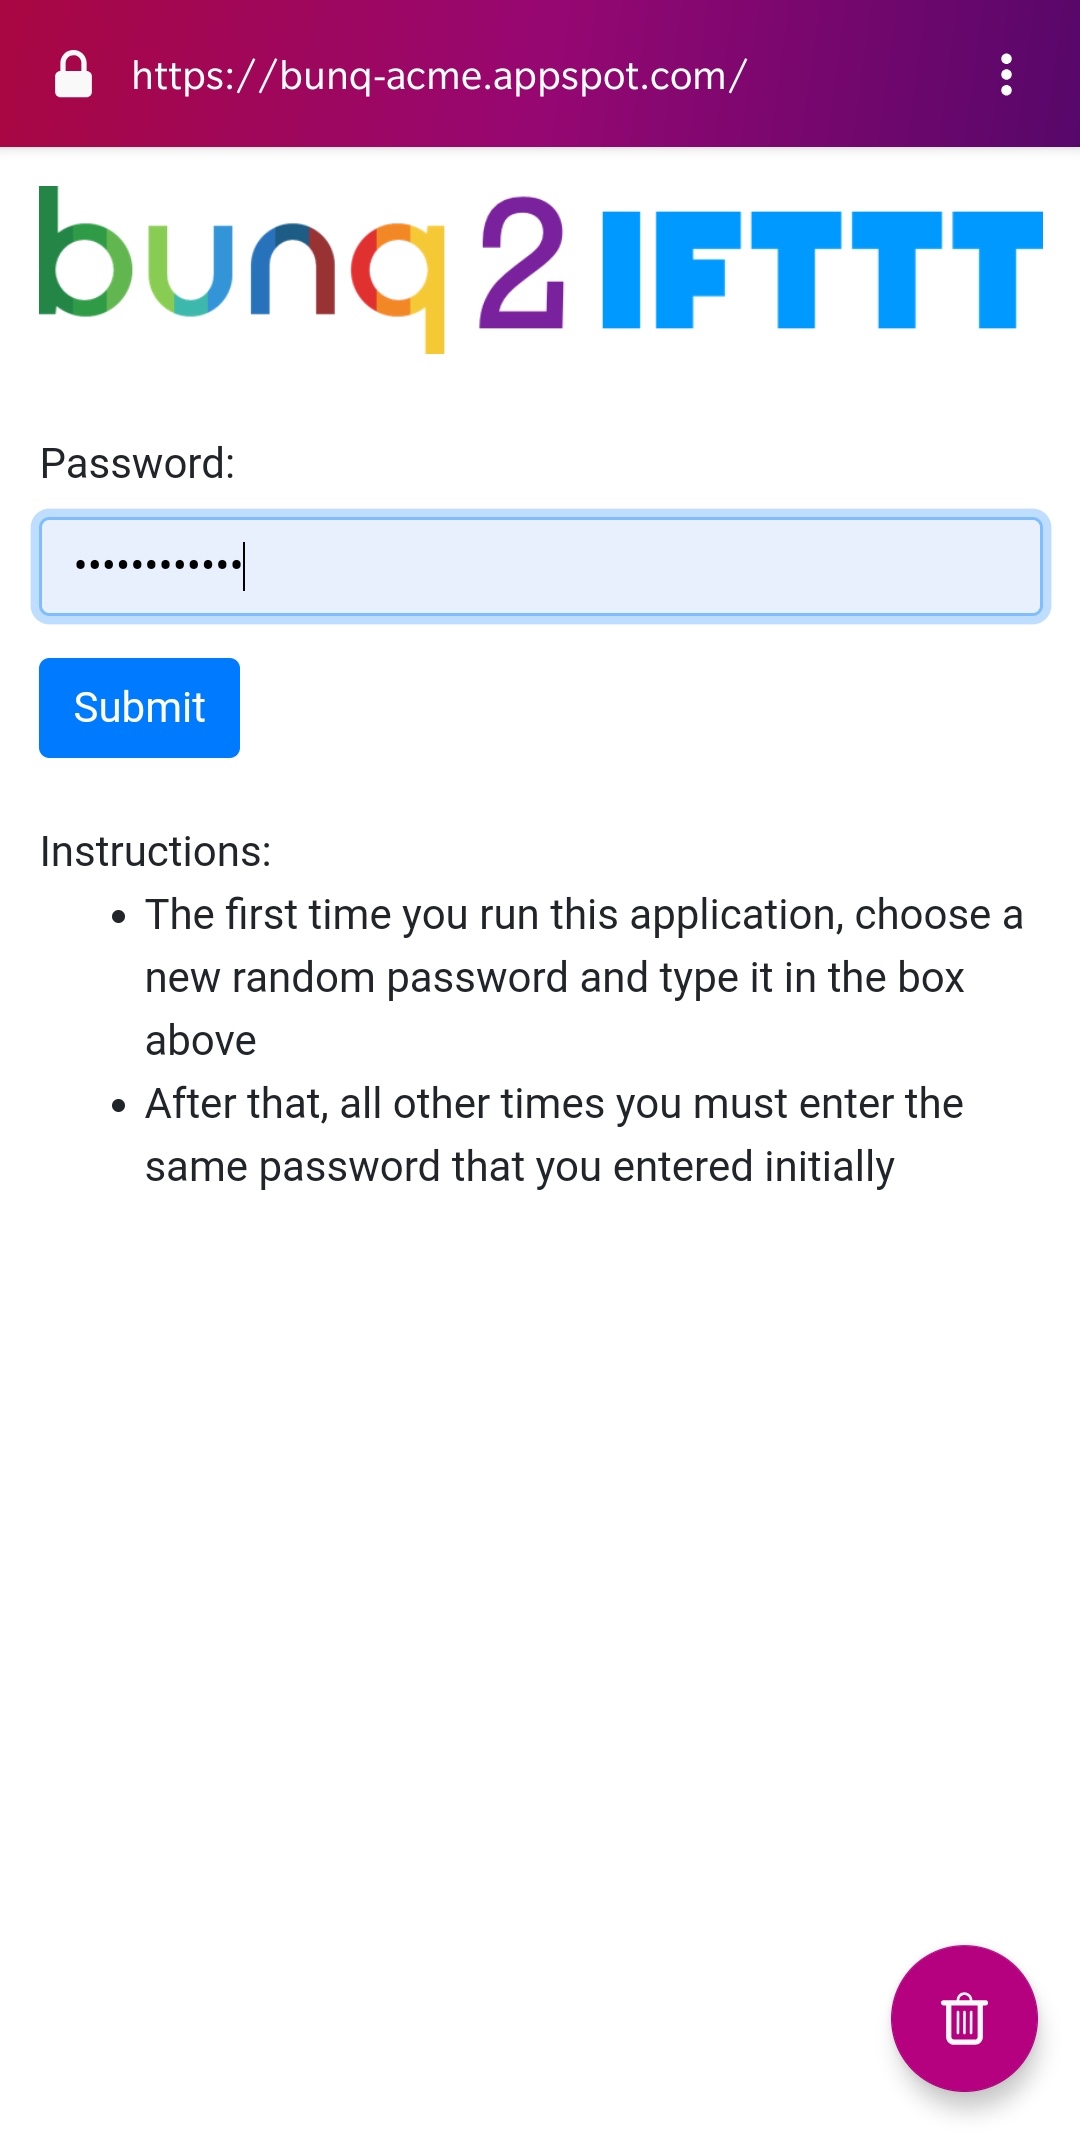
On first login, you will be presented with a screen to enter a password ( screenshot )
Choose any password you want, after the first login it will be stored in the database and can be used for subsequent logins.
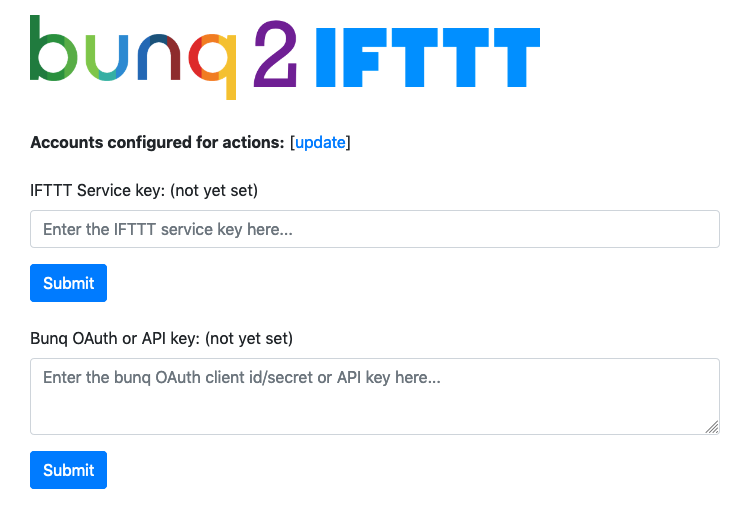
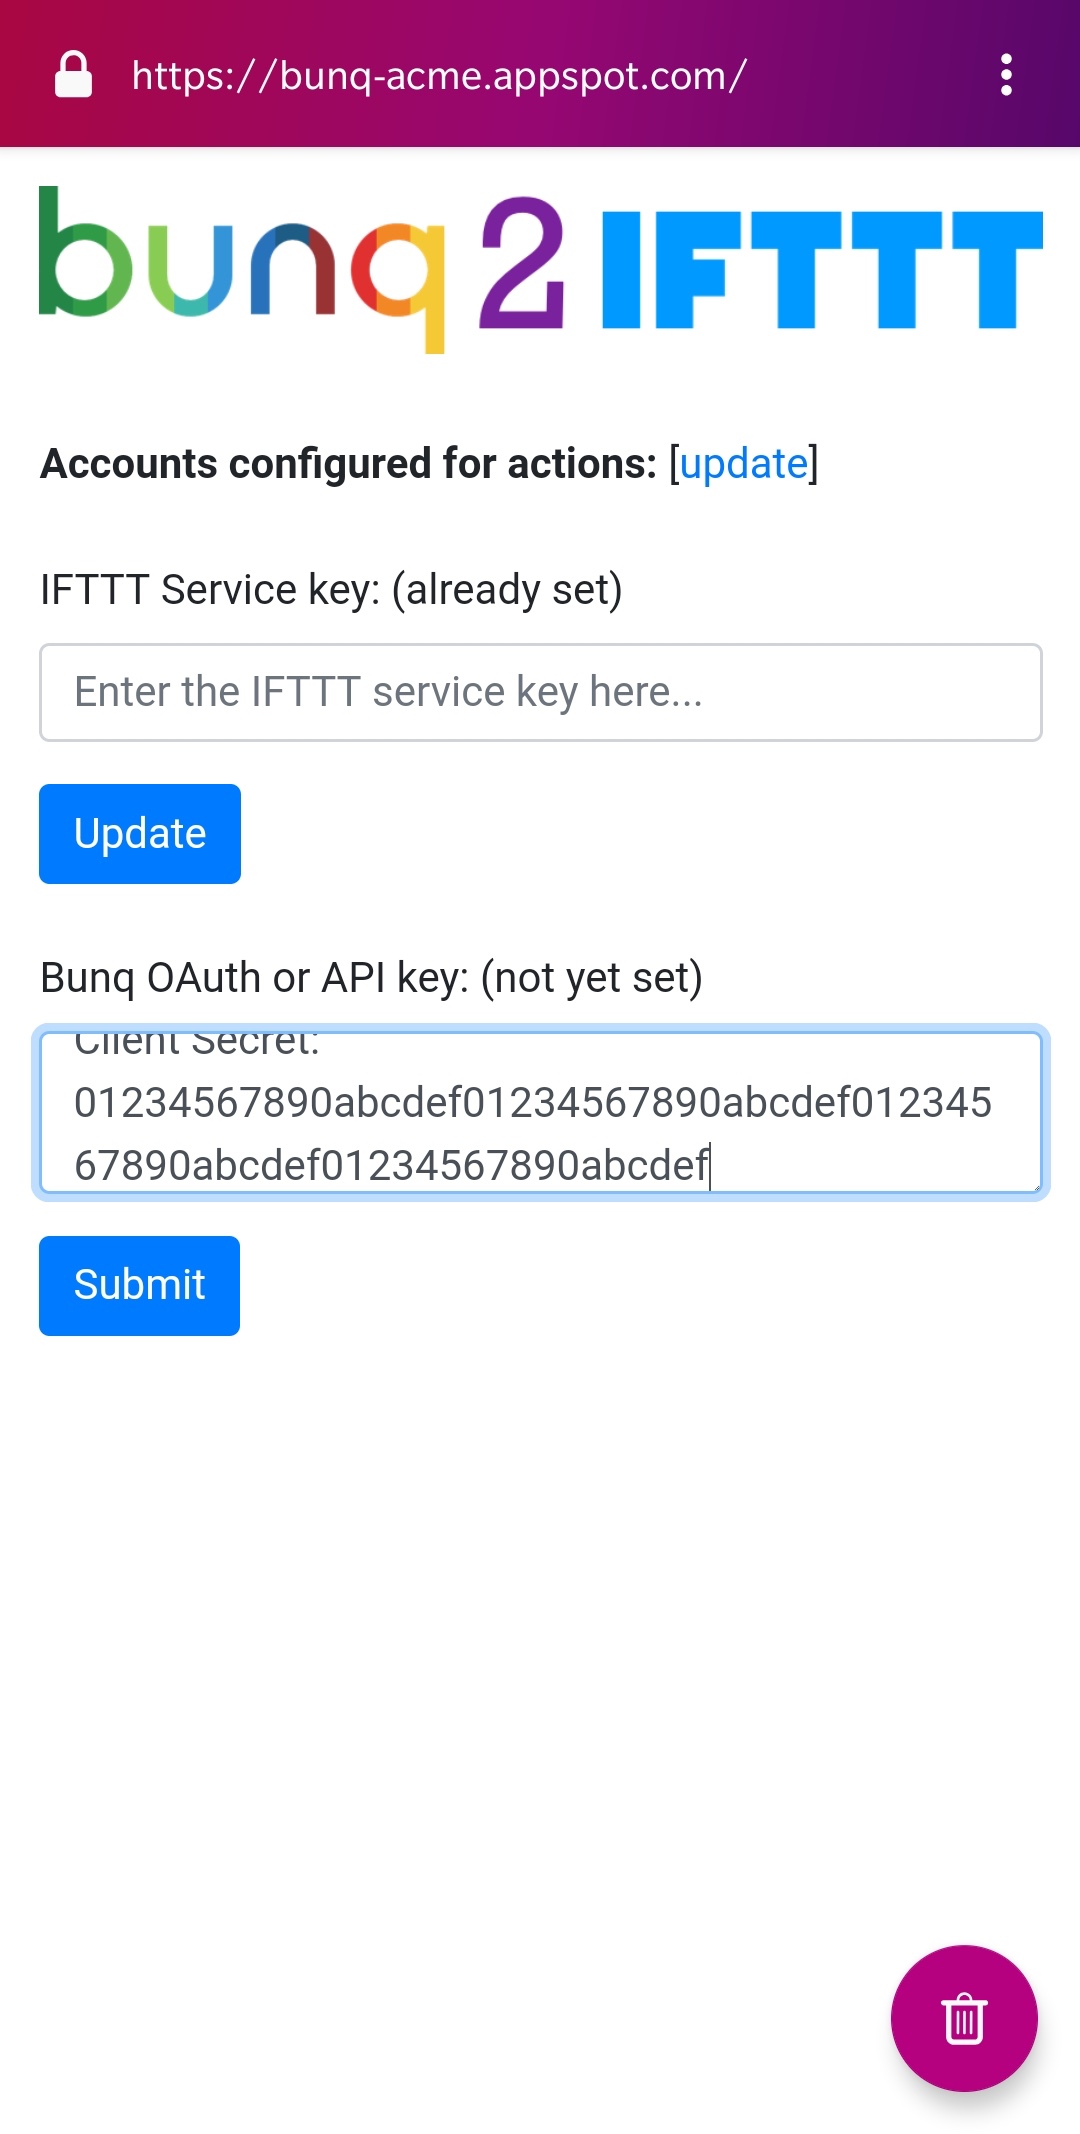
You will be presented with a screen where you can enter the IFTTT service key and API/OAuth keys: screenshot
Next, you need to enter the IFTTT service key. It can be found in IFTTT platform on the API -> General page. It is a string of 64 random letters and numbers.
It is assumed that you have read the Security page, and know what access level you need to setup.
Generally, this is the advised approach and it supports all triggers and actions, except the action to do a direct external payment (but draft payments are supported and are much safer!)
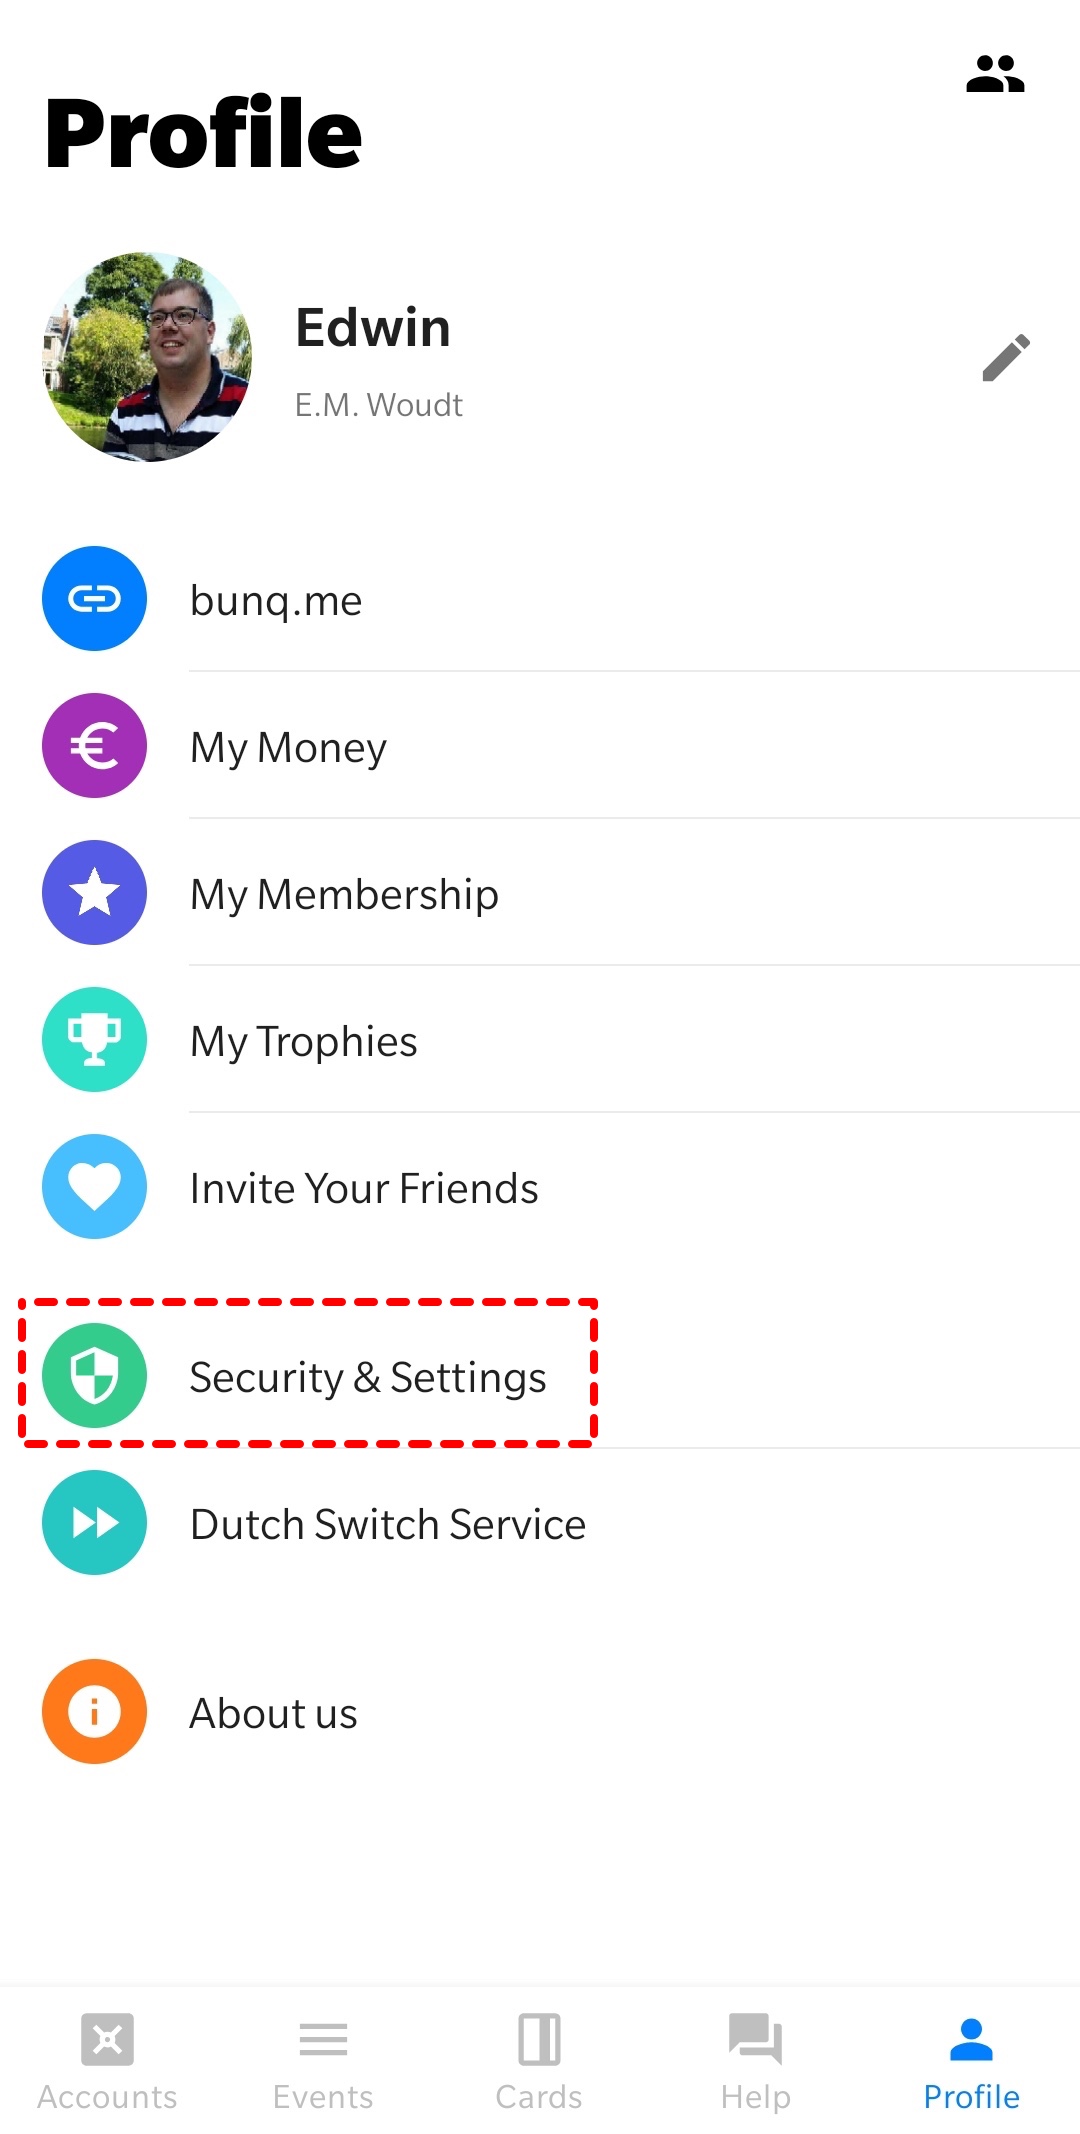
First open the bunq app, and go to your profile:
- Click on the Security & Settings option [ screenshot ]
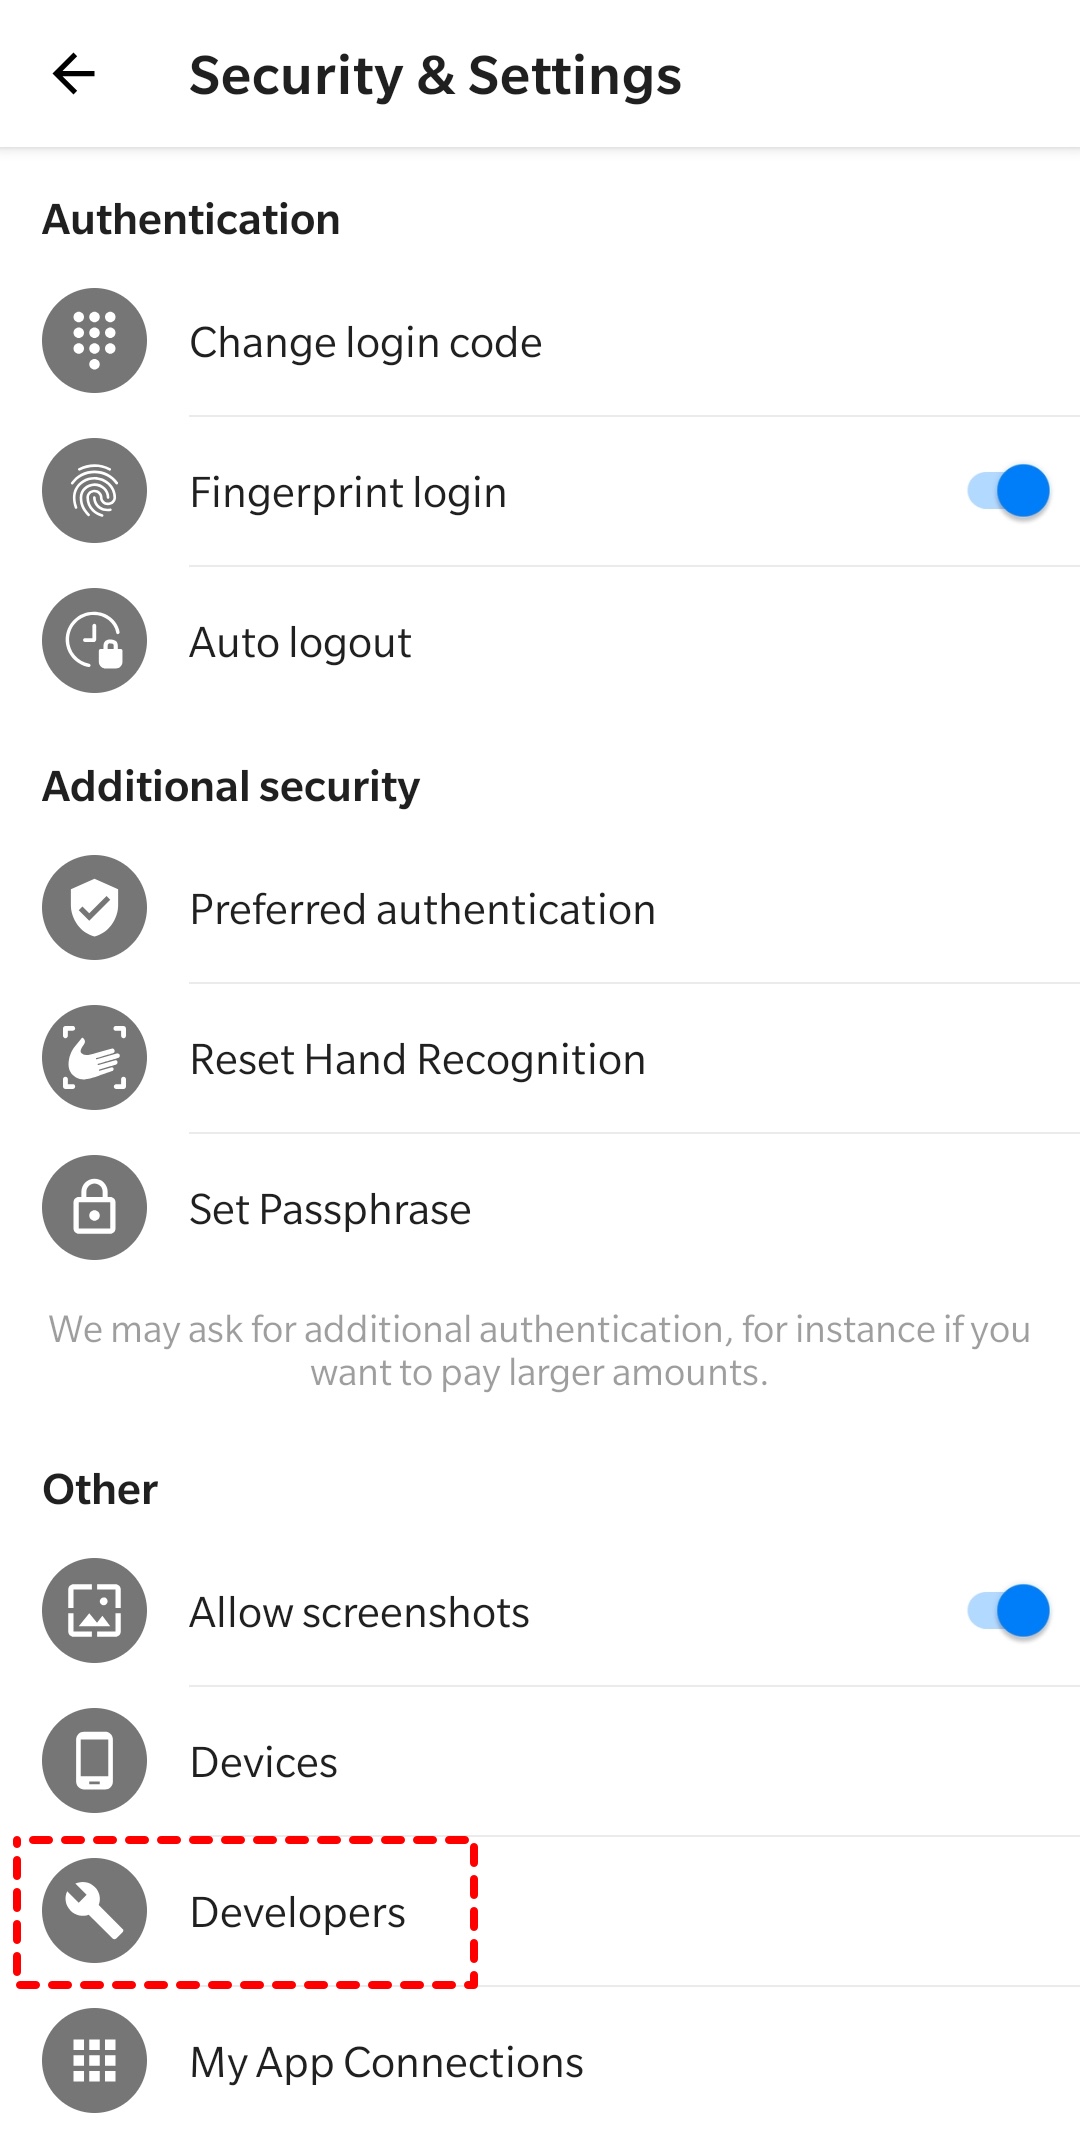
- On the Security & Settings page, select the Developers option [ screenshot ]
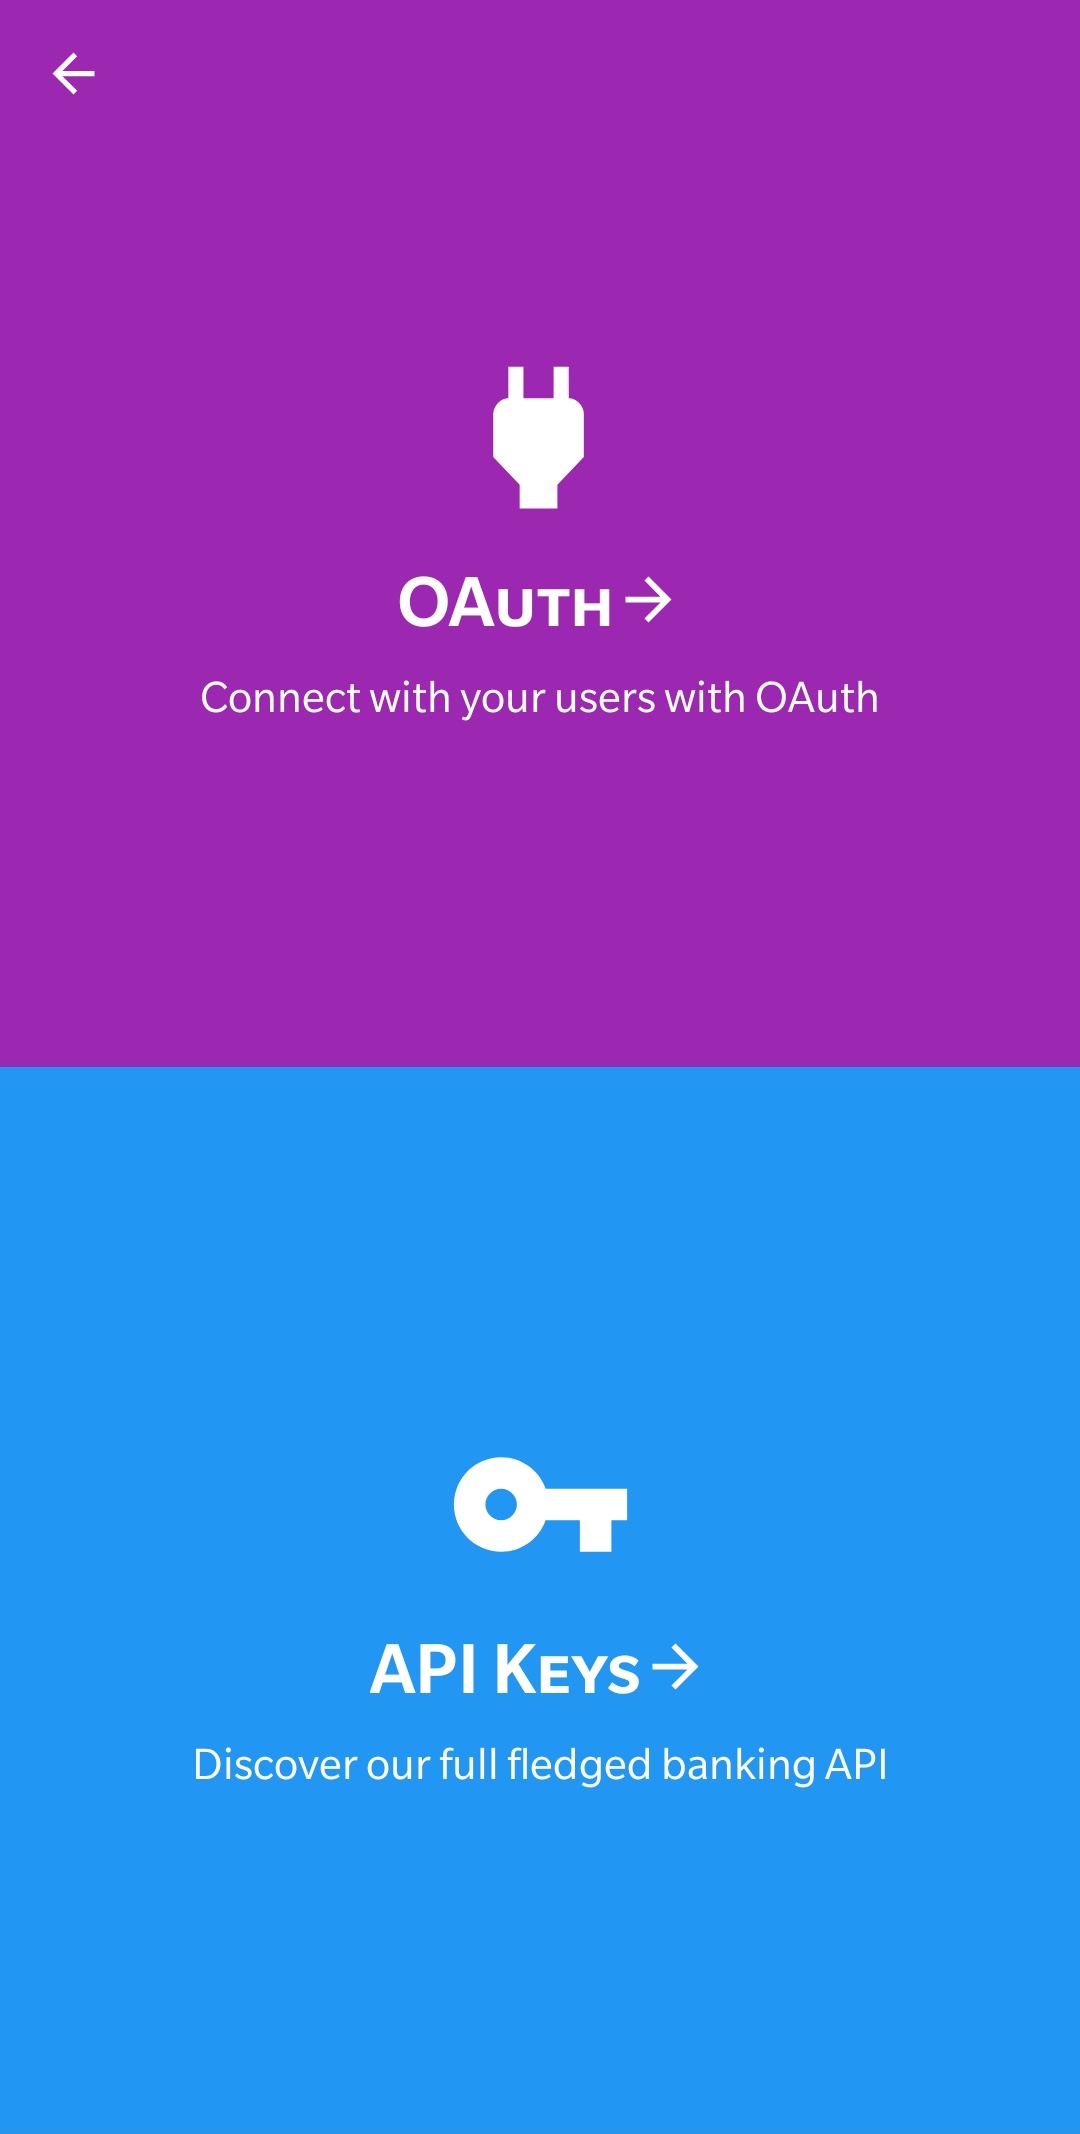
- On the Developers page, select the OAuth option [ screenshot ]
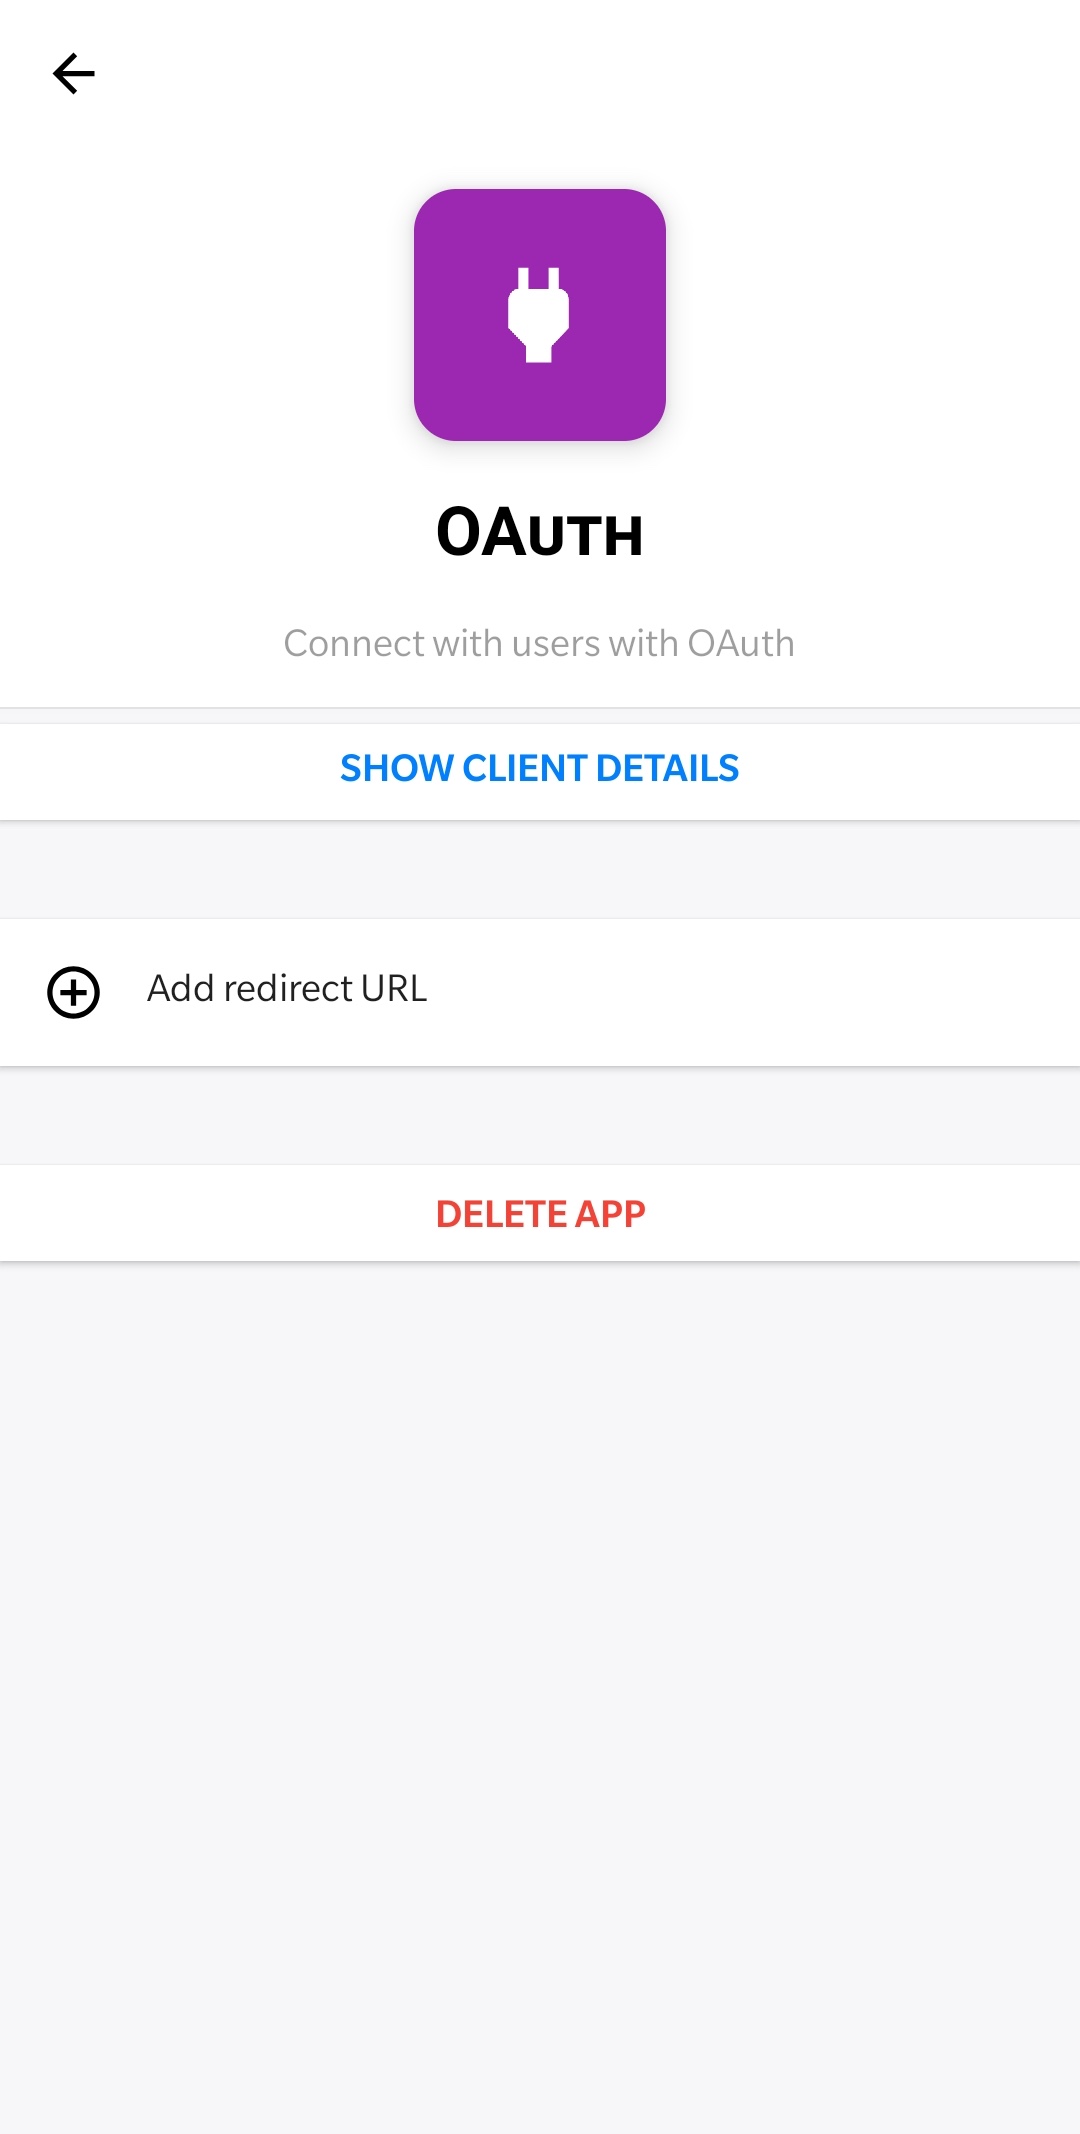
- On the OAuth page, click Add redirect URL [ screenshot ],
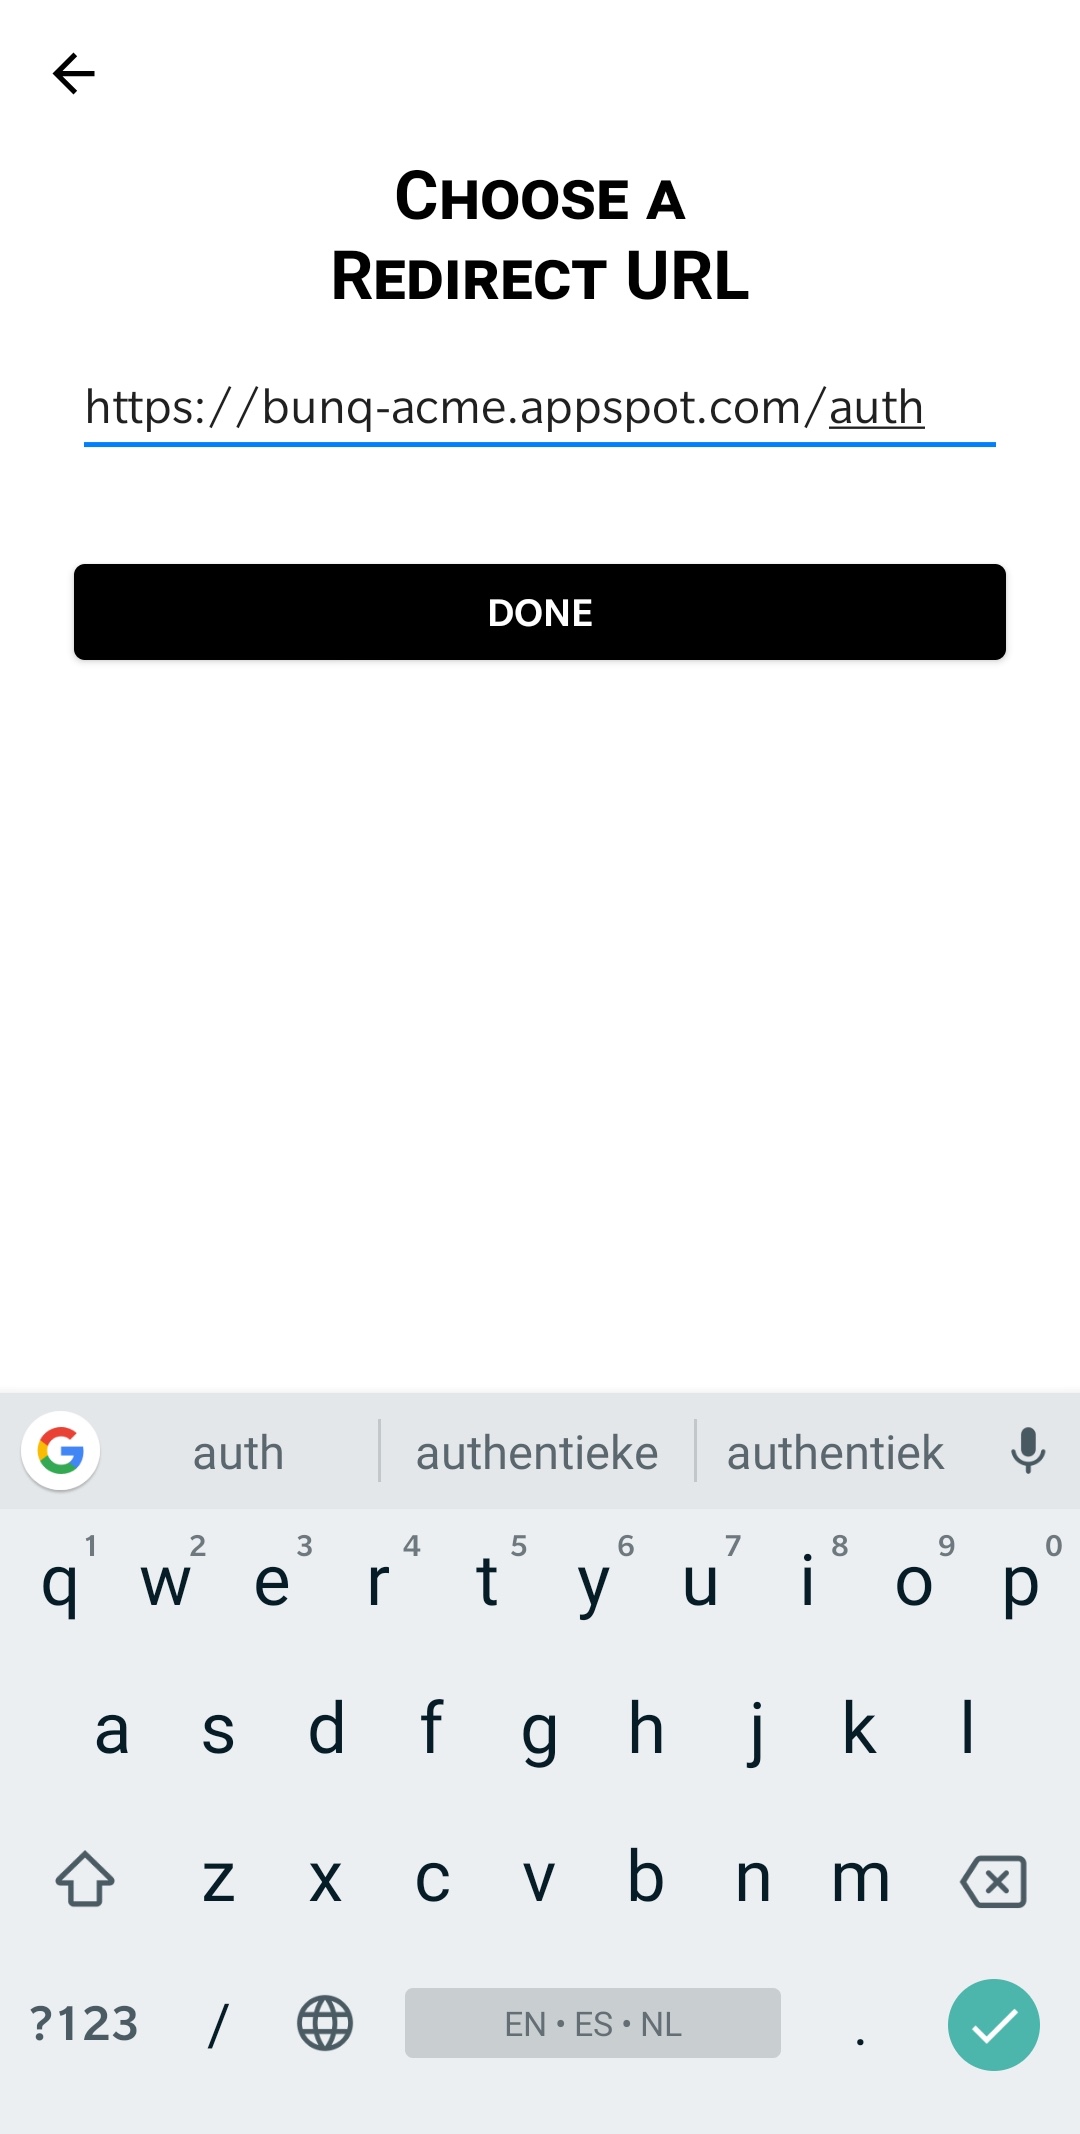
- Enter the redirect URL here, which is the full URL to your bunq2IFTTT master
instance, followed by
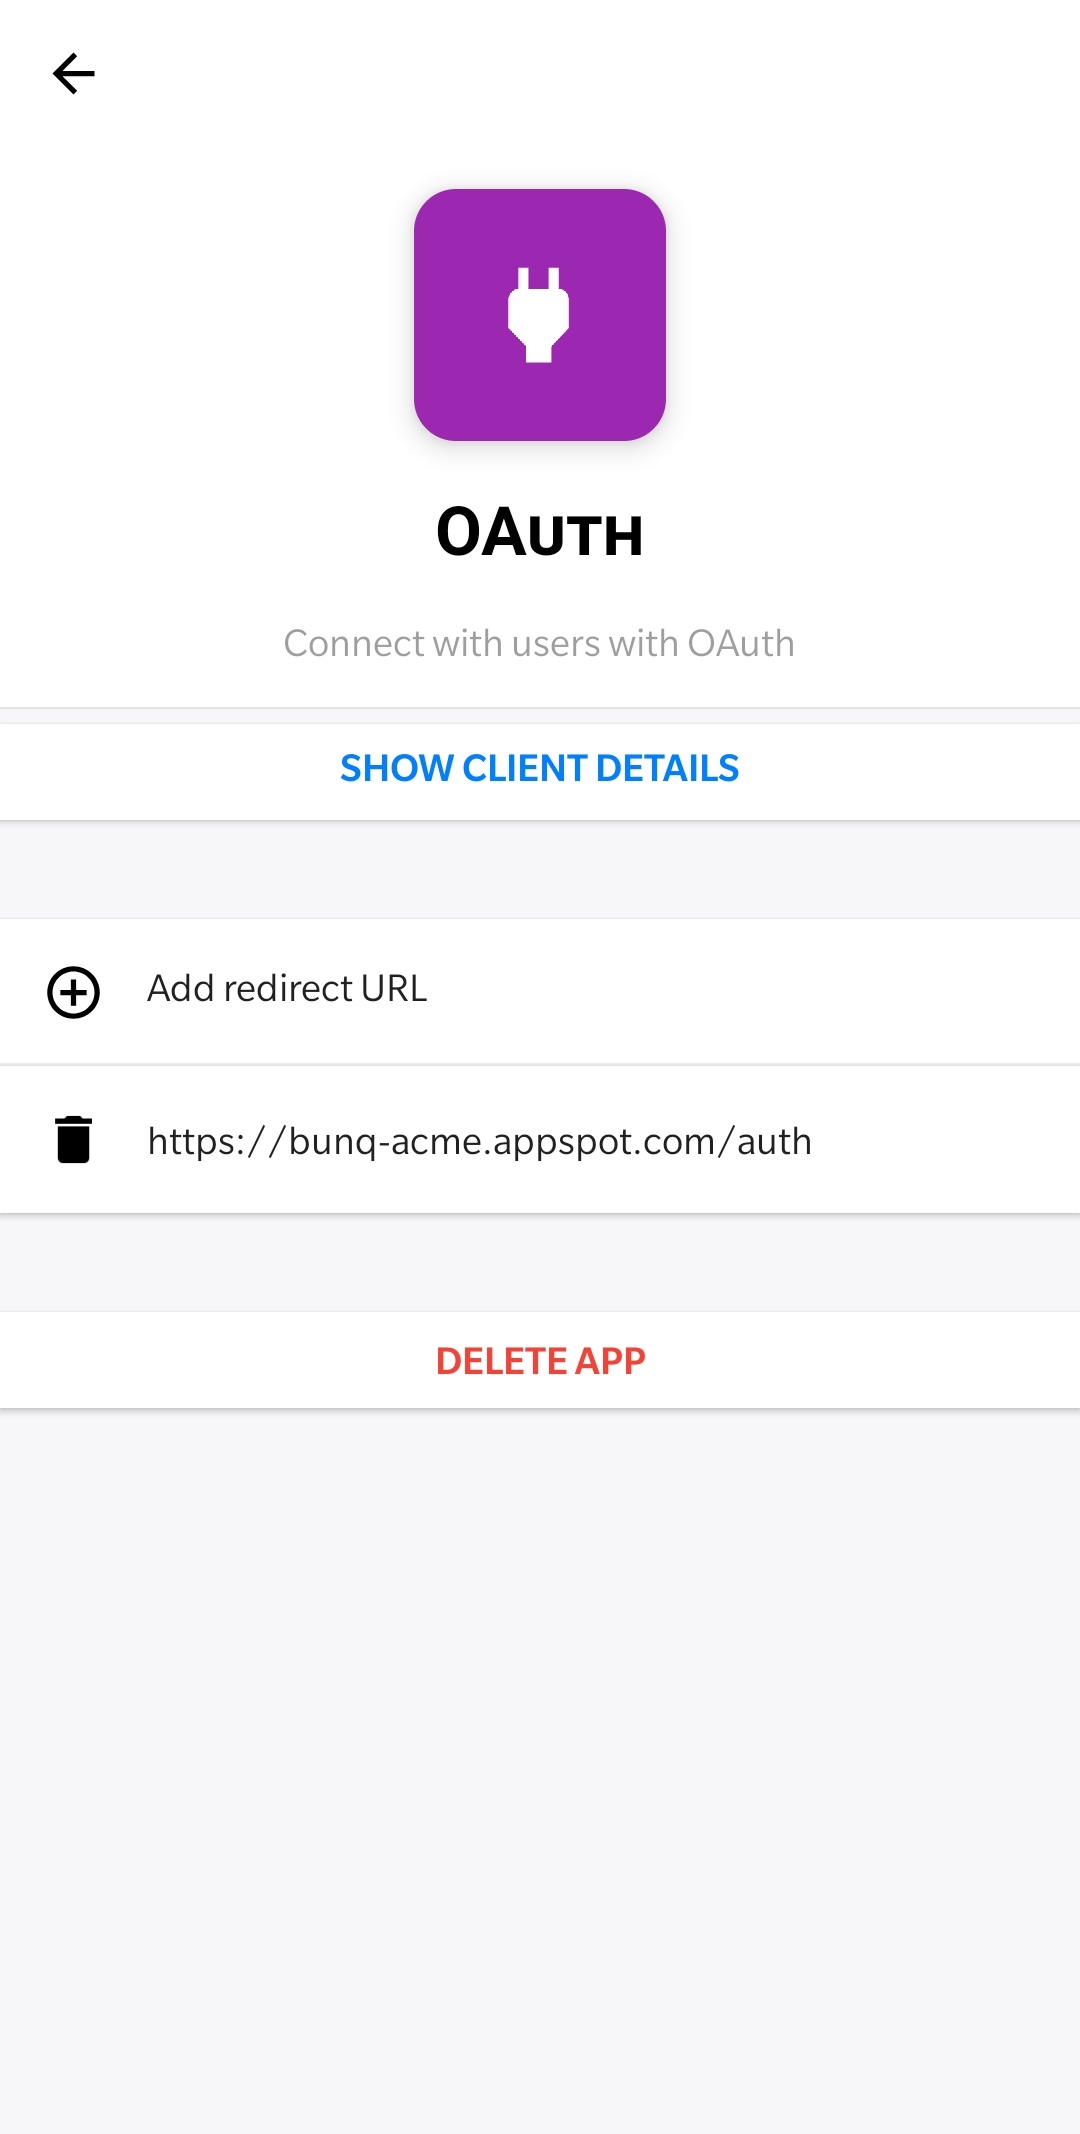
/auth[ screenshot ] - Once you are done and the redirect URL is added, you can click on Show client details. Select the option to copy it to your clipboard. [ screenshot ]
Next, open bunq2IFTTT on your mobile device:
- Enter your password [ screenshot ]
- On the resulting screen, paste the client details you copied from the bunq app above. The text should look like 'Client ID: xxx_64_random_characters_xxx Client Secret: xxx_64_random_characters_xxx` [ screenshot ]
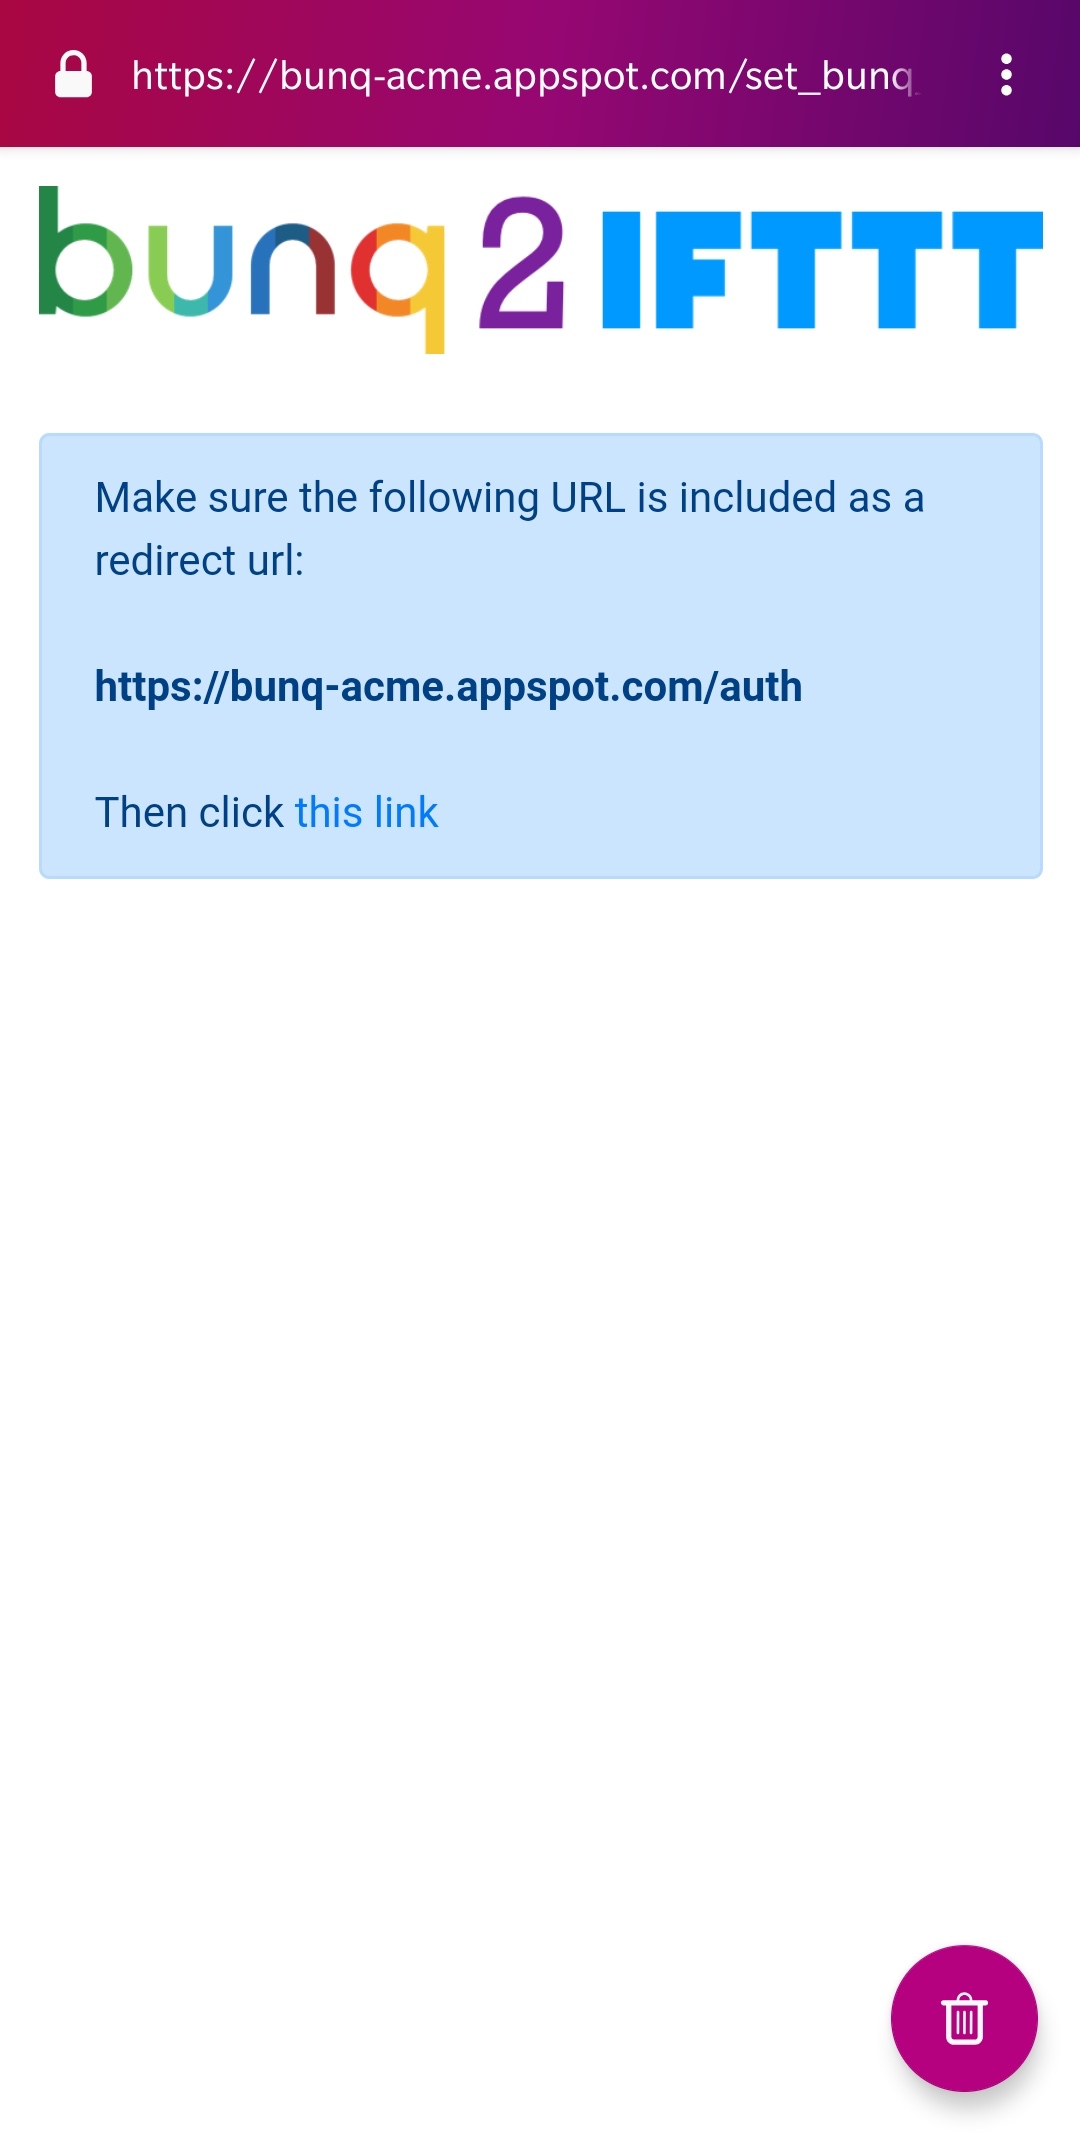
- On the following page, make sure the displayed redirect URL, is the same that you entered in step 5 above. If yes click the link, otherwise go back to the bunq app and change the redirect URL. [ screenshot ]
- Your browser will try to open the bunq app, click ok and then login to the bunq app [ screenshot ]
- You are now asked to approve the connection. As this is your OAuth key, it will show your own name. Click on Accept. [ screenshot ]
- You will now go back to bunq2IFTTT. If all went well, a green message is shown to indicate success. [ screenshot ]
Note: this is VERY DANGEROUS. Please make sure to read the Security page first and ensure you know what you are doing!
First open the bunq app, and go to your profile:
- Click on the Security & Settings option [ screenshot ]
- On the Security & Settings page, select the Developers option [ screenshot ]
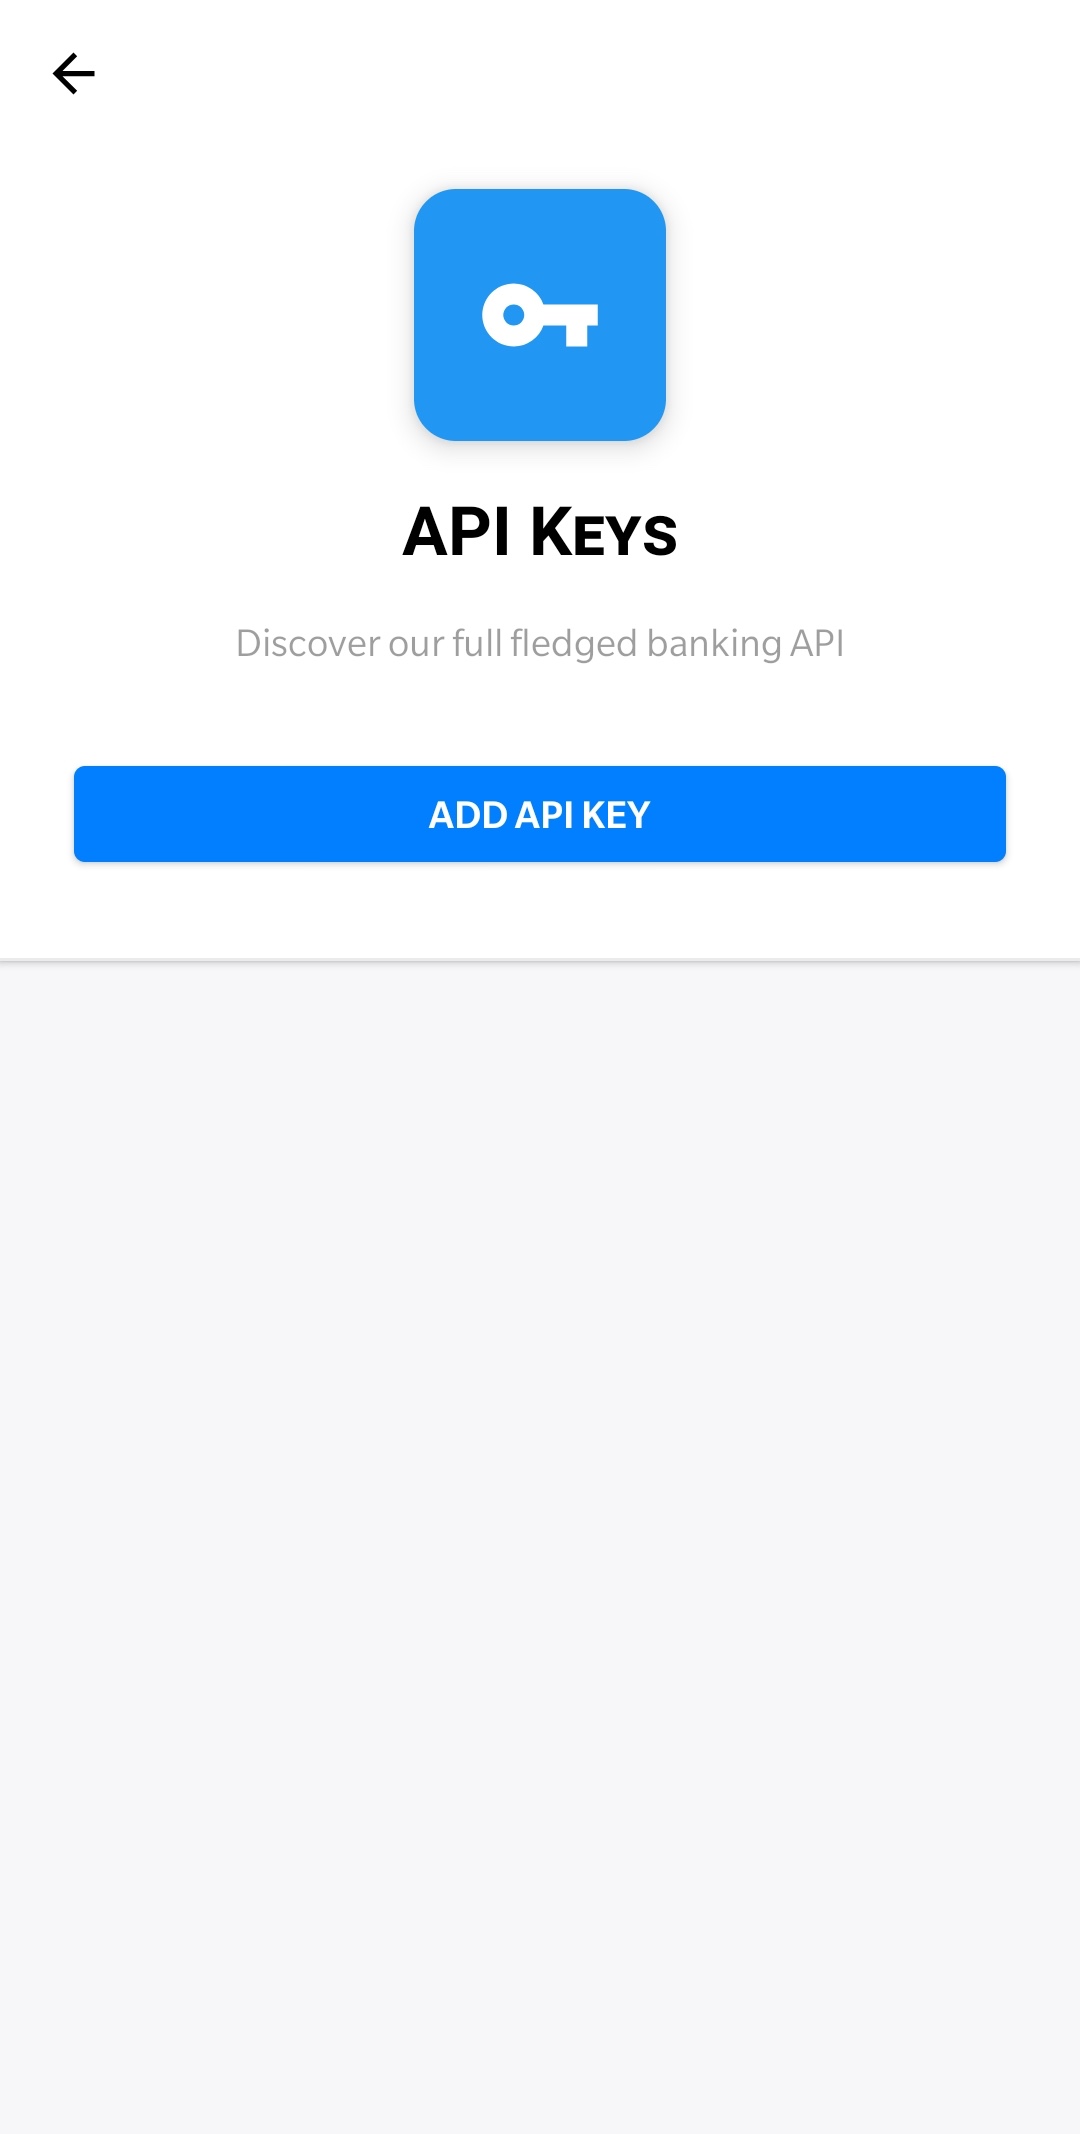
- On the Developers page, select the API keys option [ screenshot ]
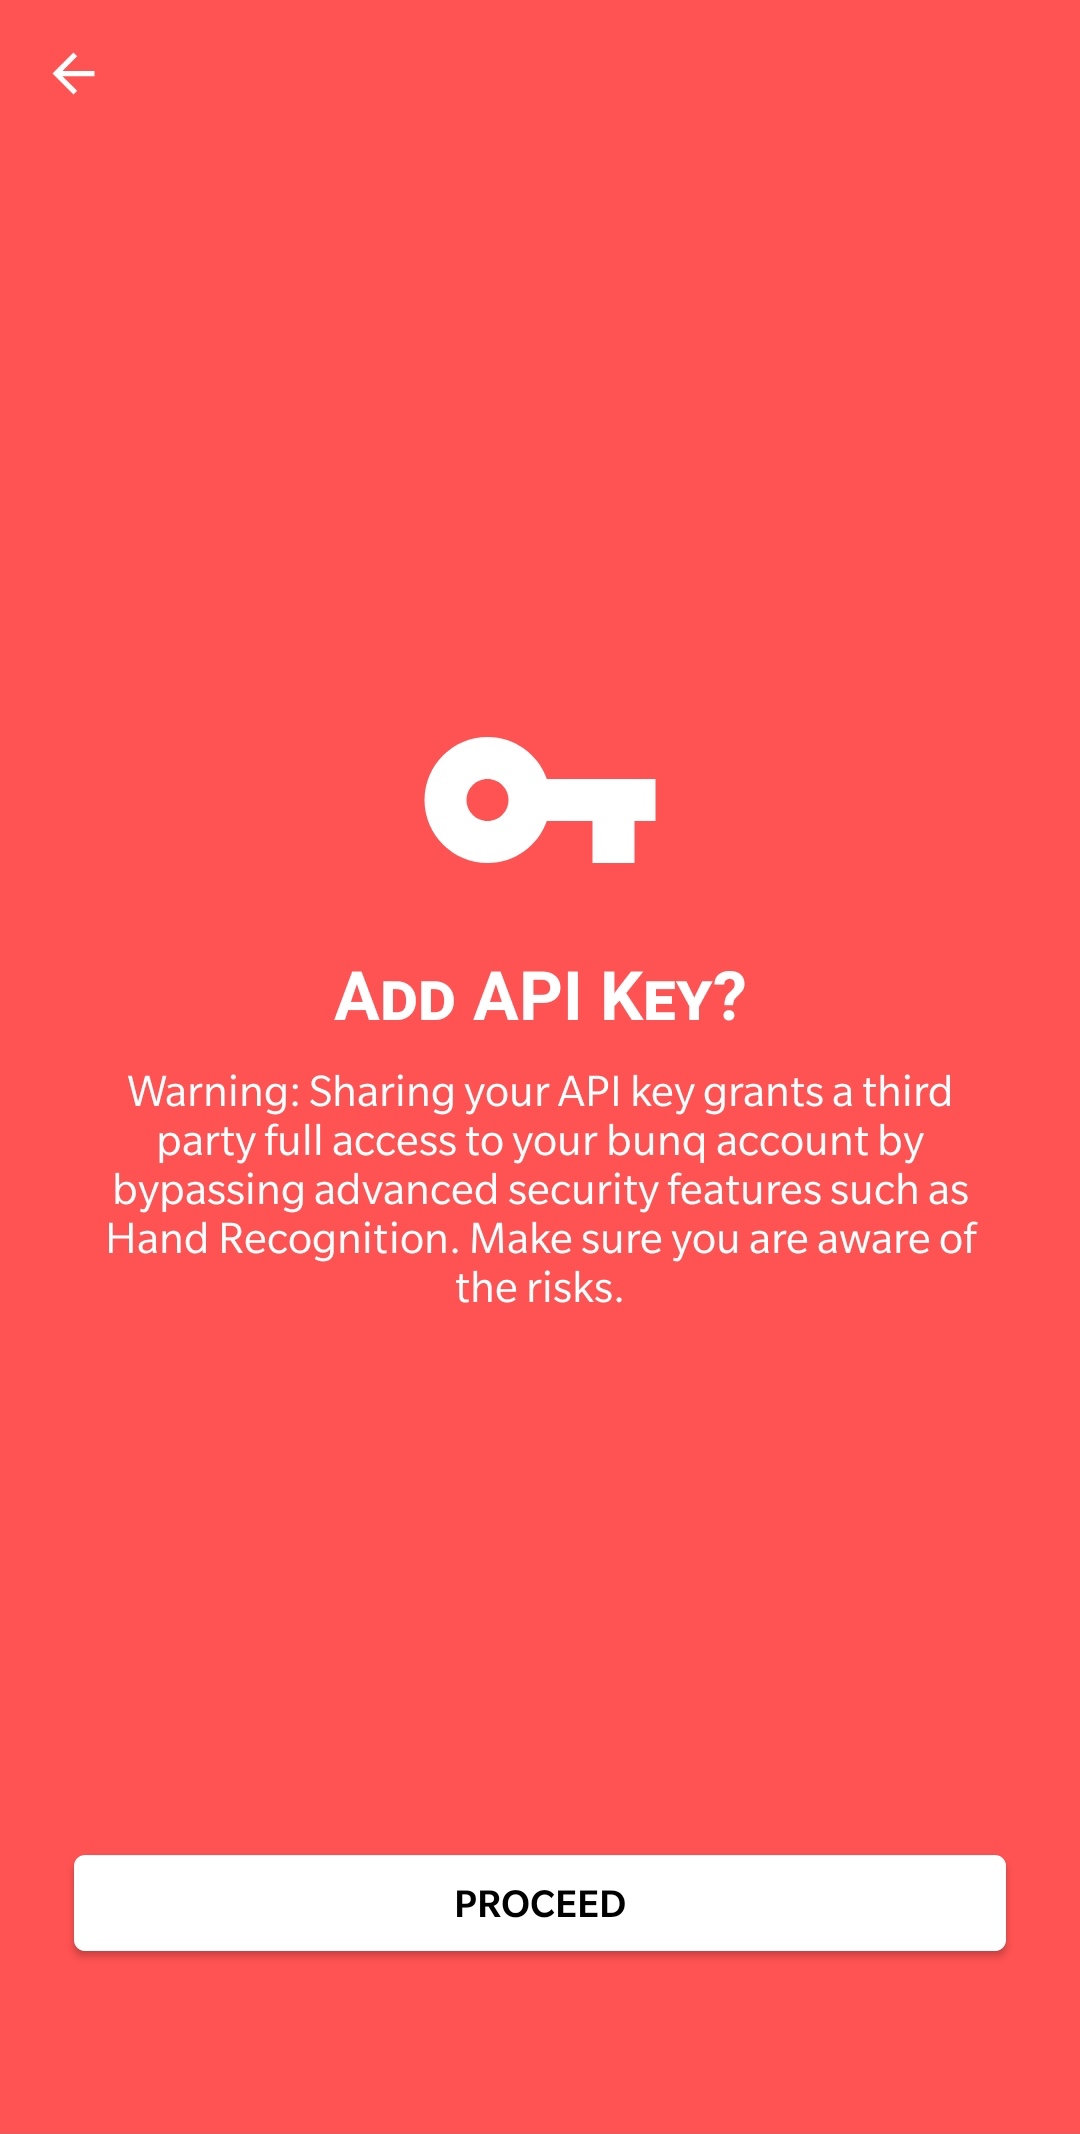
- On the API keys page, click Add API key [ screenshot ],
- A warning is presented, click Proceed [ screenshot ]
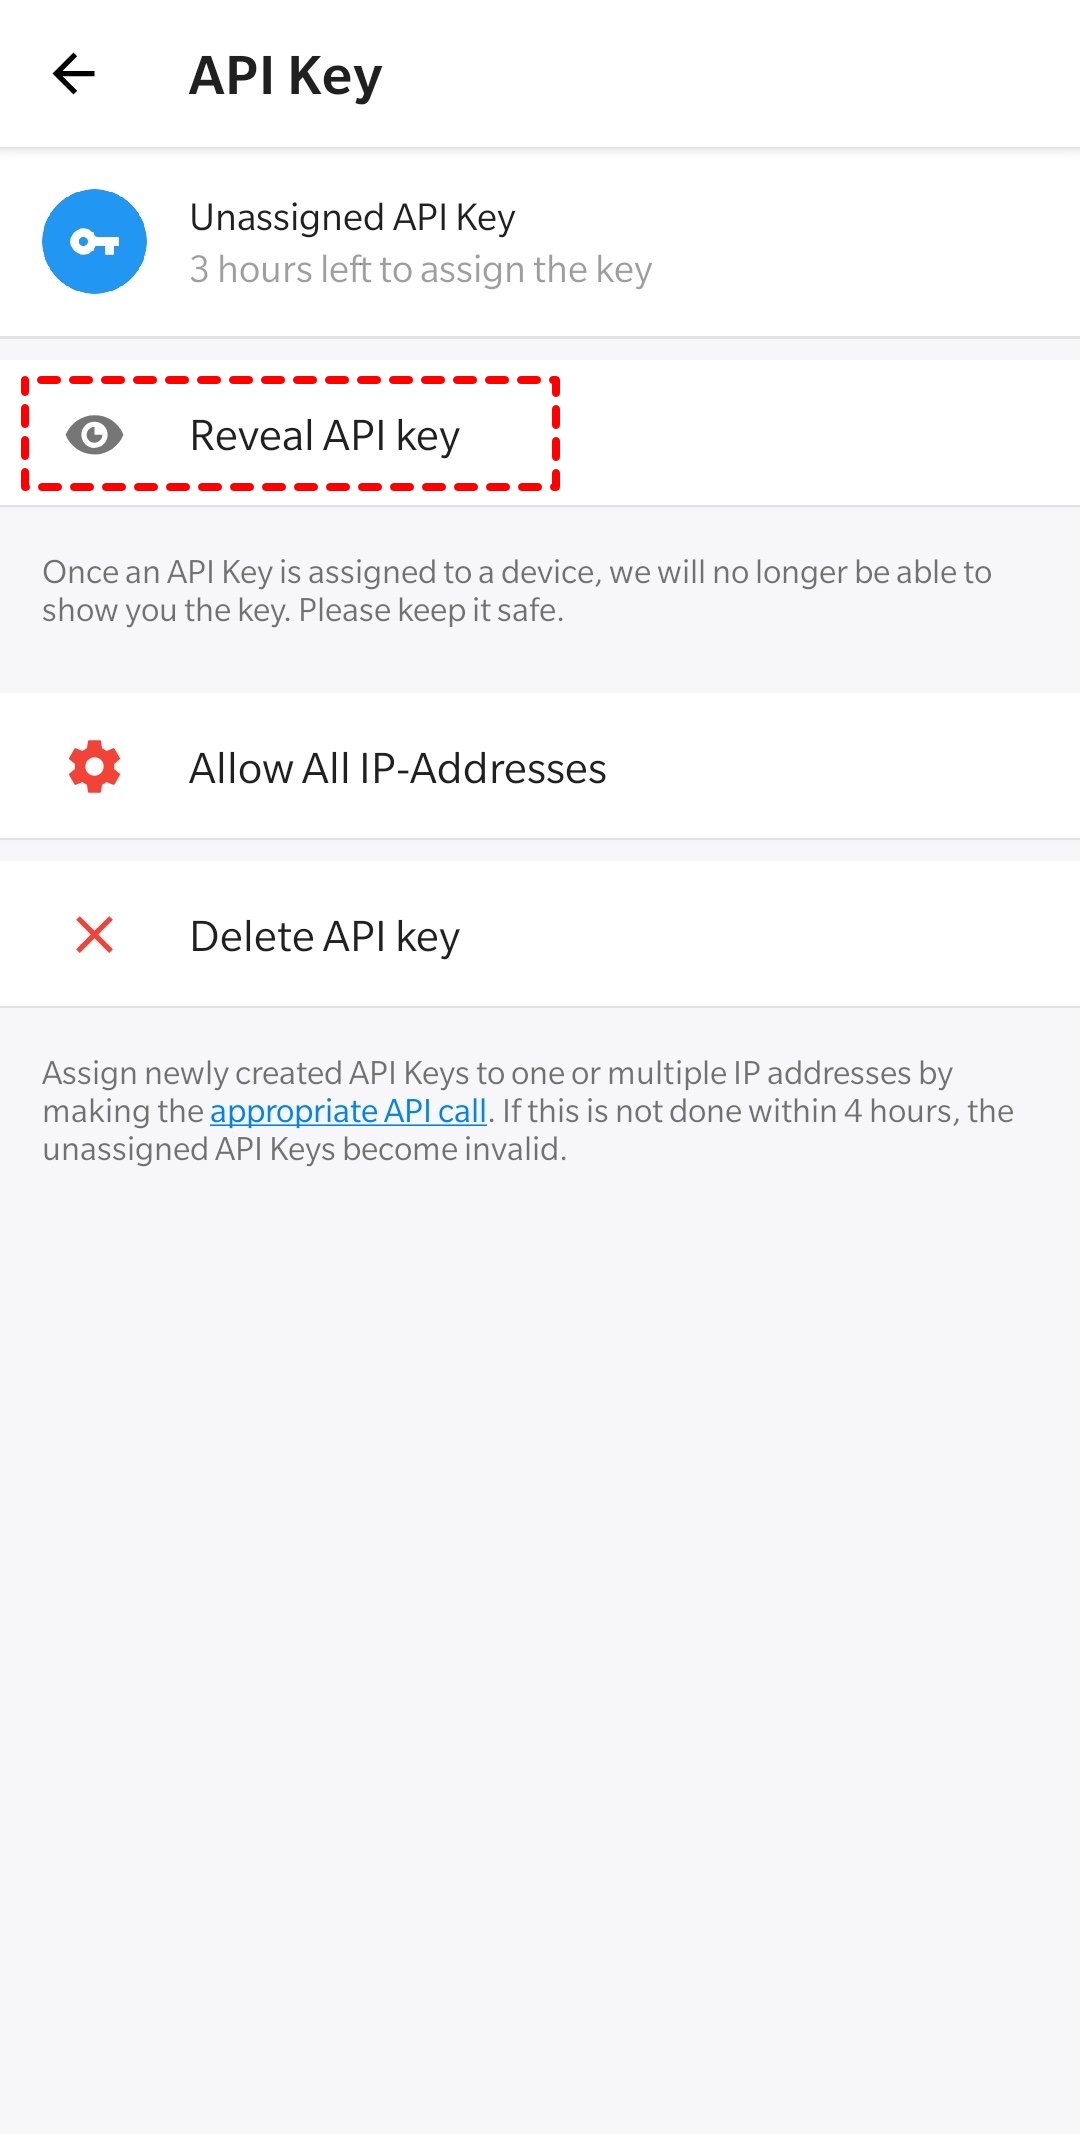
- On the next page, click Reveal API key. Select the option to copy it to your clipboard. [ screenshot ]
Next, open bunq2IFTTT on your mobile device:
- Enter your password
- On the resulting screen, paste the API key you copied from the bunq app above. The text should look like 64 random characters.
- Click Submit and if all goes well, you are done!
Now you can configure the triggers and actions you need. Go to Configure for a list of possible triggers and actions and to see the configuration instructions.