Getting Started with Minicloud
In this tutorial, you'll learn all the basic steps to successfully create and login into a virtual machine in your Minicloud account.
The first visible screen of our dashboard is the Overview. It shows all the relevant information about our project. The Instances tab shows our project's virtual machines. Images tab shows the available images to be used and Access & Security has project's security groups, public keys and firewall rules. Feel free to explore the remaining tabs.

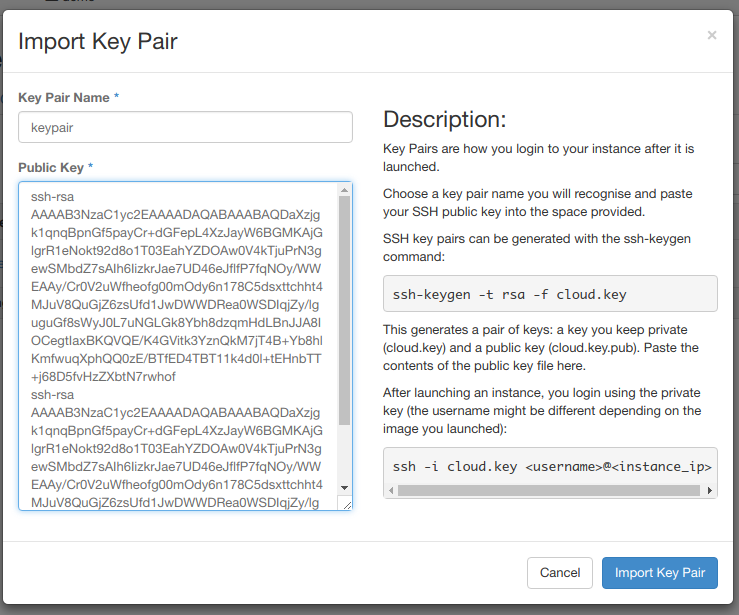
The first thing we have to do is adding our public key to our project. That way, when a virtual machine is created, our public key will be automatically added to it's authorized keys and we'll be able to log in. It's a very simple process. In Access & Security tab, click on Key Pairs. You'll have two options: Import a key pair or create one.
Clicking on "Create Key Pair" will pop the screen below:

After typing a good name for your public key (easily identifiable), it will be downloaded to your machine in *.pem format. Remember to move it to a place easy to remember. By default, all public keys are stored at ~/.ssh.
If you choose to import an existing public key, you have to copy the contents of your *.pub key to the Public Key field.
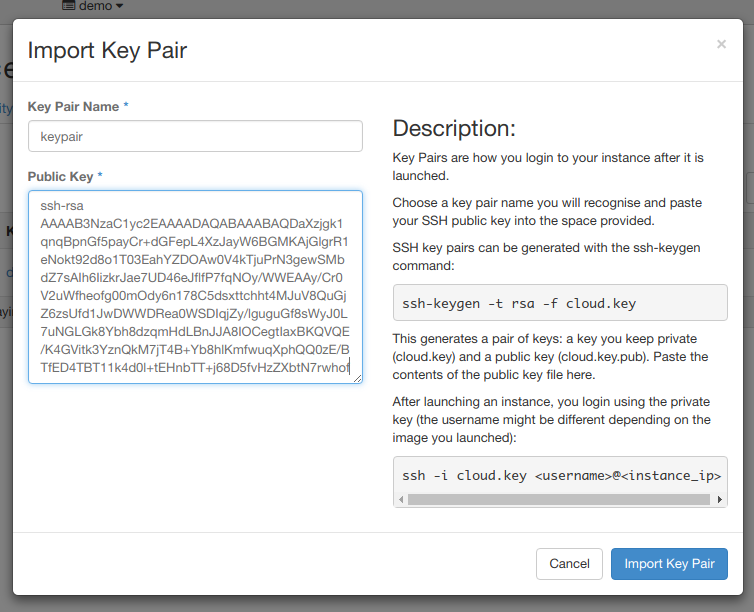
Since is not possible to select multiple keys for a VM, you can add as many keys as you want in this field, and all of them will be valid when trying to login later.
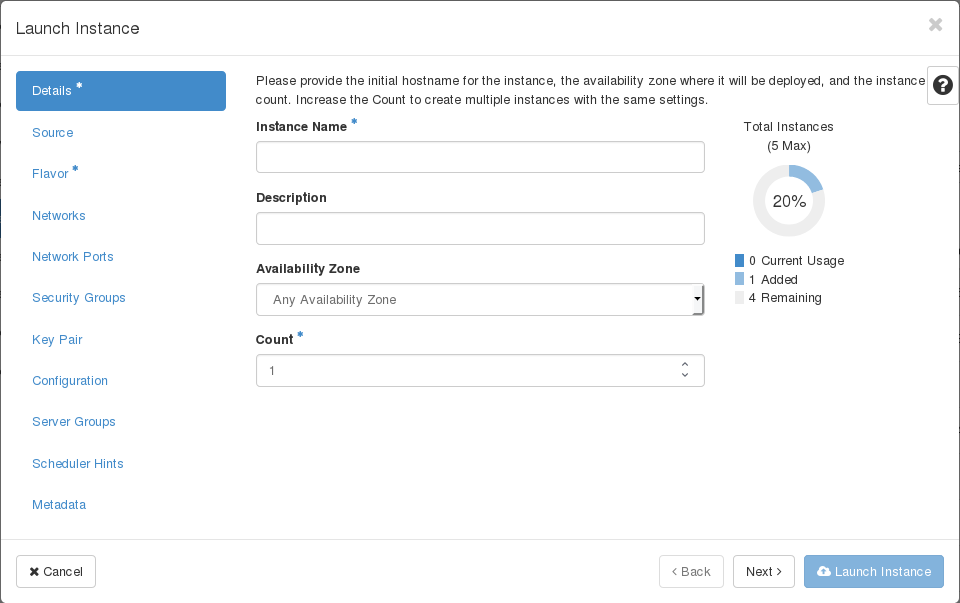
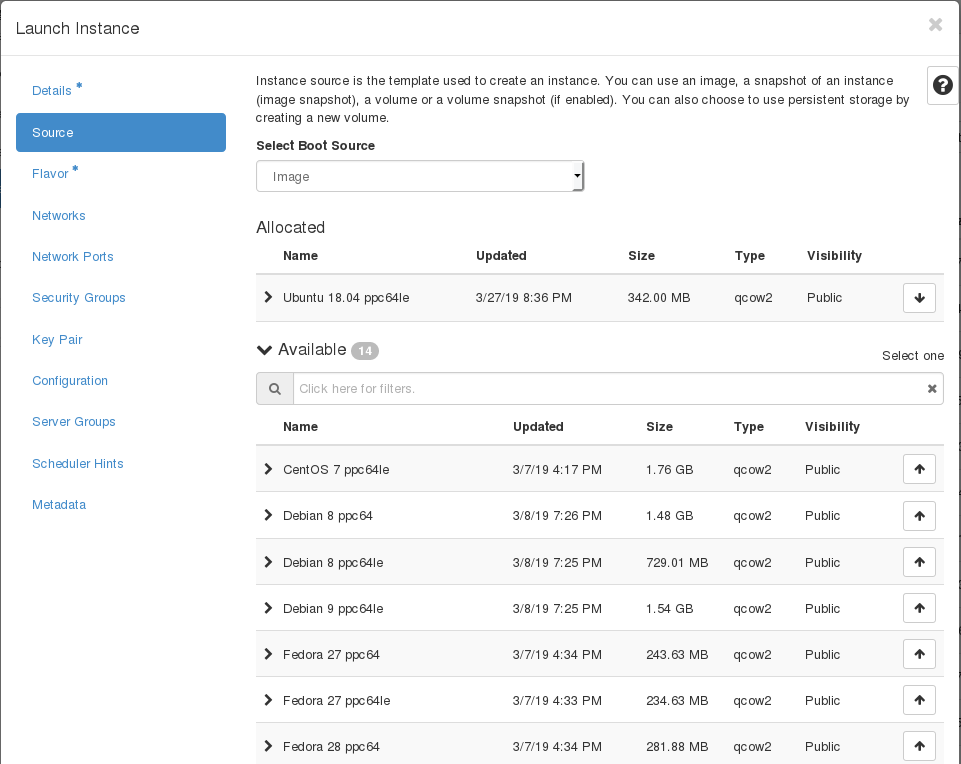
Go to Compute and click on Images tab. Pick an image by clicking on its respective Launch button. In Count you can specify the number of instances you want to create. In this example, we'll create one.
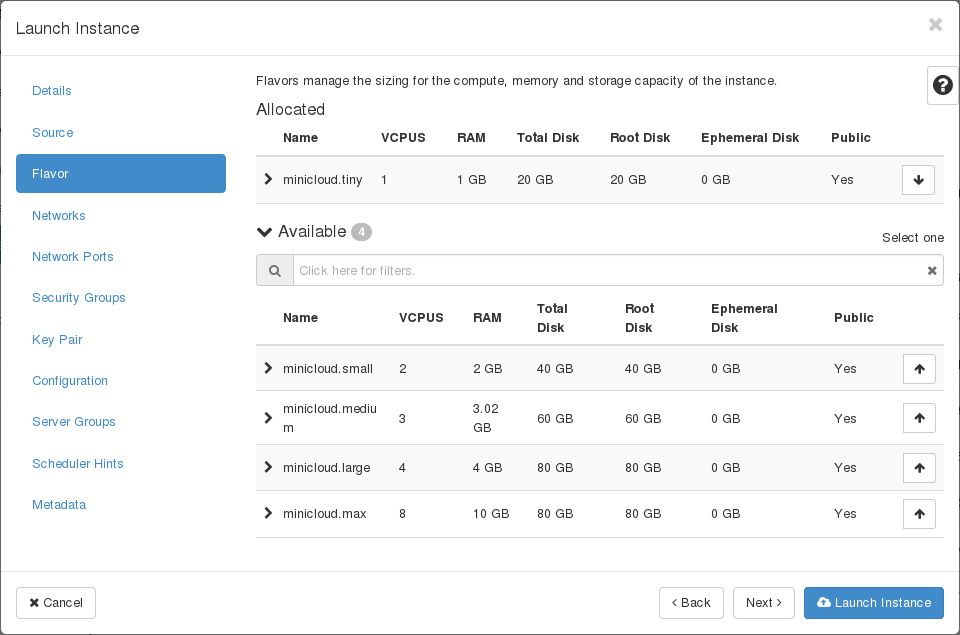
In Flavor you can specify which kind of machine you want:
Select which operational system you want, we will choose Ubuntu 18.04.
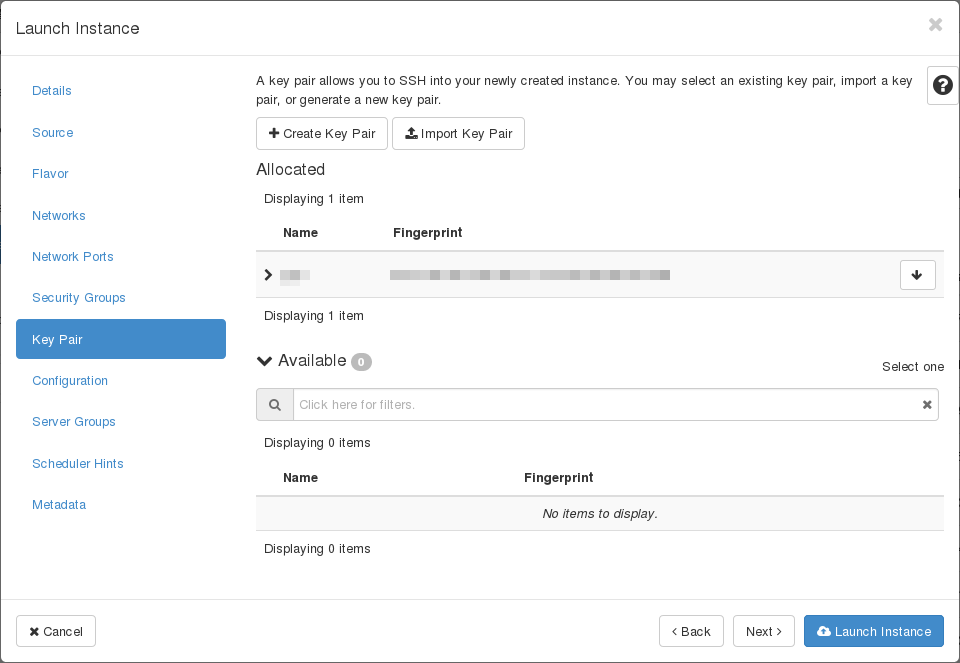
In Key Pair tab we select which key pair will have access to the instance we're creating. After selecting your key pair, go to Networking tab.
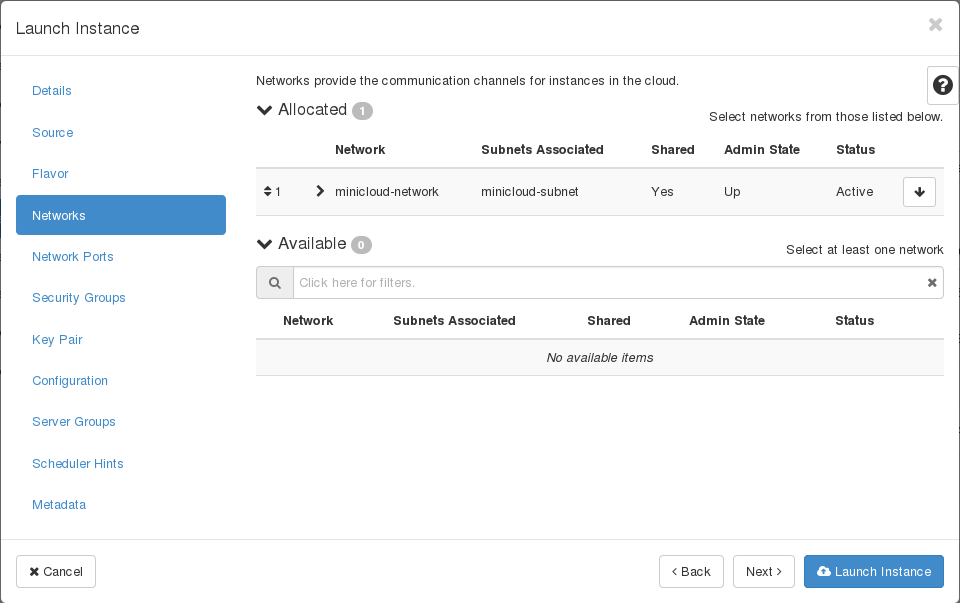
Now drop to Networks box all networks that you want your instance to be part of. Since we've created only one network, it'll be selected automatically.
The rest of the tabs are optional.
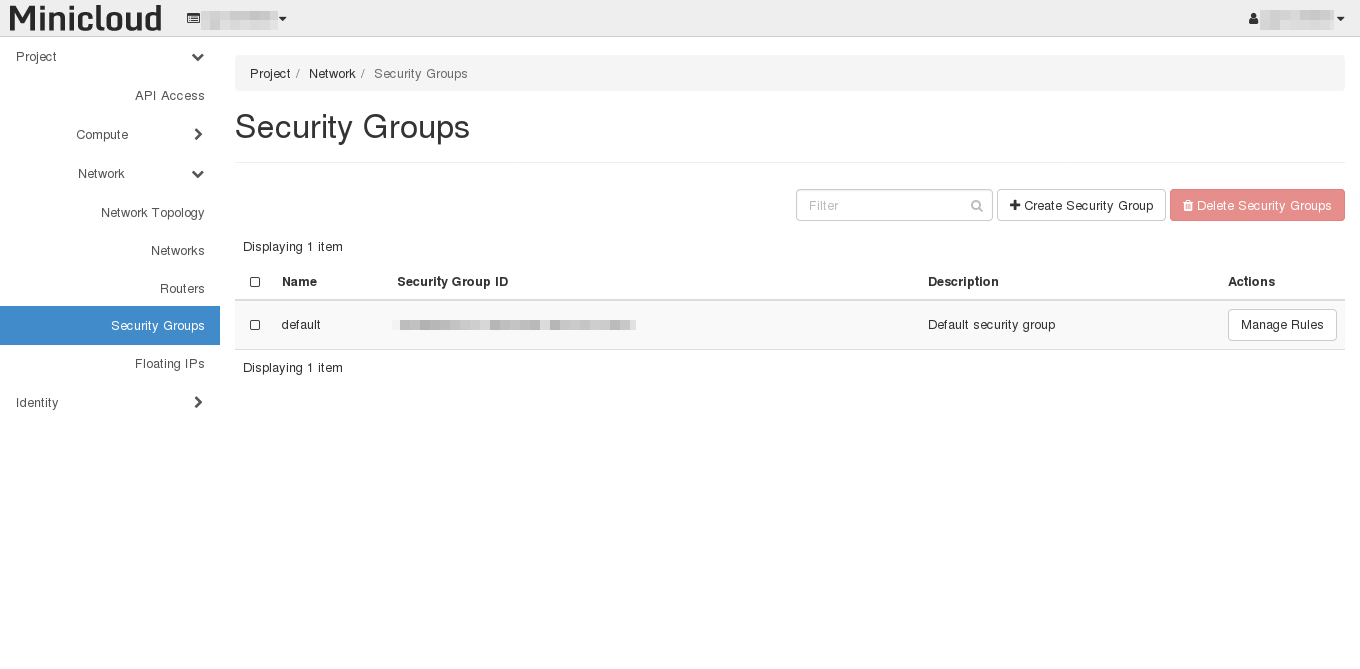
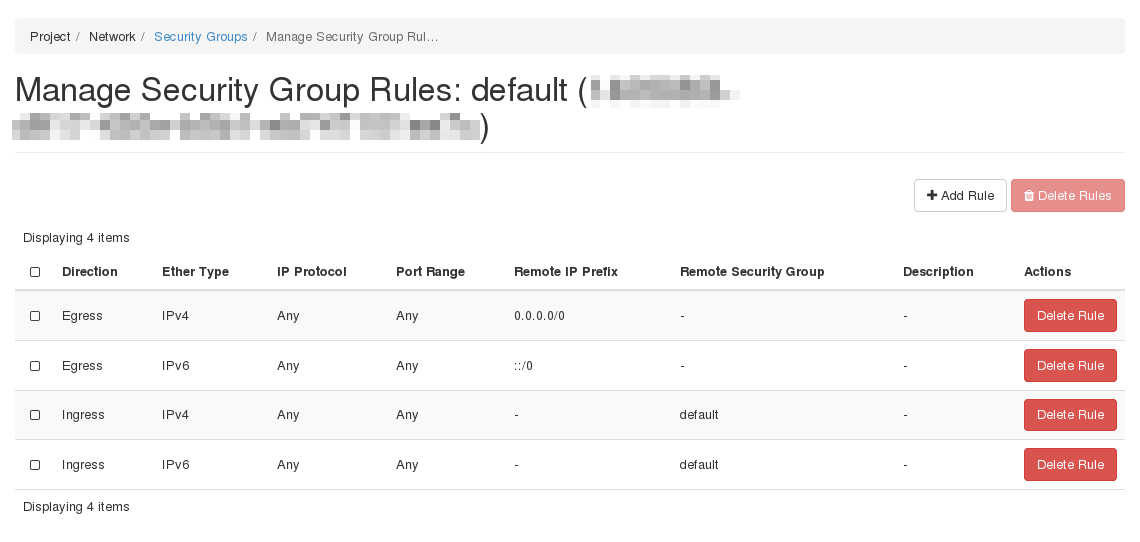
Go to Network, Security Groups and then Manage Rules.
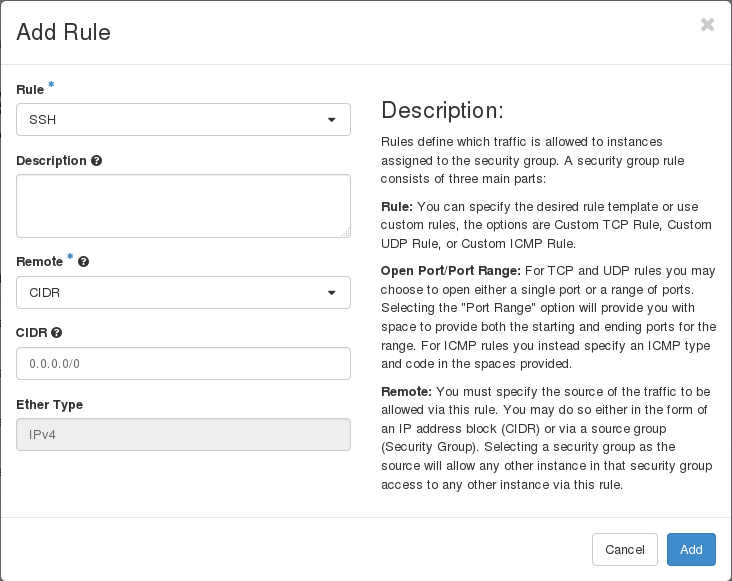
Click on Add Rule.
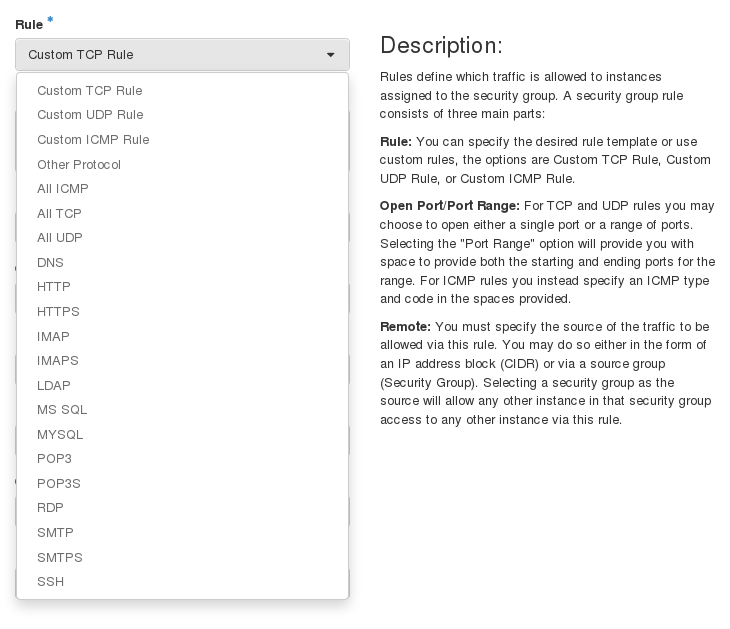
Select Custom TCP Rule, and then SSH.
Now click on Add.
The associated IP address will be shown.
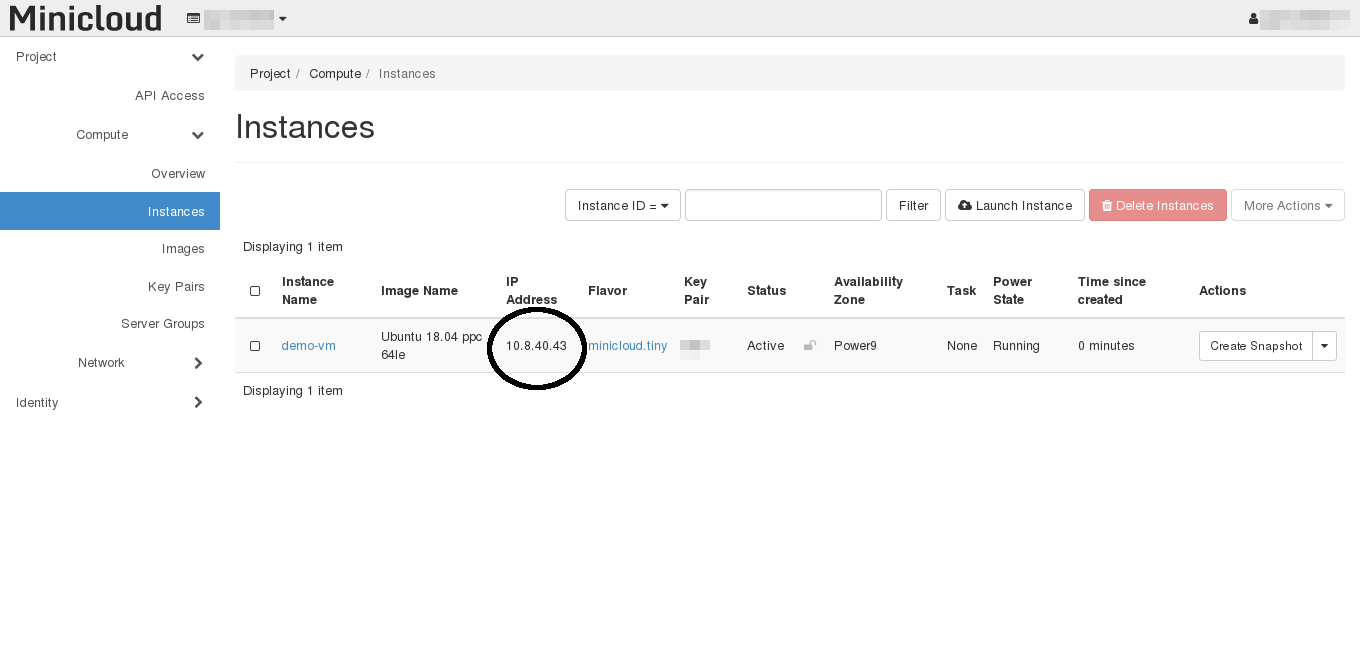
To access the virtual machine via SSH, if the associated IP is 10.8.QW.XYZ, we'll use the port QWXYZ.

After associating an IP, wait 5 minutes before connecting via SSH
So, in the above example, we would connect with:
ssh [email protected] -p 40043 -i your-key.pem
For other OSs, change the username accordingly:
| Image(s) | Command |
|---|---|
| CentOS | ssh [email protected] -p QWXYZ -i your-key.pem |
| Debian | ssh [email protected] -p QWXYZ -i your-key.pem |
| Fedora | ssh [email protected] -p QWXYZ -i your-key.pem |
| openSUSE | ssh [email protected] -p QWXYZ -i your-key.pem |
| Ubuntu | ssh [email protected] -p QWXYZ -i your-key.pem |