From zero to deploy
git clone https://github.com/Chinlinlee/raccoon-dicom.git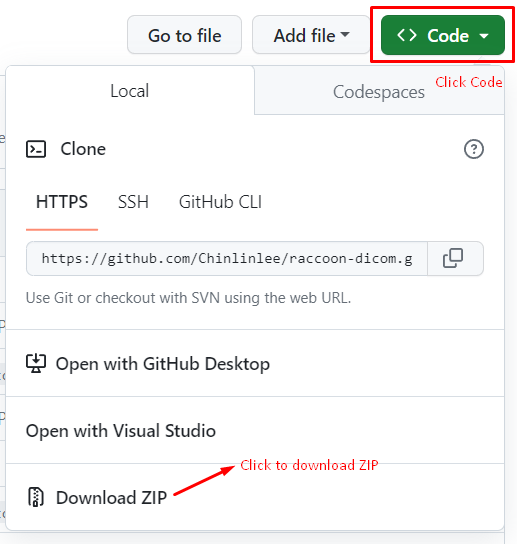
⚠️ Please unzip by yourself
The following is a list of requirements, we will install each software next.
- Node.js >= 16
- Mongodb >= 4
- Imagemagick
- openJDK >= 11
- Click here to download Node.js 16 installer
- Open
node-v16.20.0-x64.msithat you downloaded

- Click Next

- Check
I accept the terms in the License Agreementand click Next

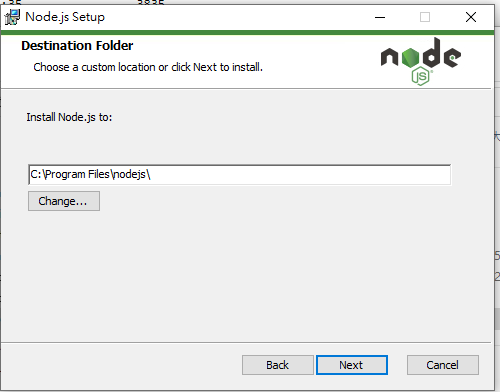
- Select Install Destination and click Next
- Click Next

- Click Next

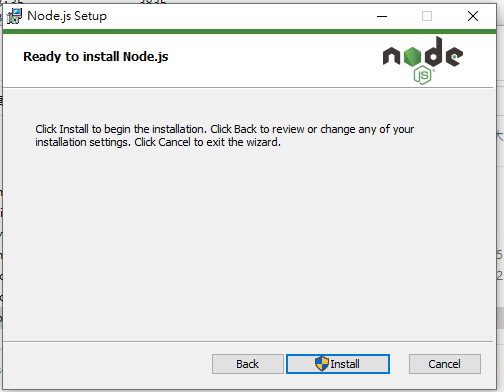
- Click Install
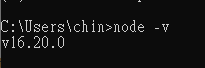
Open cmd and type node -v.
If present v16.20.0, congratulations install successfully.
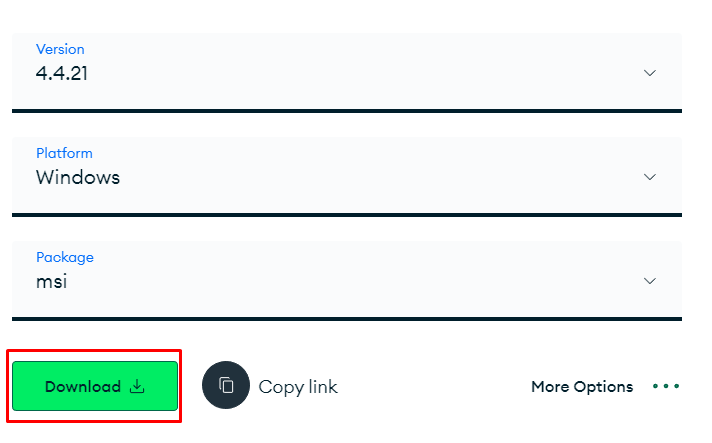
- Enter Home of MongoDB: https://www.mongodb.com/try/download/community
- Select Version →
4.4.21,Platform→Windows->Package→msiand click Download
- Open
mongodb-windows-x86_64-4.4.21-signed.msithat you downloaded

- Click Next

- Check
I accept the terms in the License Agreement

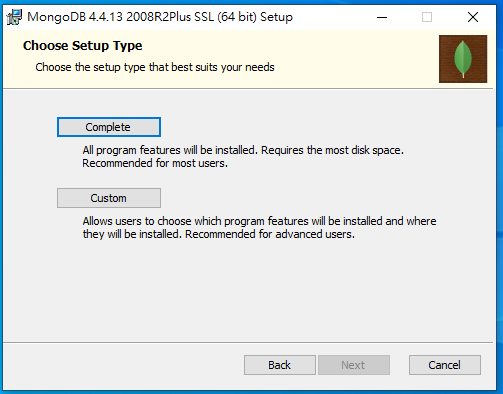
- Select Complete
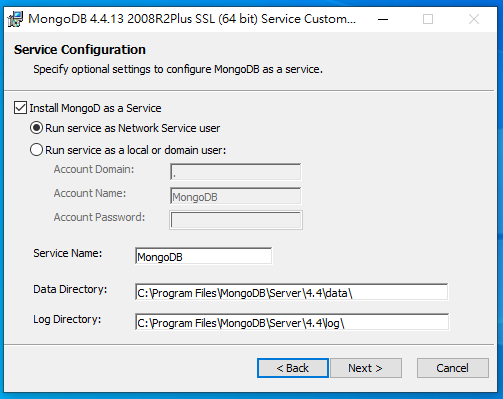
- Set Data Directory and Log Directory and then click Next
- Install MongoDB Compass
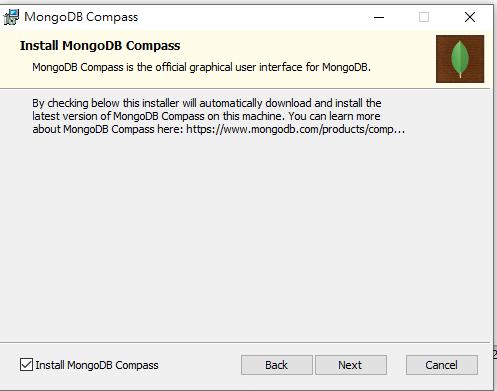
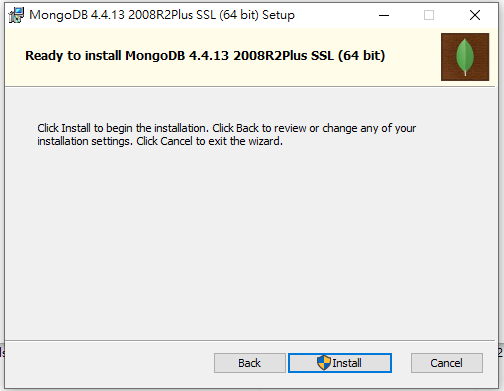
- Click Install
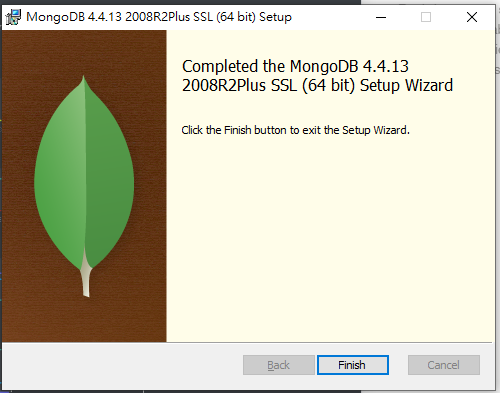
- Installation Completed!
Since the MongoDB connection with Raccoon-DICOM requires username and password. You need to create a user in the MongoDB to use Raccoon-DICOM.
- Open MongoDB Compass
- Enter the following connection string in New Connection and click Connect.
mongodb://localhost:27017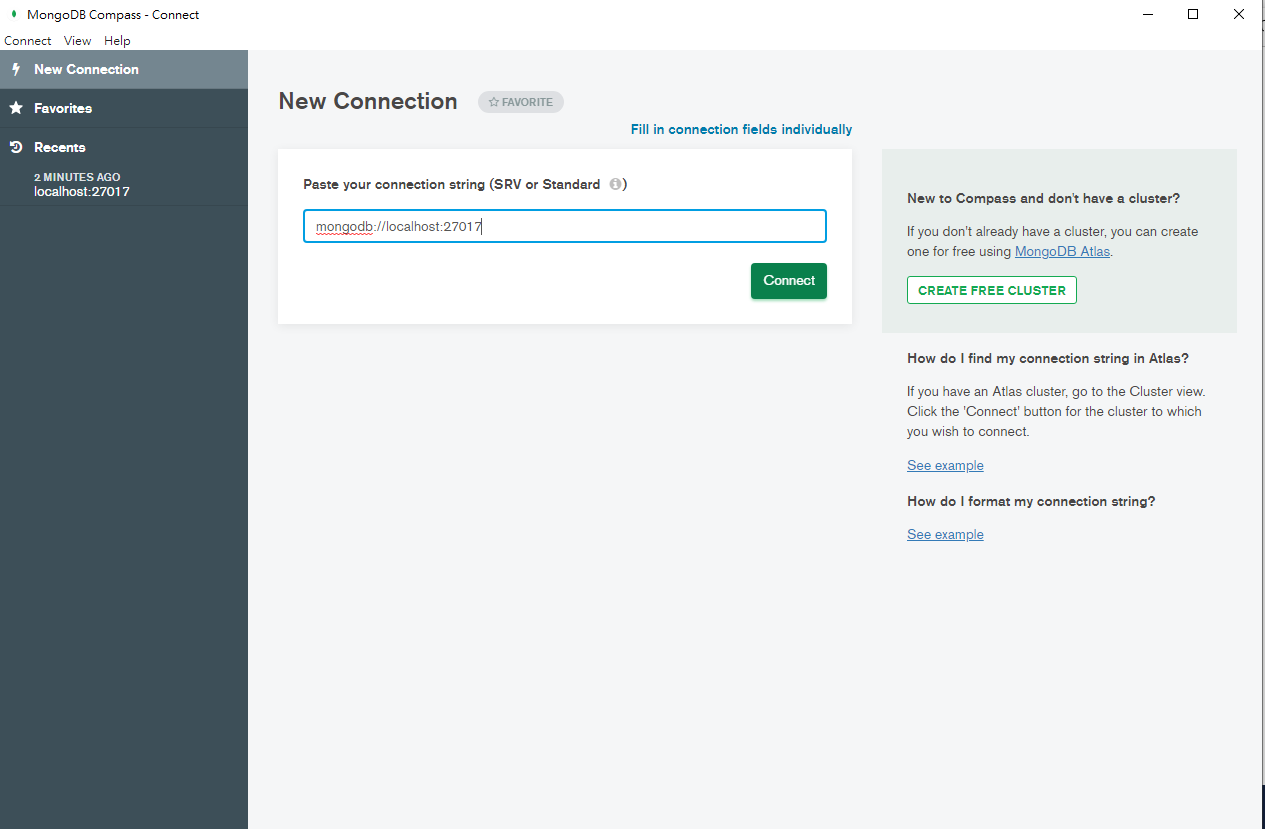
- Click
>_MONGOSHbelow.

- Enter the following command to switch to admin database
use admin;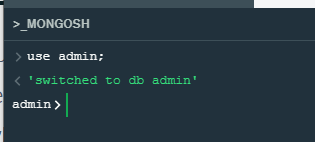
- Enter the following command to create root user
Warning
⚠️ Please change the username and password to a secure one by yourself!
db.createUser({
    user : "root",
    pwd : "root" ,
    roles : [{role : "root" , db:"admin"}]
});
If present { ok: 1 }, it means the creation was successful!
- Enter Download page of ImageMagick: https://imagemagick.org/script/download.php
- Click
Windows Binary Releaseto redirect to Windows paragraph

- Click
ImageMagick-7.1.0-27-Q16-HDRI-x64-dll.exeto download

- Open
ImageMagick-7.1.0-27-Q16-HDRI-x64-dllthat you downloaded

- Check
I accept the agreementand click Next

- Click Next

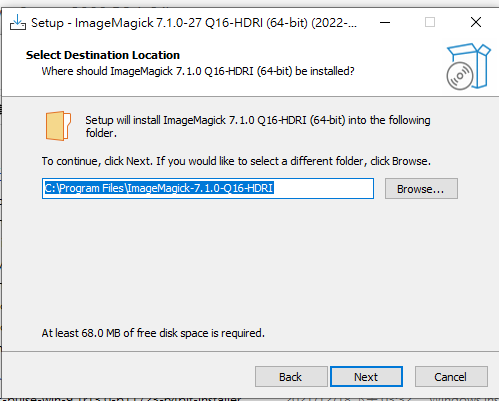
- Select install destination and click Next
- Click Next

- Click Next

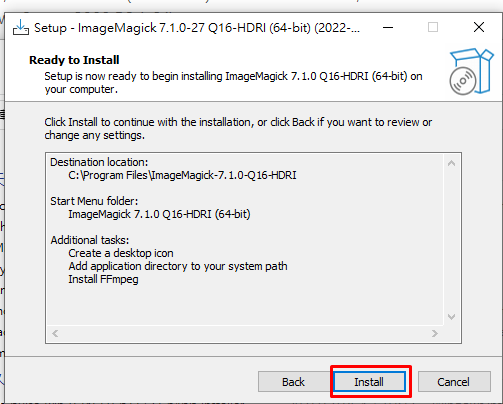
- Click Install
- Click Next, and uncheck
View Index.html, and click Finish
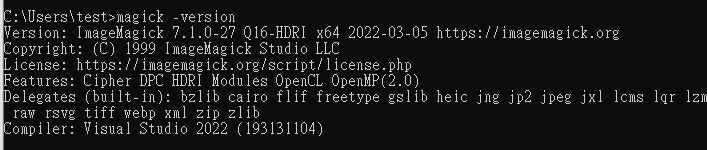
Open cmd (command prompt) and enter "magick -version". If you see the following message, the installation is successful!
- Go to https://adoptium.net/temurin/releases/
- Select Operating System: Windows
- Architecture: x64
- Package Type: JDK
- Version: 11
- Click to download

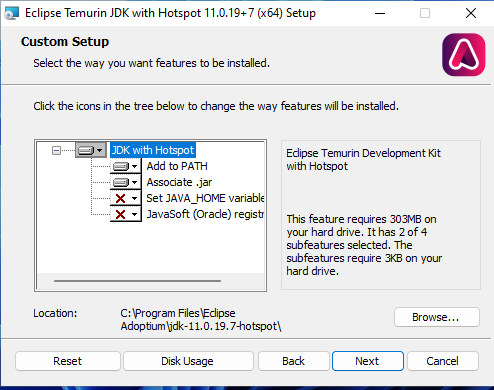
- Open
OpenJDK11U-jdk_x64_windows_hotspot_11.0.19_7that you downloaded one

- Click Next

- Select install destination and click Next
- Click Install
- Completed!
⚠️ Please reboot after installation
- Open the command prompt and enter
javac --version - If present version info on cmd, congrats!

The required software has been installed, and you can now proceed with setting up Raccoon!
Open the command prompt and navigate to the Raccoon project directory, then execute the following command:
npm i --only=productionNote --only=production means only install dependencies in the
dependenciesblock of package.json file
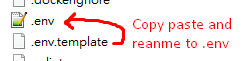
- Copy
.env.templatein the project root and rename it to.env
- Modify
.env
# MongoDB
MONGODB_NAME="raccoon-dicom"
MONGODB_HOSTS=["mongodb"]
MONGODB_PORTS=[27017]
MONGODB_USER="root"
MONGODB_PASSWORD="root"
MONGODB_AUTH_SOURCE="admin"
MONGODB_OPTIONS=""
MONGODB_IS_SHARDING_MODE=false

# Server
SERVER_PORT=8081
SERVER_SESSION_SECRET_KEY="secret-key"

# DICOM Web
DICOM_STORE_ROOTPATH="/dicomFiles"
DICOMWEB_HOST="{host}"
DICOMWEB_PORT=8081
DICOMWEB_API="dicom-web"

# DICOM DIMSE
ENABLE_DIMSE=true
DCM4CHE_QRSCP_COMMAND=`[
    "-b",
    "[email protected]:11112",
    "--dicomdir",
    "{project}/config/DICOMDIR",
    "--ae-config",
    "{project}/config/ae.properties",
    "--all-storage",
    "--filepath",
    "DICOM/{0020000D,hash}/{0020000E,hash}/{00080018,hash}.dcm",
    "--raccoon",
    "{project}/config/raccoon-dimse-app.example.json"
]`

# FHIR
SYCN_TO_FHIR_SERVER=false
FHIRSERVER_BASE_URL="http://localhost:8088/fhir"
- Open command prompt and enter Raccoon project directory, then execute following command
node server.js
- The following steps will use the file test/dicomFiles/jpeg2000/example-jpeg-2000.dcm for uploading test
- Use curl for uploading
curl --location --request POST "http://localhost:8081/dicom-web/studies" ^
--header "Accept: application/dicom+json" ^
--header "Content-Type: multipart/related; type=\"application/dicom\"" ^
--form "[email protected]; type=application/dicom"- If present message following, congrats upload successful!!
{"00081190":{"vr":"UT","Value":["http://localhost:8081/dicom-web/studies/1.3.46.670589.45.1.1.4993912214784.1.5436.1538560373543"]},"00081198":{"vr":"SQ","Value":[]},"00081199":{"vr":"SQ","Value":[{"00081150":{"vr":"UI","Value":["1.2.840.10008.5.1.4.1.1.77.1.6"]},"00081155":{"vr":"UI","Value":["1.3.6.1.4.1.5962.99.1.3002151337.1017604488.1540600476073.6.0"]},"00081190":{"vr":"UT","Value":["http://localhost:8081/dicom-web/studies/1.3.46.670589.45.1.1.4993912214784.1.5436.1538560373543/series/1.3.46.670589.45.1.1.4993912214784.1.5436.1538560606509.3/instances/1.3.6.1.4.1.5962.99.1.3002151337.1017604488.1540600476073.6.0"]}}]}}- Open browser or Postman
- Access http://localhost:8081/dicom-web/studies and get DICOM Json
- Open browser or Postman
- Access http://localhost:8081/dicom-web/studies/1.3.46.670589.45.1.1.4993912214784.1.5436.1538560373543/series/1.3.46.670589.45.1.1.4993912214784.1.5436.1538560606509.3/instances/1.3.6.1.4.1.5962.99.1.3002151337.1017604488.1540600476073.6.0/frames/1/rendered
- Result:

- You can also test imagemagick is working normally:Access http://localhost:8082/dicom-web/studies/1.3.46.670589.45.1.1.4993912214784.1.5436.1538560373543/series/1.3.46.670589.45.1.1.4993912214784.1.5436.1538560606509.3/instances/1.3.6.1.4.1.5962.99.1.3002151337.1017604488.1540600476073.6.0/frames/1/rendered?iccprofile=rommrgb
- Check whether the color changes