-
Notifications
You must be signed in to change notification settings - Fork 4
step by step installation ubuntu
github-actions[bot] edited this page Jan 25, 2024
·
2 revisions
In the following, we will use ubuntu 22.04 to install.
The following is a list of requirements, we will install each software next.
- git
- Node.js
- Imagemagick
- openJDK >= 11
sudo apt install -y gitcurl -fsSL https://deb.nodesource.com/setup_18.x | sudo -E bash - &&\
sudo apt-get install -y nodejs- From a terminal, install gnupg and curl if they are not already available:
sudo apt-get install -y gnupg curl- To import the MongoDB public GPG key from https://pgp.mongodb.com/server-6.0.asc , run the following command:
curl -fsSL https://pgp.mongodb.com/server-6.0.asc | \
   sudo gpg -o /usr/share/keyrings/mongodb-server-6.0.gpg \
--dearmor- Create the list file /etc/apt/sources.list.d/mongodb-org-6.0.list for your version of Ubuntu.
echo "deb [ arch=amd64,arm64 signed-by=/usr/share/keyrings/mongodb-server-6.0.gpg ] https://repo.mongodb.org/apt/ubuntu jammy/mongodb-org/6.0 multiverse" | sudo tee /etc/apt/sources.list.d/mongodb-org-6.0.list- Reload local package database
sudo apt-get update- To install the latest stable version, issue the following
sudo apt-get install -y mongodb-orgYou can start the mongod process by issuing the following command:
sudo systemctl start mongodAdditional Info, if you got problems
Since the MongoDB connection with Raccoon-DICOM requires username and password. You need to create a user in the MongoDB to use Raccoon-DICOM.
- connect to mongodb
mongosh --host localhost --port 27017- Enter the following command to switch to admin database
use admin;- Enter the following command to create root user
Caution
Please change the username and password to a secure one by yourself!
db.createUser({
    user : "root",
    pwd : "root" ,
    roles : [{role : "root" , db:"admin"}]
});
If present
{ ok: 1 }, it means the creation was successful!
sudo apt install -y imagemagick- Checking the installed version of ImageMagick
convert --version- It should bring something similar to this:
Version: ImageMagick 6.9.11-60 Q16 x86_64 2021-01-25 https://imagemagick.org
Copyright: (C) 1999-2021 ImageMagick Studio LLC
License: https://imagemagick.org/script/license.php
Features: Cipher DPC Modules OpenMP(4.5)
Delegates (built-in): bzlib djvu fftw fontconfig freetype heic jbig jng jp2 jpeg lcms lqr ltdl lzma openexr pangocairo png tiff webp wmf x xml zlibsudo apt install -y openjdk-11-jdk- Checking java jdk version
java -version- It should bring something similar to this:
openjdk version "11.0.21" 2023-10-17
OpenJDK Runtime Environment (build 11.0.21+9-post-Ubuntu-0ubuntu122.04)
OpenJDK 64-Bit Server VM (build 11.0.21+9-post-Ubuntu-0ubuntu122.04, mixed mode, sharing)git clone https://github.com/Chinlinlee/raccoon-dicom.git- go to Raccoon-DICOM directory
cd raccoon-dicom- install node packages
npm installsudo cp models/DICOM/dcm4che/javaNode/dcm4chee/lib/linux-x86-64/*.so /usr/lib/jvm/java-11-openjdk-amd64/lib- copy
.env.templateto.env
cp .env.template .env- Modify .env
# MongoDB
MONGODB_NAME="raccoon-dicom"
MONGODB_HOSTS=["127.0.0.1"]
MONGODB_PORTS=[27017]
MONGODB_USER="root"
MONGODB_PASSWORD="root"
MONGODB_AUTH_SOURCE="admin"
MONGODB_OPTIONS=""
MONGODB_IS_SHARDING_MODE=false

# Server
SERVER_PORT=8081
SERVER_SESSION_SECRET_KEY="secret-key"

# DICOM Web
DICOM_STORE_ROOTPATH="/home/test/dicomFiles"
DICOMWEB_HOST="{host}"
DICOMWEB_PORT=8081
DICOMWEB_API="dicom-web"

# DICOM DIMSE
ENABLE_DIMSE=true
DIMSE_AE_TITLE="RACCOONQRSCP" # default: RACCOONQRSCP
DIMSE_HOSTNAME="0.0.0.0" # default: 127.0.0.1
DIMSE_PORT=11112 # default: 11112
DIMSE_MAX_PDULEN_RCV=16378
DIMSE_MAX_PDULEN_SND=16378
DIMSE_NOT_ASYNC=false
DIMSE_MAX_OPS_INVOKED=0
DIMSE_MAX_OPS_PERFORMED=0
DIMSE_NOT_PACK_PDV=false
DIMSE_CONNECT_TIMEOUT=0
DIMSE_REQUEST_TIMEOUT=0
DIMSE_ACCEPT_TIMEOUT=0
DIMSE_RELEASE_TIMEOUT=0
DIMSE_SEND_TIMEOUT=0
DIMSE_STORE_TIMEOUT=0
DIMSE_RESPONSE_TIMEOUT=0
DIMSE_RETRIEVE_TIMEOUT=0
DIMSE_RETRIEVE_TIMEOUT_TOTAL=0
DIMSE_IDLE_TIMEOUT=0
DIMSE_SOCLOSE_DELAY=50
DIMSE_SOSND_BUFFER=0
DIMSE_SORCV_BUFFER=0
DIMSE_TCP_DELAY=false

# DIMSE TLS
DIMSE_TLS=false
DIMSE_TLS_NULL=false
DIMSE_TLS_3DES=false
DIMSE_TLS_AES=false
DIMSE_TLS_CIPHER=""

DIMSE_TLS13=false
DIMSE_TLS12=false
DIMSE_TLS11=false
DIMSE_TLS1=false
DIMSE_SSL3=false
DIMSE_SSL2HELLO=false
DIMSE_TLS_PROTOCOL=""
DIMSE_TLS_EIA_HTTPS=false
DIMSE_TLS_EIA_LDAPS=false
DIMSE_TLS_NOAUTH=false
DIMSE_KEY_STORE="./config/certs/key.p12"
DIMSE_KEY_STORE_TYPE="PKCS12"
DIMSE_KEY_STORE_PASS="secret"
DIMSE_KEY_PASS="secret"
DIMSE_TRUST_STORE="./config/certs/cacerts.p12"
DIMSE_TRUST_STORE_TYPE="PKCS12"
DIMSE_TRUST_STORE_PASS="secret"

# FHIR
SYCN_TO_FHIR_SERVER=false
FHIRSERVER_BASE_URL="http://localhost:8088/fhir"
- start raccoon-dicom
node server.js- The following steps will use the file test/dicomFiles/jpeg2000/example-jpeg-2000.dcm for uploading test
- Use curl for uploading
curl --location --request POST "http://localhost:8081/dicom-web/studies" \
--header "Accept: application/dicom+json" \
--header "Content-Type: multipart/related; type=\"application/dicom\"" \
--form "[email protected]; type=\"application/dicom\""- If present message following, congrats upload successful!!
{"00081190":{"vr":"UT","Value":["http://localhost:8081/dicom-web/studies/1.3.46.670589.45.1.1.4993912214784.1.5436.1538560373543"]},"00081198":{"vr":"SQ","Value":[]},"00081199":{"vr":"SQ","Value":[{"00081150":{"vr":"UI","Value":["1.2.840.10008.5.1.4.1.1.77.1.6"]},"00081155":{"vr":"UI","Value":["1.3.6.1.4.1.5962.99.1.3002151337.1017604488.1540600476073.6.0"]},"00081190":{"vr":"UT","Value":["http://localhost:8081/dicom-web/studies/1.3.46.670589.45.1.1.4993912214784.1.5436.1538560373543/series/1.3.46.670589.45.1.1.4993912214784.1.5436.1538560606509.3/instances/1.3.6.1.4.1.5962.99.1.3002151337.1017604488.1540600476073.6.0"]}}]}}curl http://localhost:8081/dicom-web/studies- The following output will be shown
[{"00080020":{"vr":"DA","Value":["20181003"]},"00080030":{"vr":"TM","Value":["095253"]},"00080050":{"vr":"SH","Value":["D18-1001"]},"00080054":{"vr":"AE","Value":["RACCOONQRSCP"]},"00080061":{"vr":"CS","Value":["SM"]},"00080090":{"vr":"PN","Value":[]},"00081190":{"vr":"UR","Value":["http://localhost:8081/dicom-web/studies/1.3.46.670589.45.1.1.4993912214784.1.5436.1538560373543"]},"00100010":{"vr":"PN","Value":[{"Alphabetic":"Philips^Amy"}]},"00100020":{"vr":"LO","Value":["123456"]},"00100030":{"vr":"DA","Value":["20010101"]},"00100040":{"vr":"CS","Value":["O"]},"0020000D":{"vr":"UI","Value":["1.3.46.670589.45.1.1.4993912214784.1.5436.1538560373543"]},"00200010":{"vr":"SH","Value":[]},"00201206":{"vr":"IS","Value":["1"]},"00201208":{"vr":"IS","Value":["1"]}}]- Retrieve frame
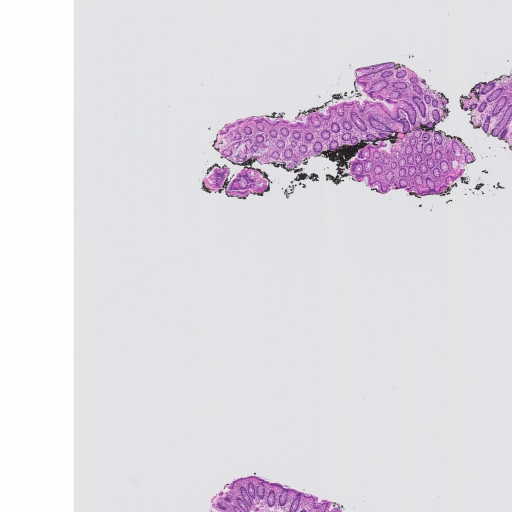
curl http://localhost:8081/dicom-web/studies/1.3.46.670589.45.1.1.4993912214784.1.5436.1538560373543/series/1.3.46.670589.45.1.1.4993912214784.1.5436.1538560606509.3/instances/1.3.6.1.4.1.5962.99.1.3002151337.1017604488.1540600476073.6.0/frames/1/rendered --output image.jpgResult
- You can also test imagemagick is working normally
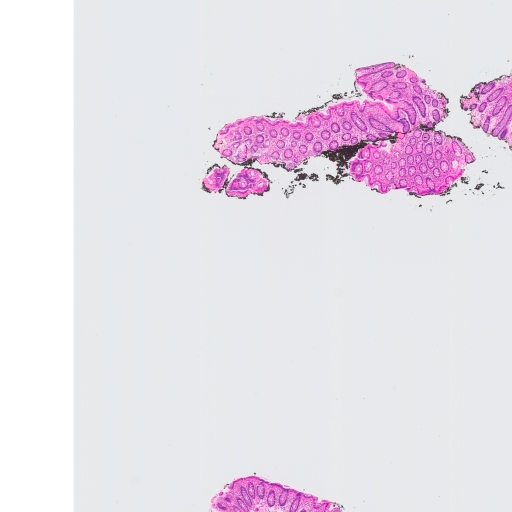
curl http://localhost:8081/dicom-web/studies/1.3.46.670589.45.1.1.4993912214784.1.5436.1538560373543/series/1.3.46.670589.45.1.1.4993912214784.1.5436.1538560606509.3/instances/1.3.6.1.4.1.5962.99.1.3002151337.1017604488.1540600476073.6.0/frames/1/rendered?iccprofile=rommrgb --output image.jpgResult


