Section 4.6 Uploading Firmware
-
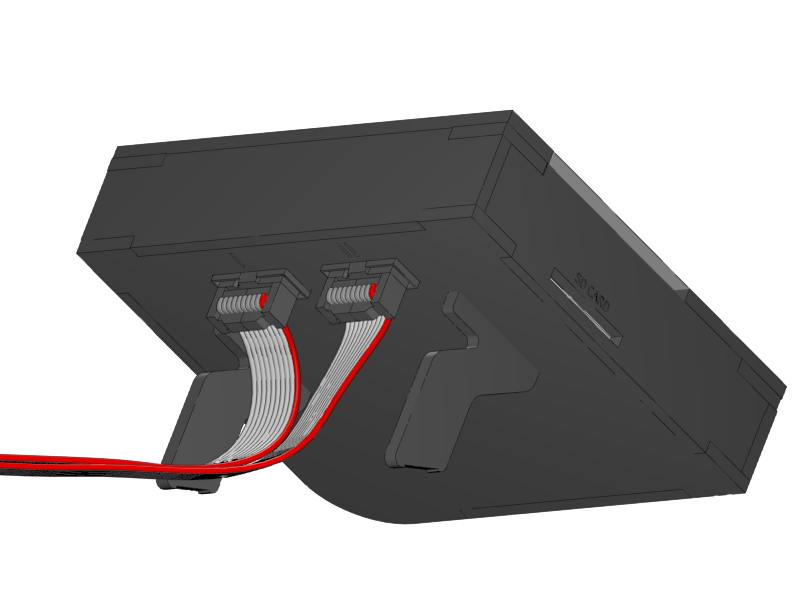
Connect the display.
-
NOTICE: If the screens stays blue after you uploaded the Firmware. You did connect the two plugs on the back of the Display in the wrong order, please swap them.
-
|
-
Download and install Cura from i3berlin.com.
-
Windows user have to take care to install all drivers, the installer contains 3 install packages that follow one an other.
-
For OSX newer than 10.8 please install th serial driver from here.
-
Now download the Firmware hex file from i3berlin.com, select the single or dual version depending on your printer.
-
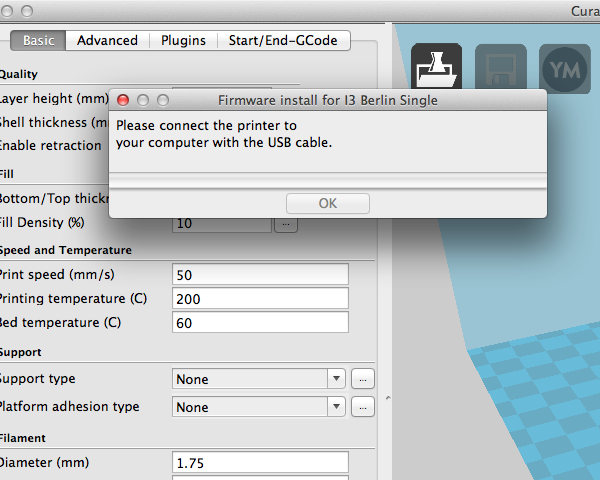
Connect the USB cable.
-
Connect the power and turn the printer on.
-
Open Cura.
-
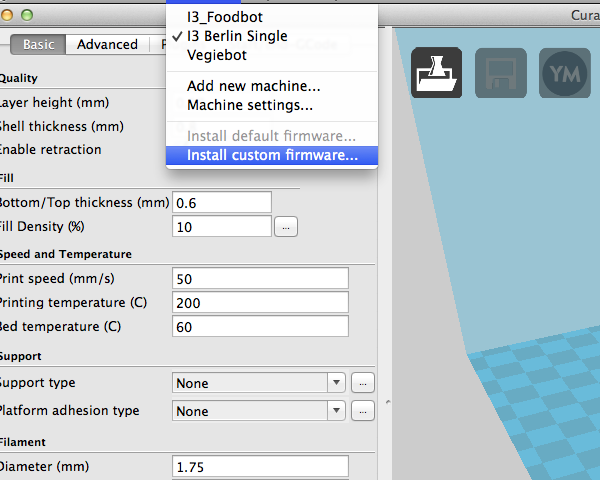
From the menu click machine > install custom firmware.
|
-
Navigate to the Firmware hex file that you just downloaded.
|

-
Select the .hex file that corresponds with the 3D printer you’re building, single or dual printhead.
-
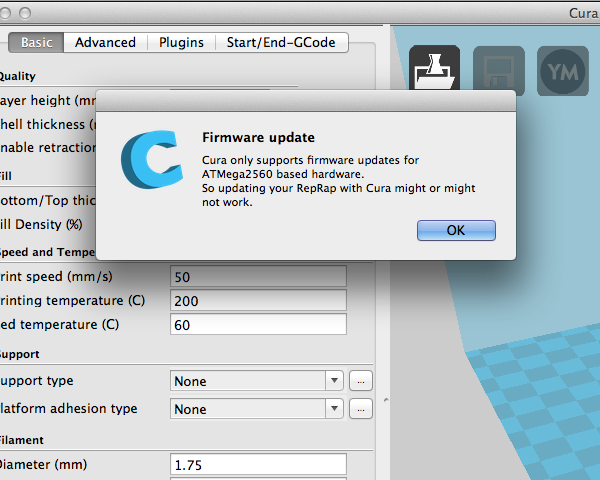
Press one more time OK when prompted "Cura only supports firmware updates for ATMega2560 based hardware…"
|
-
Now the firmware upload starts, and after a minute or so you see a message on the display.
-
NOTICE: If not swap the connectors on the back of the LCD display.
-
|
-
If you get stuck here, there are sevral reasons depending on your OS.
-
Windows: check the Device Manager if the printer shows up under COM Ports if it is pluged in and turned on, if not make shure to install Cura and wait to install the rumba drivers.
-
OSX: make shure that you instaled the FTDIUSBSerialDriver driver dmg and reboot before you continue.
-
Linux: make shure you are in user group dialout, on ubuntu edit /etc/apparmor.d/usr.sbin.cupsd and add a line like '/dev/ttyACM* rw,'.
-