-
Notifications
You must be signed in to change notification settings - Fork 20
Section 5.4 Calibrating the Print Platform
-
The mirror should be well adjusted to the nozzle.
-
Turn the adjust nuts to about 1cm height.
-
First home. Disable the steppers. Move the nozzle above the heatbed by hand.
-
If the nozzle is (for example) about 5mm above the heatbed, put the Z-Endstop about 4mm down.
-
Home again until the nozzle is about 1mm above the mirror.
-
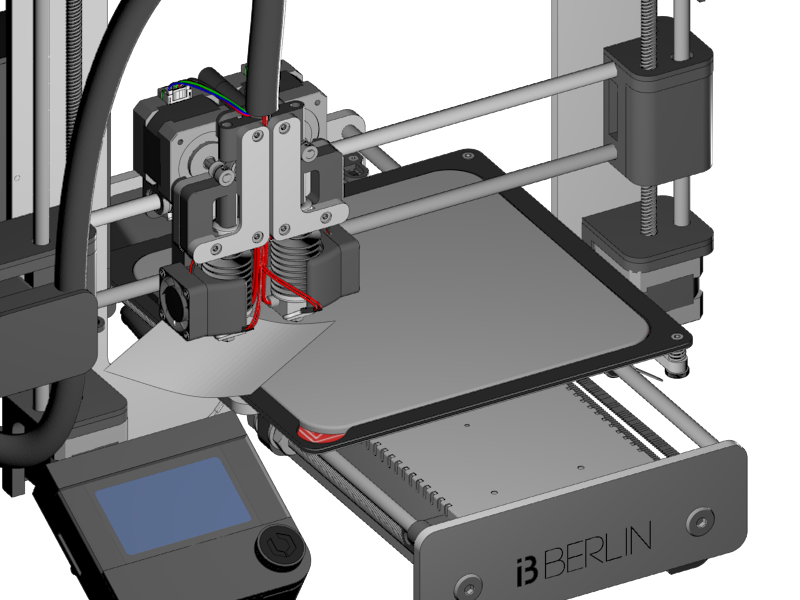
Move the printbed and nozzle in the position close to the left adjusting point
|
-
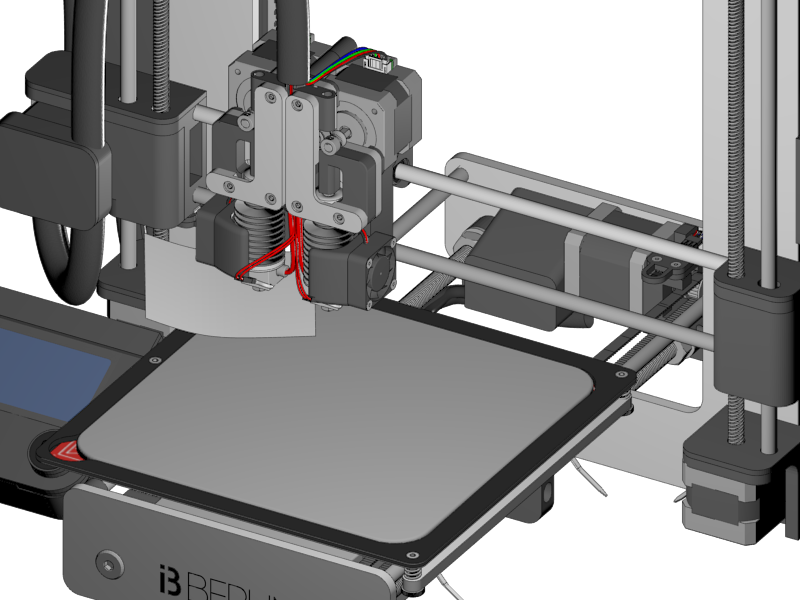
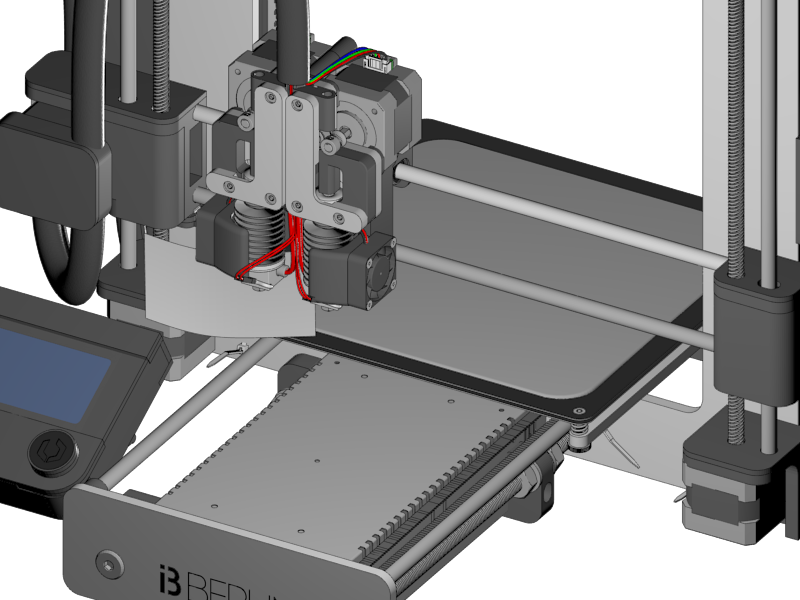
Put a piece of paper under the nozzle
-
If there is some plastic drip under the nozzle caused by previous prints, heat up the nozzle to printing temperature.
-
-
Turn the bed up (clock wise direction looking from the top) until the nozzle just grabs the paper. You can feel friction between the nozzle and the heatbed when you pull the paper, but your still capable to push the paper easily.
|
-
Move the nozzle to the front right position. Keep the paper underneath the nozzle while moving to prevent scratches.
-
Adjust the height of the platform until the paper touches just right
|
-
Move the nozzle to the right back position. Keep the paper underneath the nozzle while moving to prevent scratches.
-
Adjust the height of the platform until the paper touches just right.
-
Repeat the adjustment of the 3 points until they are all perfectly adjusted.
|
-
As a last check up, check the front and back left corner. If there is a big difference you should repeat Calibrating the Y-Axis again or try to solve it with the paper trick.
|
-
This calibration is be best done before every print.
##i3 Berlin
1 Introduction
1.1: History
1.2: Tools and Parts
1.3: Preparing the Casings
2 Assembly of the Y-Unit
2.1: Rods and Power Supply
2.2: Front- and Back- Plate
2.3: Mounting Y-Carriage and Belt
3 Assembly of the XZ-Unit
3.1: Mounting the X-Axis
3.2: Mounting the Z-Axis
3.3: Mounting the Timing Belt
3.4: Assembling the Extruder
4 Wiring
4.1: Wiring the Power Supply
4.2: Wiring the Z-Unit
4.3: Wiring the Y-Unit
4.4: Wiring the X-Axis
4.5: Gluing the Endstop Magnets
4.6: Uploading Firmware
4.7: Wiring the Extruder
4.8: Mounting the Heatbed
5 Calibration
5.1: Testing Functionality
5.2: Calibrating the Y Axis
5.3: Calibrating the X Axis
5.4: Calibrating the Print Platform
6 Printing
6.1: Filament Holder
6.2: Cura
6.3: Kisslicer
6.4: Dual Printing


